Grab bars are the most visible and most commonly discussed aging-in-place feature in a bathroom, and they are among the easiest to retrofit. The features that actually determine whether someone can use a bathroom independently at seventy-five are built into the original layout and almost impossible to change later: entry width, floor level changes, shower entry type, vanity height, and turning radius. Those decisions belong in the renovation, not in the decade when they become urgent.
This matters because most people think about aging-in-place design only twice: once when a parent or grandparent has a fall and needs modifications to their home, and once when they are in their own bathroom after sixty and suddenly aware of things they never noticed before. Both moments are too late to benefit from the most consequential decisions. By then, the doorway is framed. The shower has a curb. The floor has a step. The turning radius is whatever the architect drew in the original plan. Changing any of these things requires demolition.
The bathroom renovation you are planning now is the intervention. The question is whether you design it to accommodate only the person you are today, or also the person you will be in twenty years.
Why The Layout Decisions Matter More Than The Accessories
Grab bars, lever faucets, handheld shower heads, and non-slip flooring are the conventional checklist for aging-in-place bathrooms. Every one of those features is worth having, and most of them can be added to an existing bathroom without major renovation. A retrofit of grab bars in a properly blocked wall takes an afternoon. A lever faucet replaces a knob faucet in an hour.
What cannot be added in an afternoon is a wider doorway, a curbless shower transition, a second floor-level entry to a step-in shower, or an additional forty-eight inches of turning radius where now there are only thirty-six. These are layout and framing decisions. They are determined before the tile is ordered, before the plumbing rough-in is set, before the walls close. After the renovation is finished, they are permanent for the life of that installation.
The CAPS (Certified Aging in Place Specialist) credential, developed by the National Association of Home Builders in partnership with AARP and the American Occupational Therapy Association, exists specifically to train builders to identify these layout decisions early in a project. The core insight of the CAPS curriculum is that the most important accessibility investments are the ones made during original construction or renovation, not as retrofits. Not because retrofits are always impossible, but because they are always more expensive and often architecturally disruptive.
Door Width: The First Barrier
A standard interior door opening in residential construction is 32 inches clear. A person using a walker comfortably requires 32 to 36 inches of clear opening. A person using a wheelchair requires 36 inches clear as a minimum, with 42 inches preferred for comfortable passage.
A 32-inch clear door opening is the default. It meets minimum code for habitable space. It does not meet the width needed to use a walker without turning sideways, and it definitely does not accommodate a wheelchair without either modifying the door or making an uncomfortable tight entry.
In a renovation, widening a door opening requires removing the existing casing, potentially modifying the rough framing, rehung the door, and patching and painting the surrounding wall finish. If the door is between bathroom tile and bedroom flooring, the floor transitions need to be reworked as well. The cost of widening a bathroom door during a renovation, where the walls and flooring are already being affected, is modest. The cost of widening a bathroom door as a standalone project in a finished room can be three to five times higher, and it produces patches and transitions that are difficult to make seamless.
Including a 36-inch door opening in a renovation costs essentially nothing extra if it is specified before framing begins. The rough opening is cut two inches wider. The door is ordered in the wider size. Everything else proceeds as planned. The accessibility benefit is permanent and invisible: the room looks no different, but it serves a much wider range of mobility conditions.
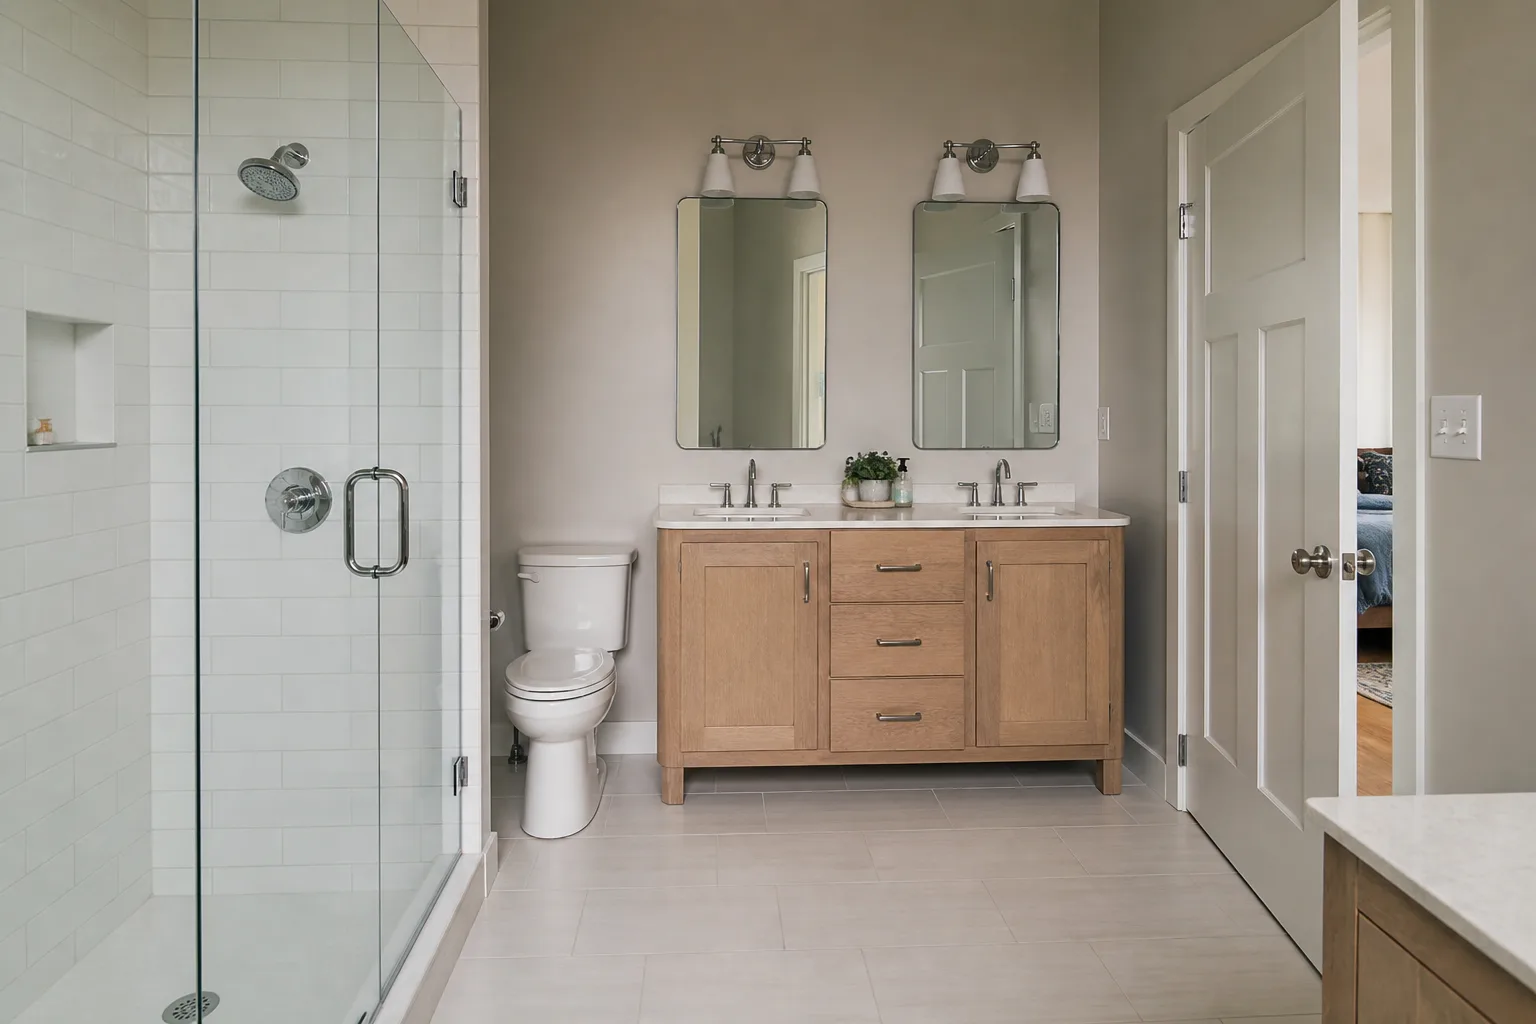
Curbless Shower: The Structural Decision
The most significant aging-in-place decision in most bathroom renovations is whether the shower entry is curbless or curbed.
A conventional shower curb, typically 4 to 6 inches high, serves as a water containment edge at the shower threshold. It is structurally simple to build because the shower floor can be tiled at any height relative to the bathroom floor. It also creates a step-over barrier that becomes increasingly problematic with age, injury, or limited mobility. A 4-inch curb that is trivial at forty is a genuine fall hazard at seventy-five, particularly when wet feet are involved.
A curbless shower, also called a zero-threshold shower, eliminates the step entirely. Water containment is achieved through slope, drain placement, and water management at the transition zone rather than a physical barrier. This is standard practice in high-quality residential and commercial construction, and it produces a shower that is easier to clean, more visually open, and accessible to anyone regardless of mobility status.
The structural requirement for a curbless shower is a lowered floor assembly in the shower area to accommodate the drain height and the required slope without creating a trench at the threshold. In a concrete slab construction, this typically means cutting the slab and lowering the drain. In wood frame construction, it means creating a sloped mortar bed within a lowered framing area. Both require planning and execution before the floor is finished.
Retrofitting a curbed shower to curbless after tile is installed requires removing the shower floor tile, removing the shower curb, lowering the framing or cutting the slab, rebuilding the waterproofing assembly, and retiling. This is a major renovation within a renovation, and the cost often approaches the cost of a complete shower replacement. The same transition, made at the time of original renovation when the shower floor is not yet tiled, adds hours of labor, not weeks of work.
A curbless shower design also creates the option for a future shower bench and wheelchair accessibility without requiring any additional structural modification. The floor is level. The entry is clear. Whatever mobility aids become relevant later can be added without addressing the floor.
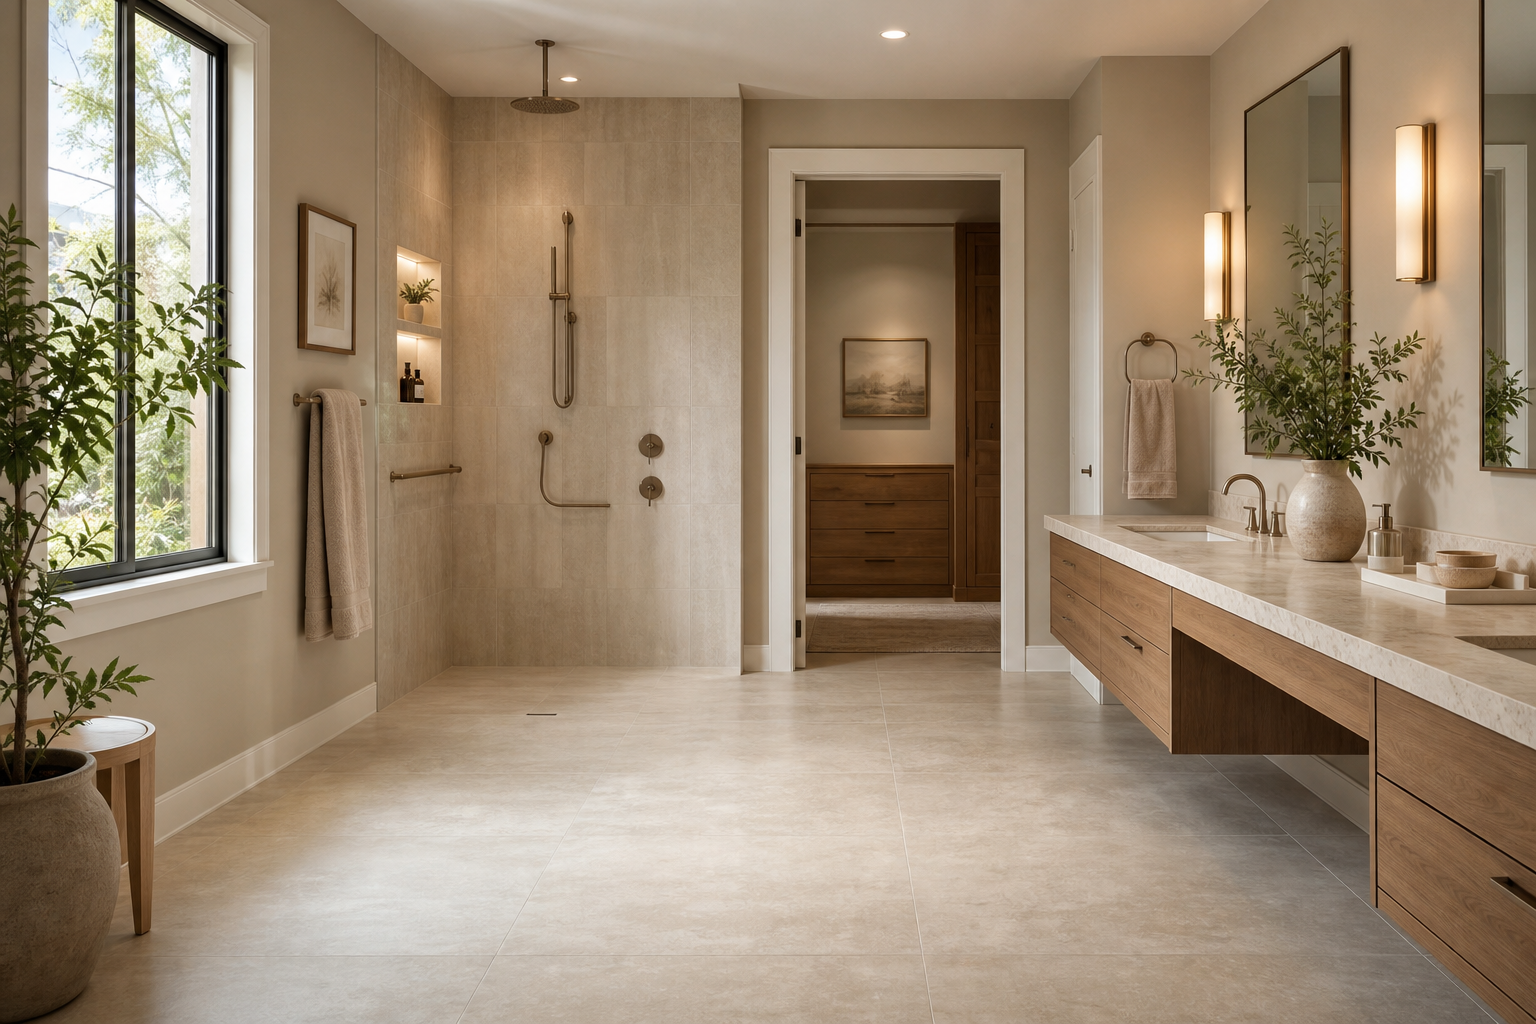
Turning Radius And The Room That Becomes A Trap
Accessibility standards for bathroom design require a 60-inch clear turning radius for wheelchair users, measured from a center point that typically falls in the middle of the floor. This standard, derived from ADA Accessibility Guidelines and incorporated into universal design frameworks, represents the minimum space for a standard wheelchair to complete a full 180-degree turn without backing up.
Most residential bathrooms do not have 60 inches of clear floor diameter. A 5-by-8-foot bathroom, a standard size in many homes, has 8 feet in one direction and 5 feet in another. The 60-inch turning circle fits geometrically, but vanities, toilet, and shower eat into the clear space. The usable turning radius in a typical small bathroom is significantly less than the footprint of the room suggests.
In a renovation, the turning radius is a function of where the fixtures are placed and how much floor area the vanity and toilet consume. A floating vanity mounted above the floor recovers knee clearance and does not occupy floor space the same way a floor-standing cabinet does. A toilet with less depth (27 versus 30 inches) recovers floor space in the zone in front of it. A pocket door instead of a swing door eliminates the door swing arc from the calculation entirely.
None of these decisions requires making the bathroom larger. They require placing the fixtures thoughtfully within whatever space the room provides. The same square footage can produce a bathroom with adequate turning radius or one that traps a person with a walker in the corner, depending entirely on how the renovation was planned.
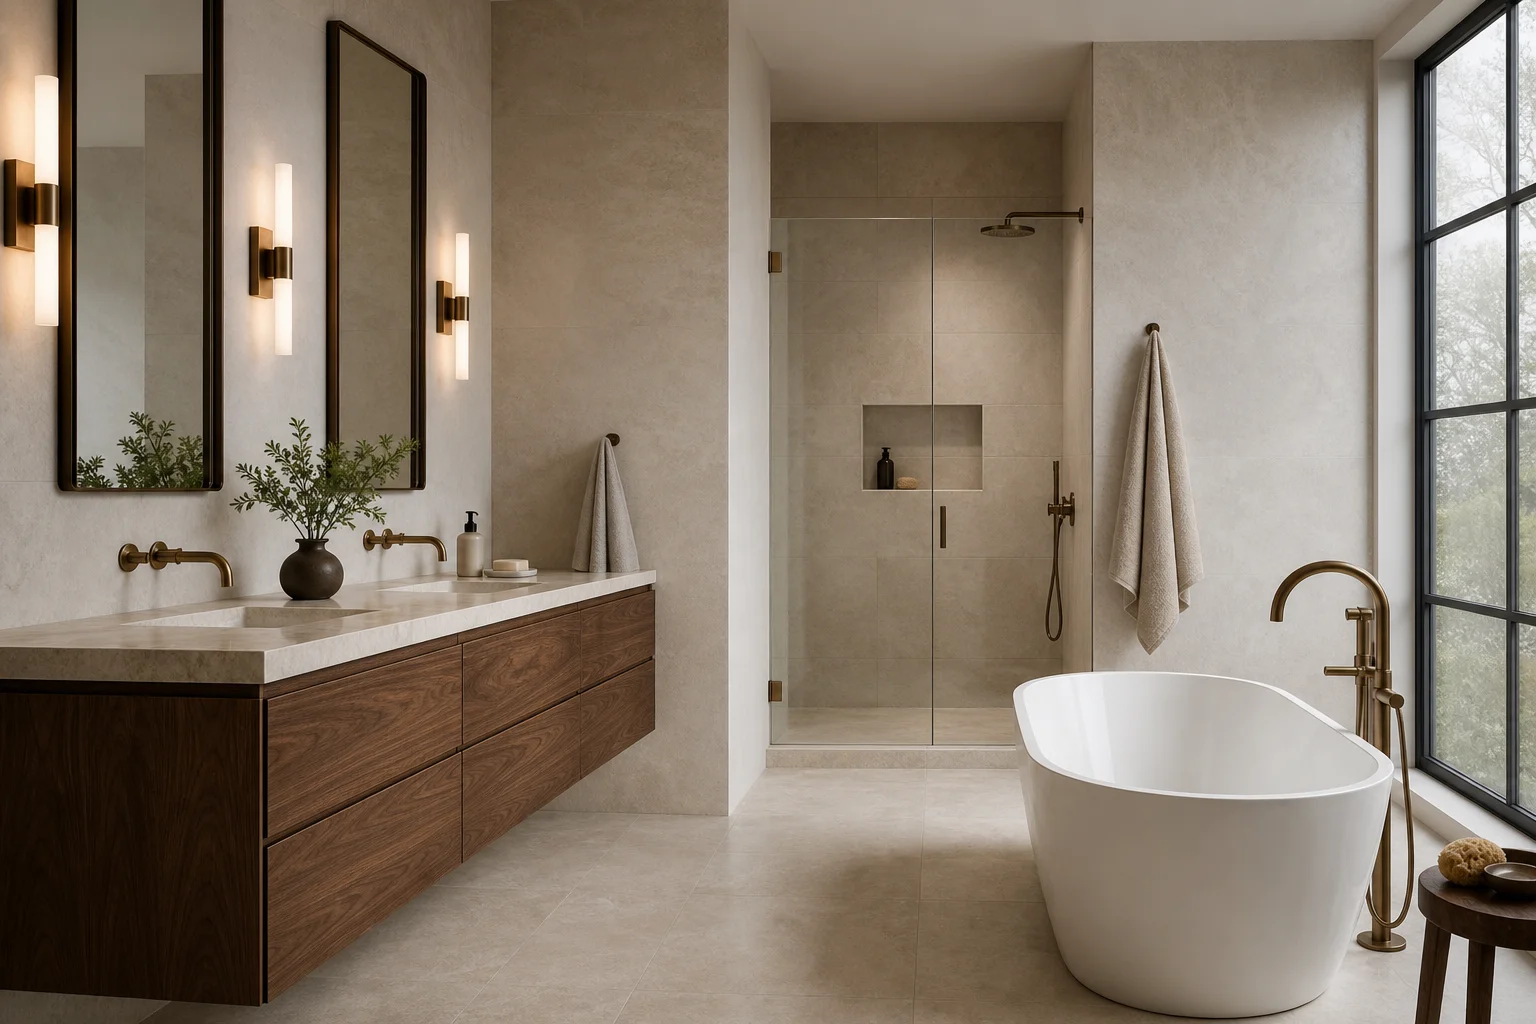
Vanity Height, Knee Clearance, And Seated Use
Standard vanity height in residential construction runs 32 to 36 inches, with most off-the-shelf vanities in the 34 to 36-inch range. The trend toward "comfort height" vanities has pushed many renovations toward 36 inches, which is comfortable for an average-height standing adult.
The problem is that seated use, whether from a rolling stool, a wheelchair, or the seated position many people eventually adopt for grooming tasks, requires a different height and a specific type of clearance underneath the vanity. Standard vanities sit on a full-height base cabinet that extends to the floor. There is no knee clearance. Seated use at that vanity means using only the portion of the counter surface that can be reached forward from outside the vanity footprint, which is typically not where the sink and faucet are.
An accessible vanity design includes knee clearance of approximately 27 inches high by 19 to 25 inches deep beneath the sink, creating space for knees when seated. This can be achieved with a wall-mounted or floating vanity, or with a console-style vanity that has open space beneath. The plumbing under the sink in this configuration needs to be insulated to prevent contact burns on legs.
Incorporating this detail at renovation costs nothing extra if the vanity design accounts for it. Retrofitting knee clearance into a vanity that was designed without it requires replacing the cabinetry.
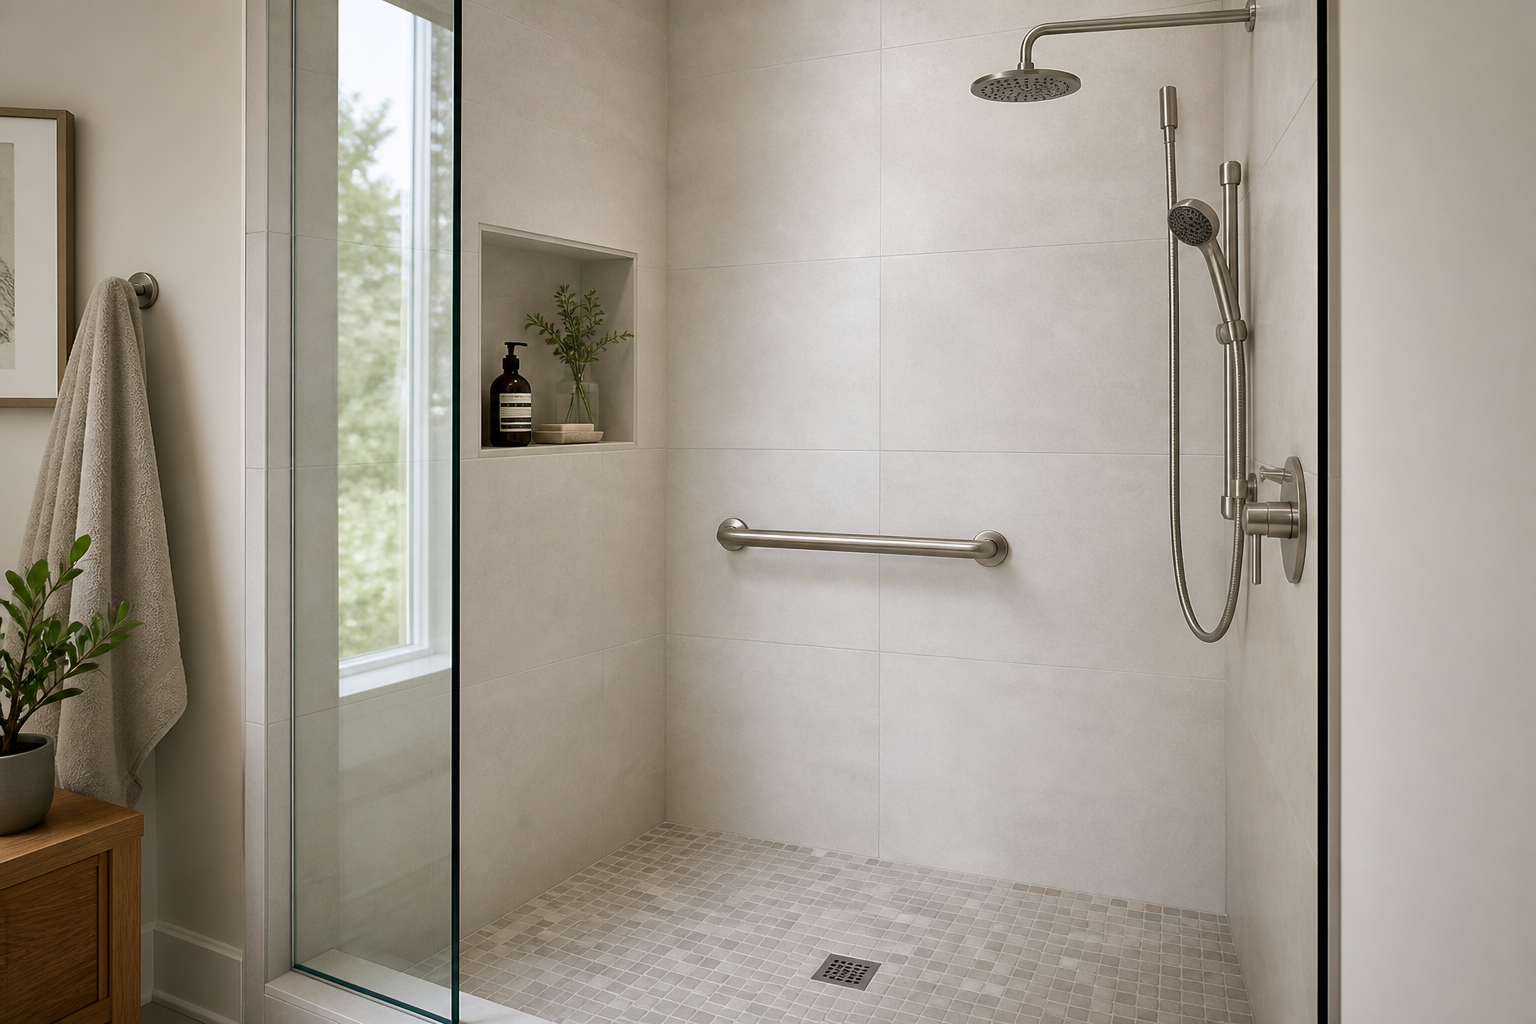
Blocking For Grab Bars: The Cheapest Future Investment
Grab bars are not always needed immediately. They are the one aging-in-place feature that is easy to specify in advance and requires only a simple structural preparation to add later.
The preparation is blocking: horizontal wood members installed between the studs in the shower and toilet zones, covered by substrate and tile. The blocking provides solid backing for future grab bar attachment without requiring the installer to locate studs at mounting time or drill into tile in the hope of finding structural support behind it.
Standard grab bar blocking positions for a shower include: the back wall at 33 to 36 inches above the floor for a horizontal assist bar, the side wall adjacent to the shower entrance at the same height, and a diagonal orientation in the corner for support during entry and exit. Toilet-zone blocking covers the wall to the side of the toilet at the grab-bar height range.
The cost of installing blocking during a renovation is the cost of the additional wood and twenty minutes of framing labor. The blocking is invisible in the finished room. It adds nothing to the visual appearance of the bathroom, imposes no maintenance requirement, and creates no obligation to install the bars. It is simply optionality, purchased at the moment when it costs almost nothing.
When grab bars are needed later, they can be installed by a handyman in a morning at a modest cost. Without blocking, installation requires either locating the studs exactly at the required position (which is rarely where you need them), drilling through tile, or opening the wall. The blocking decision, made and paid for during renovation, eliminates all three of those problems permanently.
Every primary bath we design gets a brief aging-in-place review before the layout is finalized. We note the decisions that are easy to make now and expensive to change later. Blocking for grab bars, curbless shower entry, and 36-inch door width cost almost nothing to include in a renovation and a great deal to add afterward.