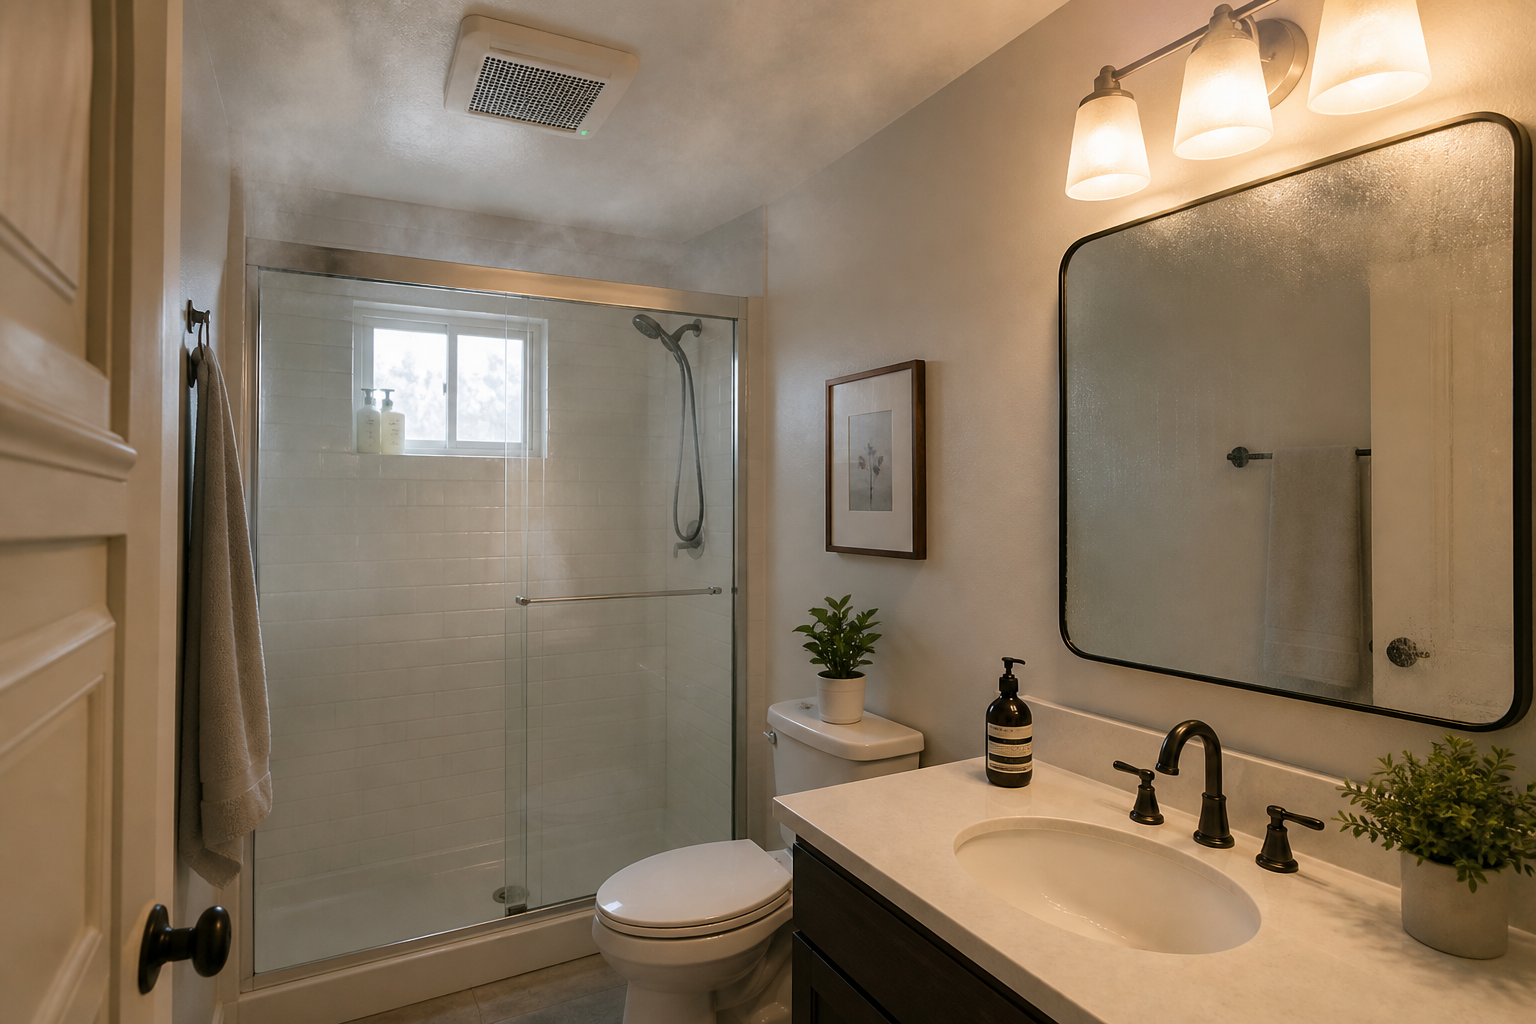
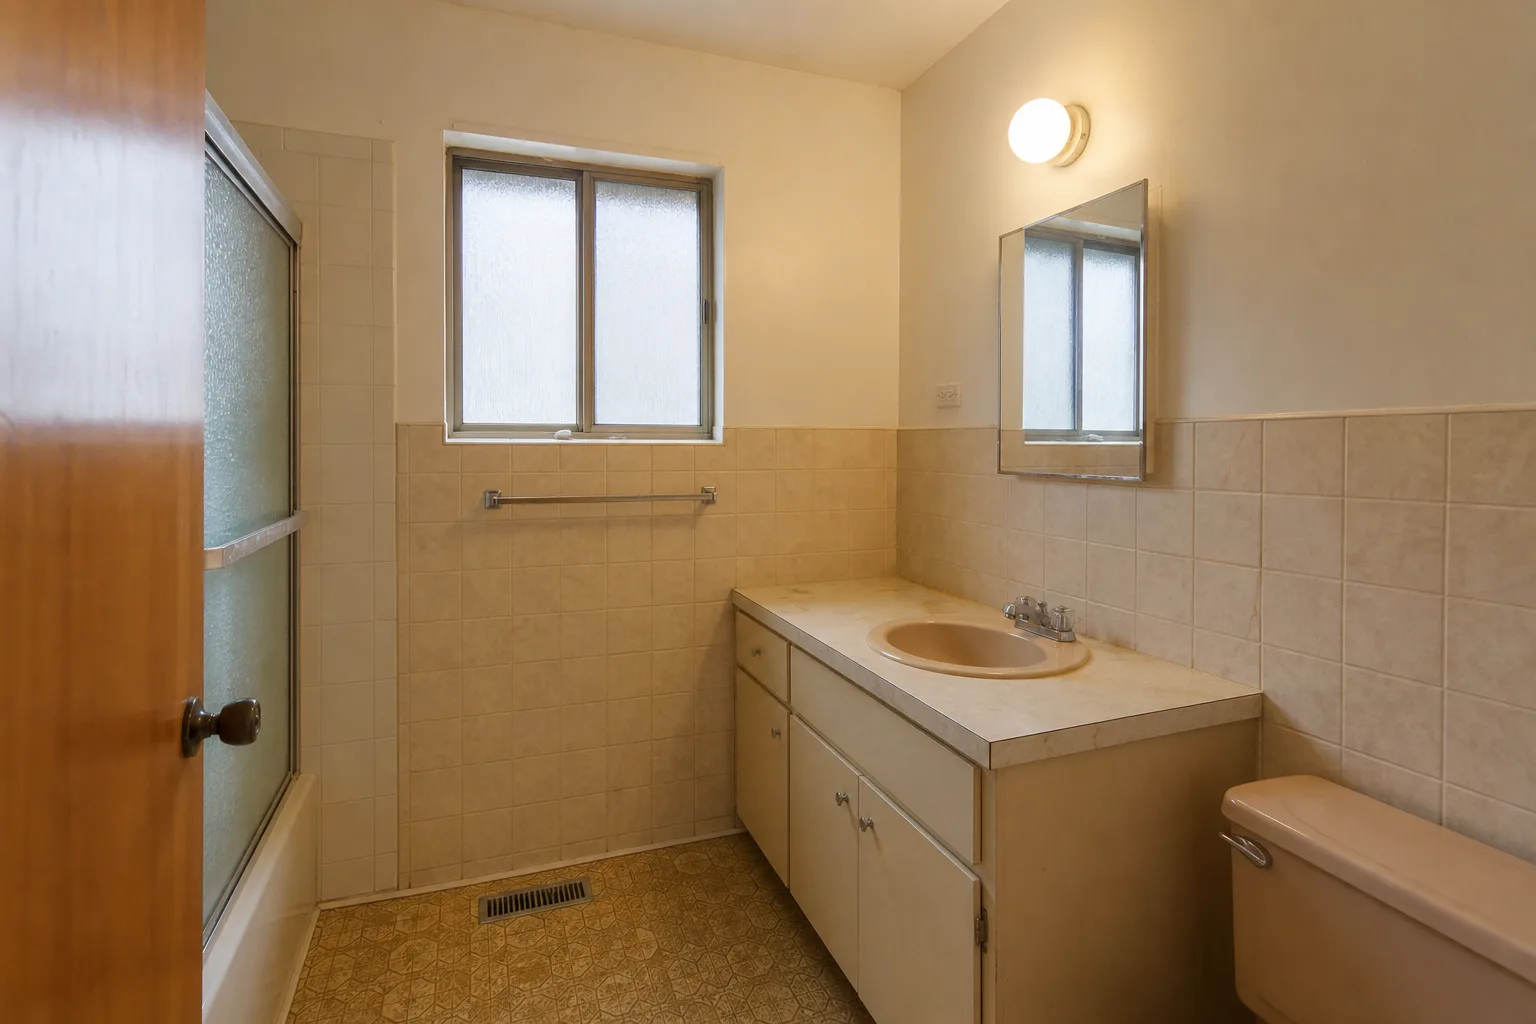
A bathroom lit by a single overhead fixture is a bathroom designed for one mode of use in a room that actually has four: bright grooming, general use, low-light evening, and night navigation. The difference between a room that serves all four and one that serves only the first is the addition of two switches and a dimmer, decisions that must be made before the electrician rough-in, not after.
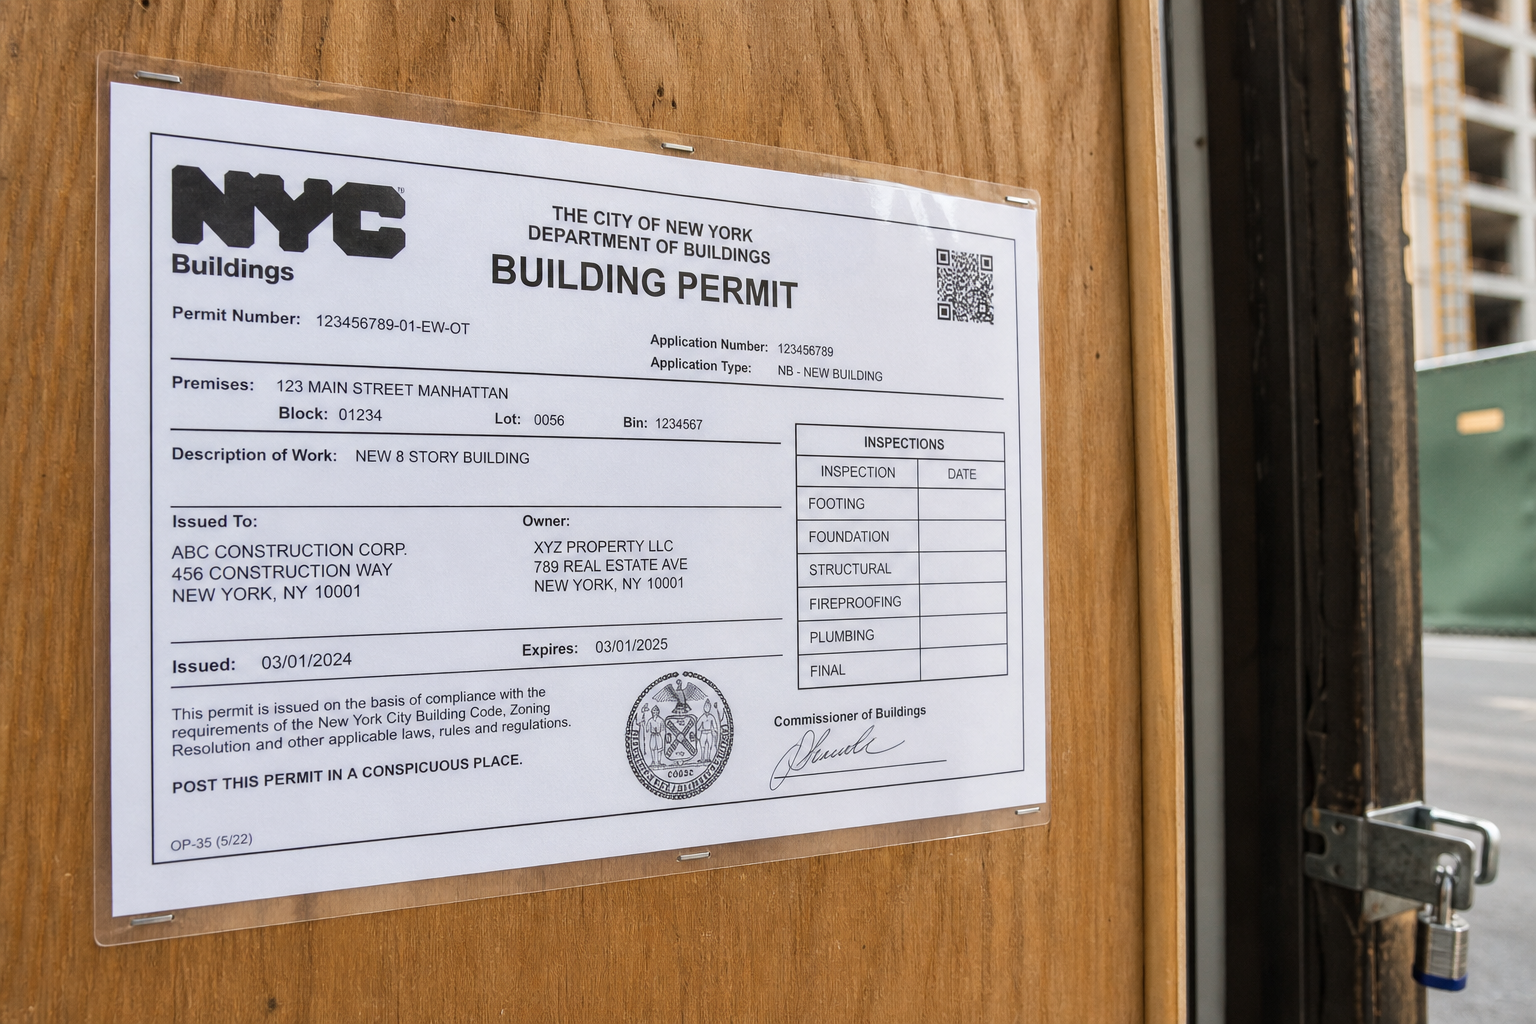
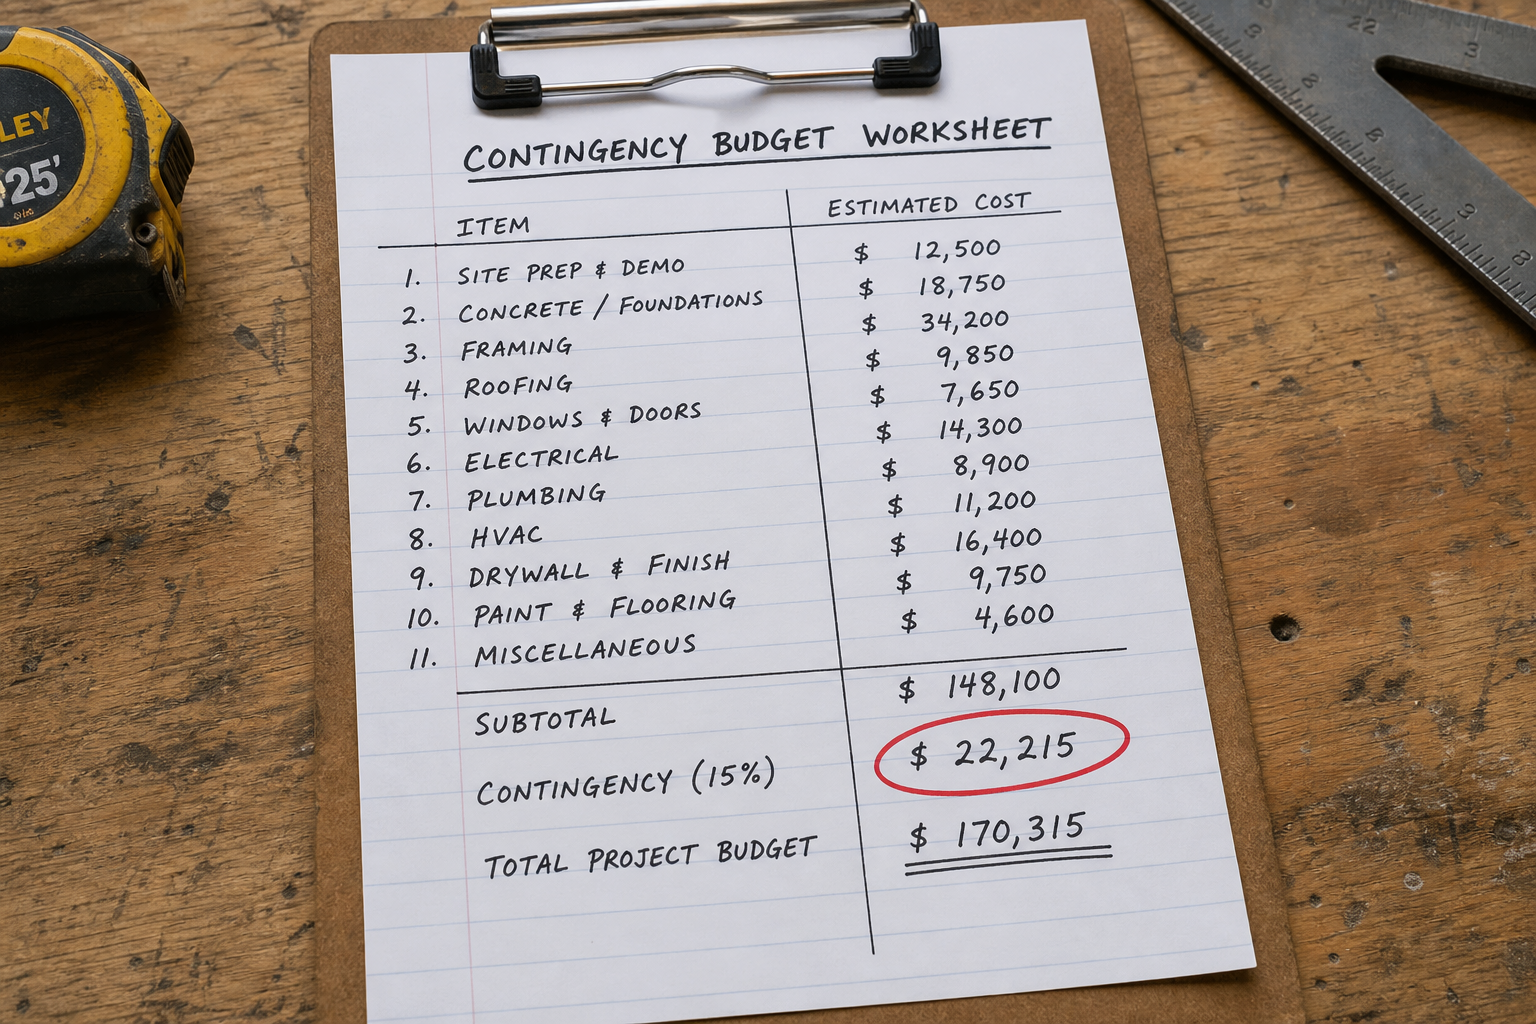
This is not a luxury question. The wiring cost of adding a second circuit and a dimmer switch during rough-in is modest. After the walls are closed, it is a wall-opening project. The decision has a window, and most homeowners do not know the window exists until it has already closed.
Why One Switch Is Never Enough
The typical bathroom has one overhead fixture wired to one switch at the door. The logic is straightforward: you enter, you flip the switch, there is light. For many rooms in a house, that logic is fine. For a bathroom, it fails three of the room's four modes.
The grooming mode needs light at the face, not above the head. The general-use mode needs enough ambient light to navigate safely without full task brightness. The evening mode needs to allow a bath or quiet wind-down without stimulating alert-mode illumination. The night mode needs the bathroom to be navigable at 2 a.m. without waking anyone fully awake.
A single overhead fixture calibrated for grooming mode is too harsh for the other three. Calibrated for the other three, it fails grooming. There is no single brightness setting that serves all four uses well, which is why the solution is not a better bulb. The solution is independent control over multiple sources.
The National Kitchen and Bath Association's Bath Planning Guidelines document this directly. NKBA recommends that bathroom lighting plans include separate switching for vanity task lighting, general ambient lighting, and any accent or decorative source. The reasoning is functional, not aesthetic: different zones of a bathroom serve different activities, and those activities require different light levels.
Layer One: Task Lighting at the Vanity
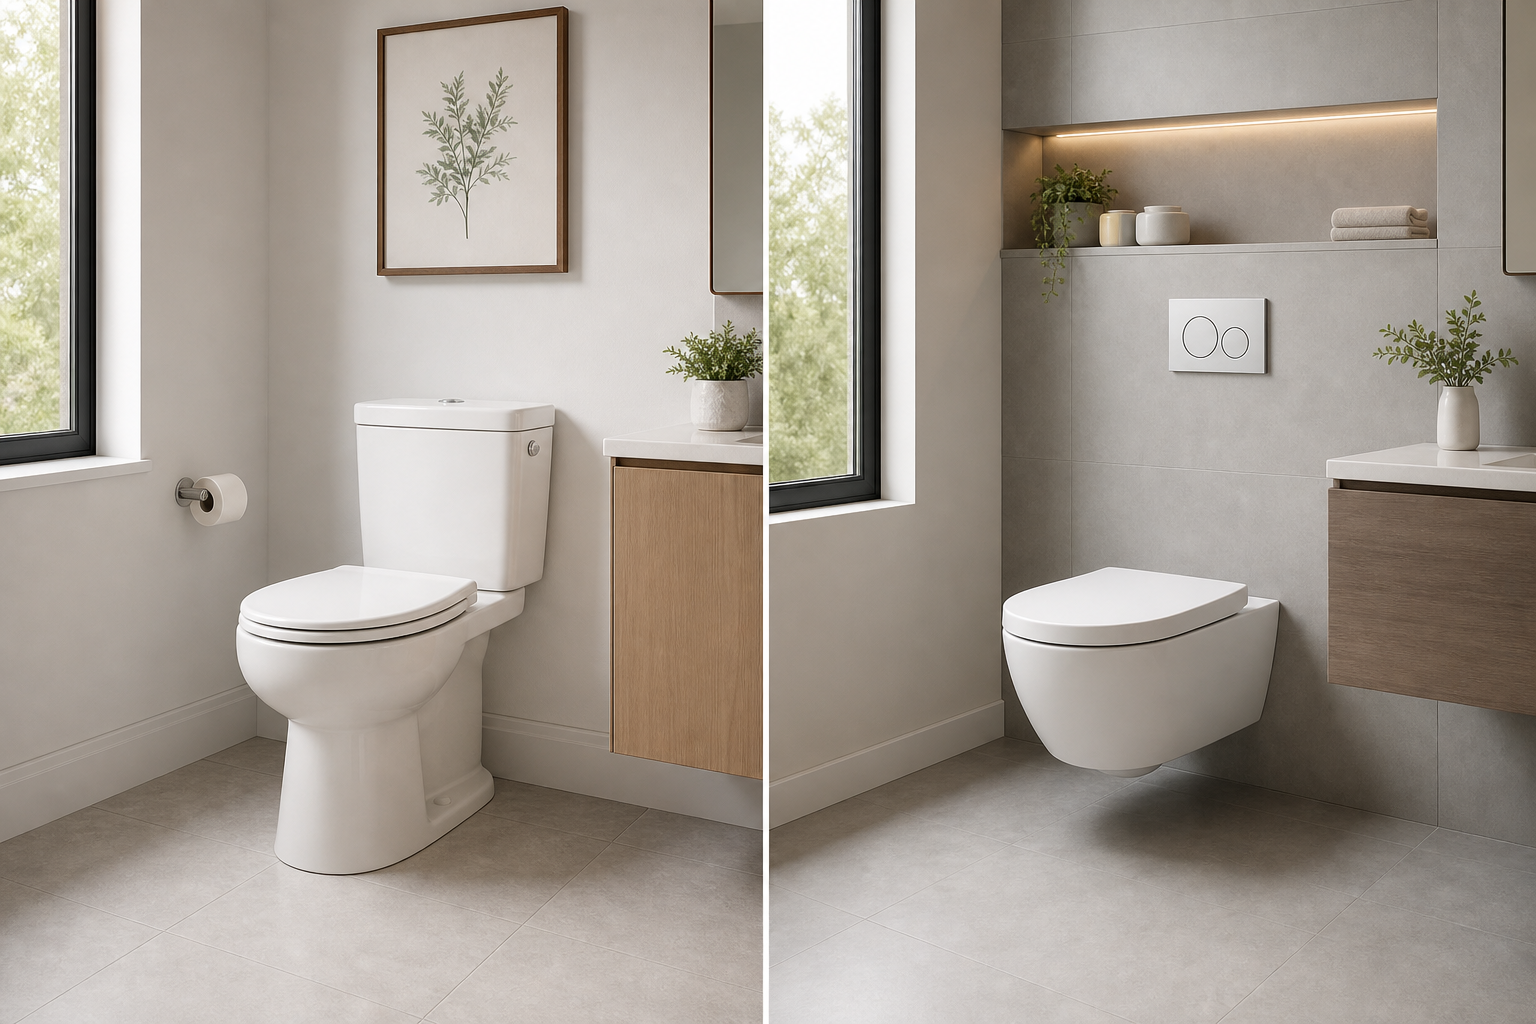
Task lighting at the vanity is the most technically demanding layer to get right because the placement requirements are counterintuitive.
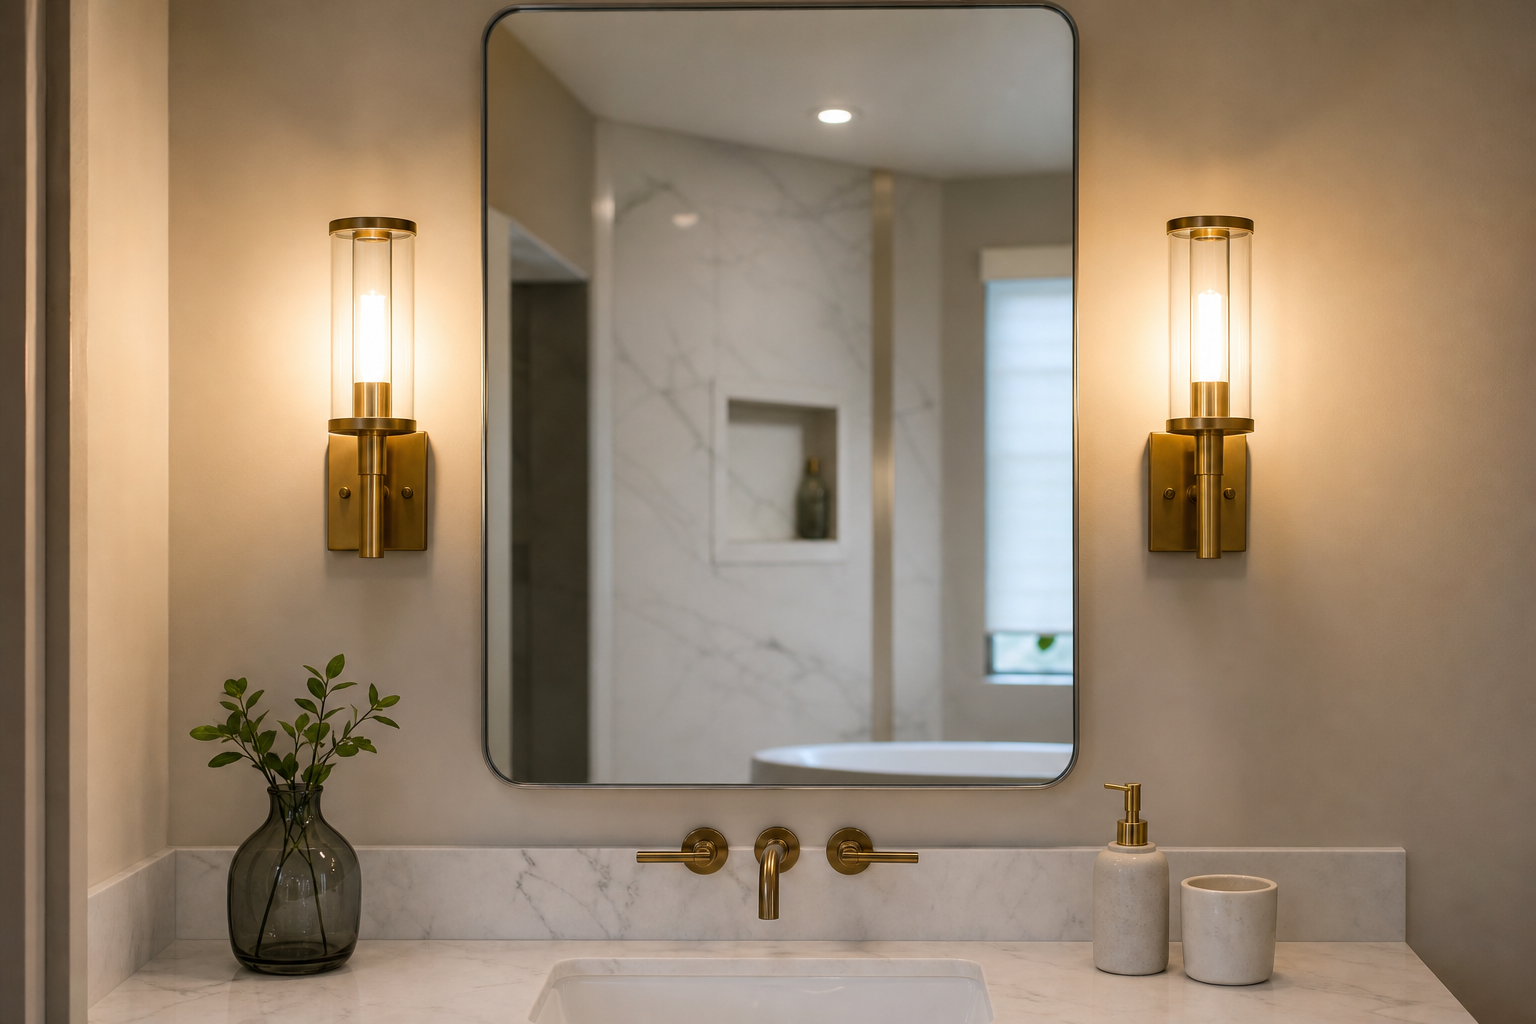
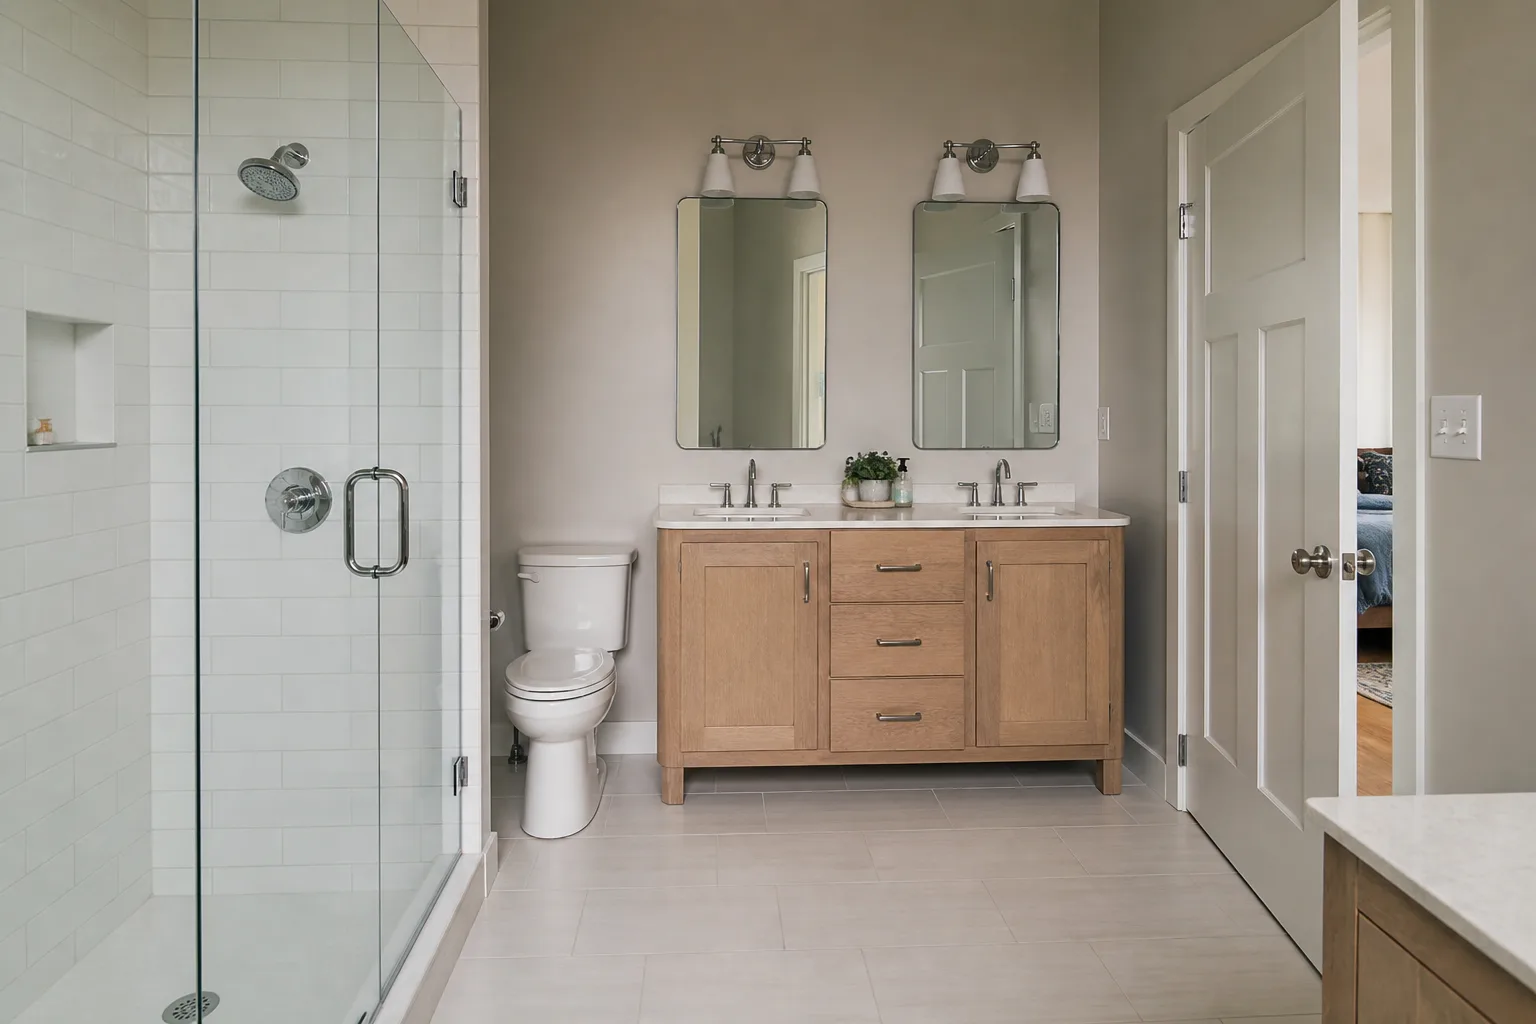
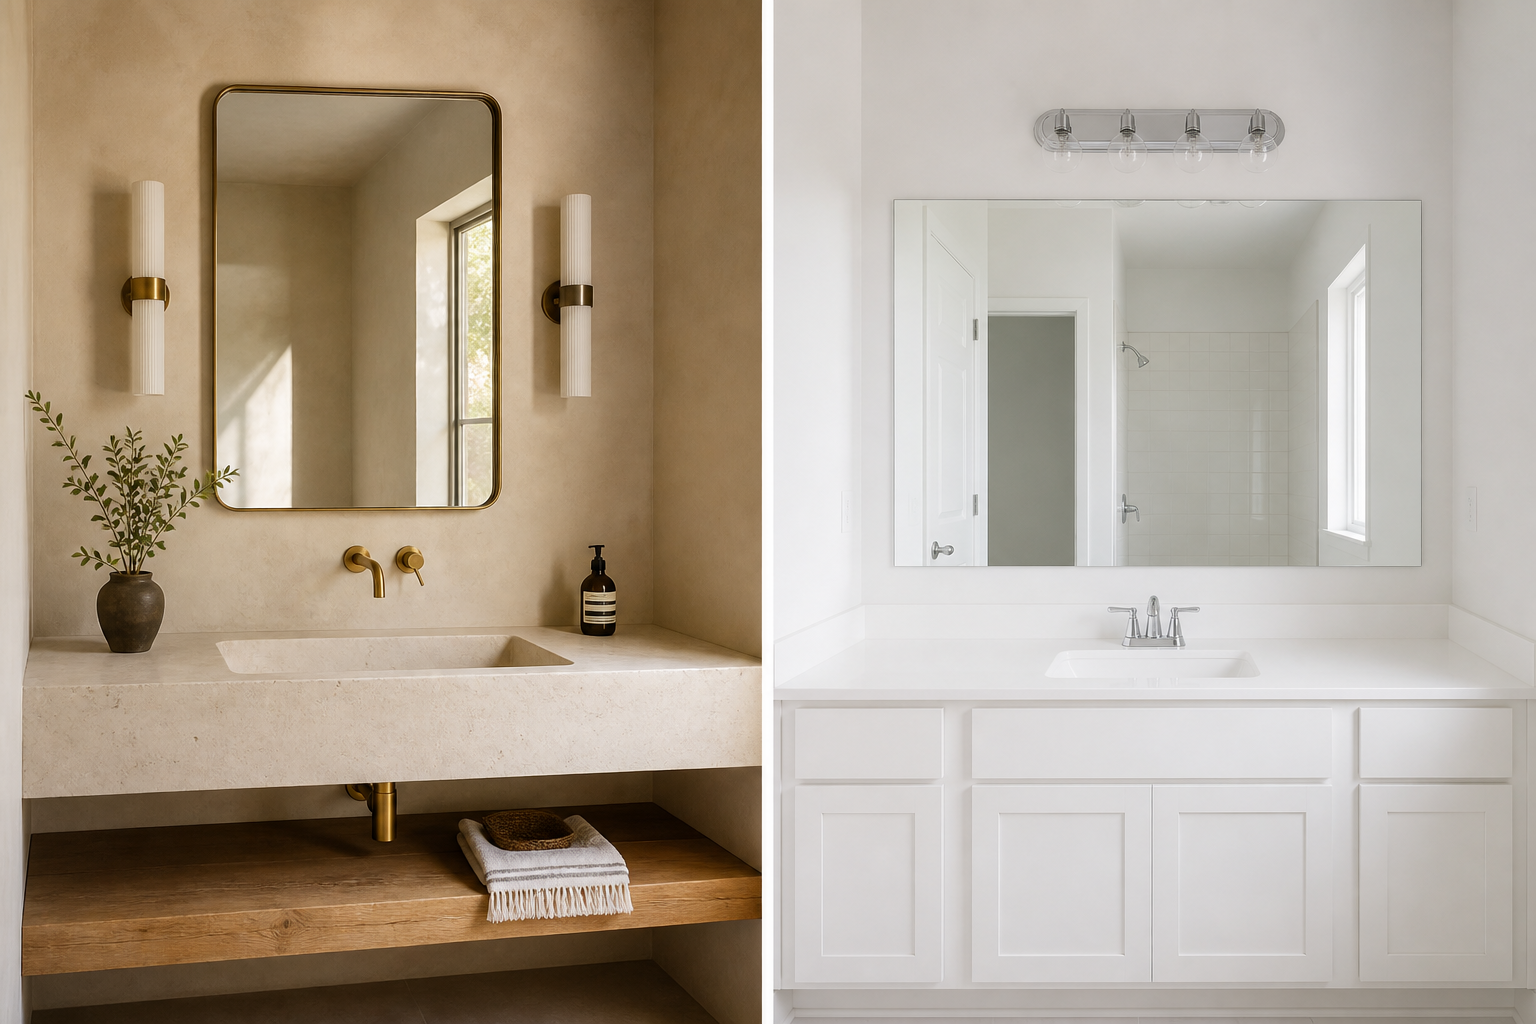
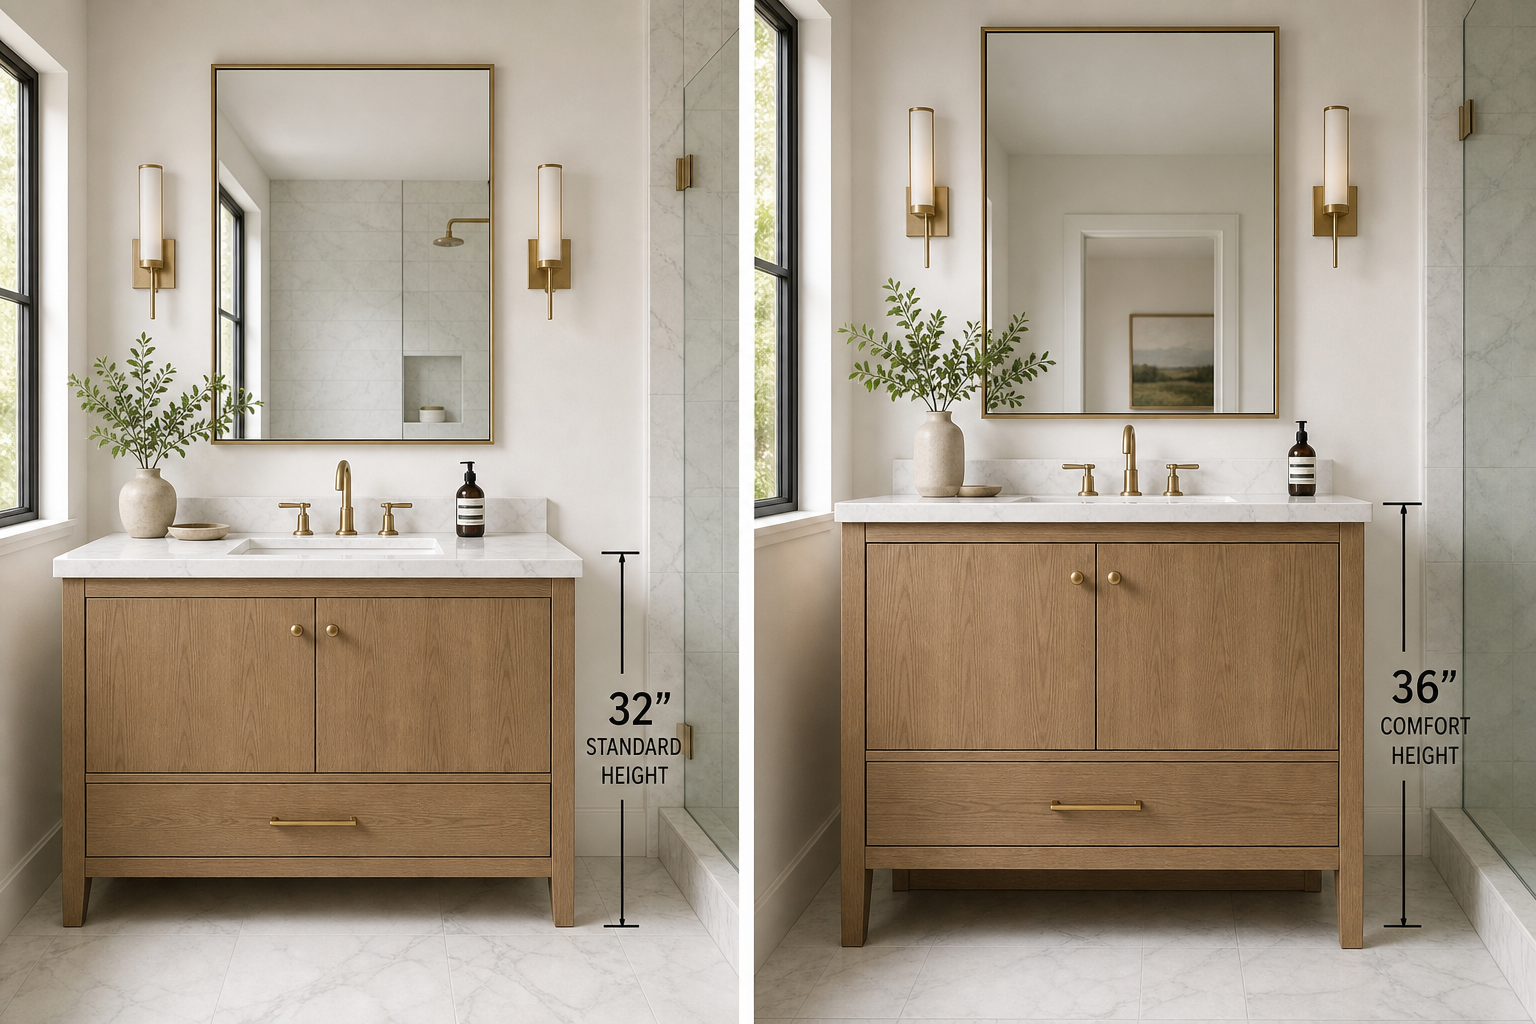
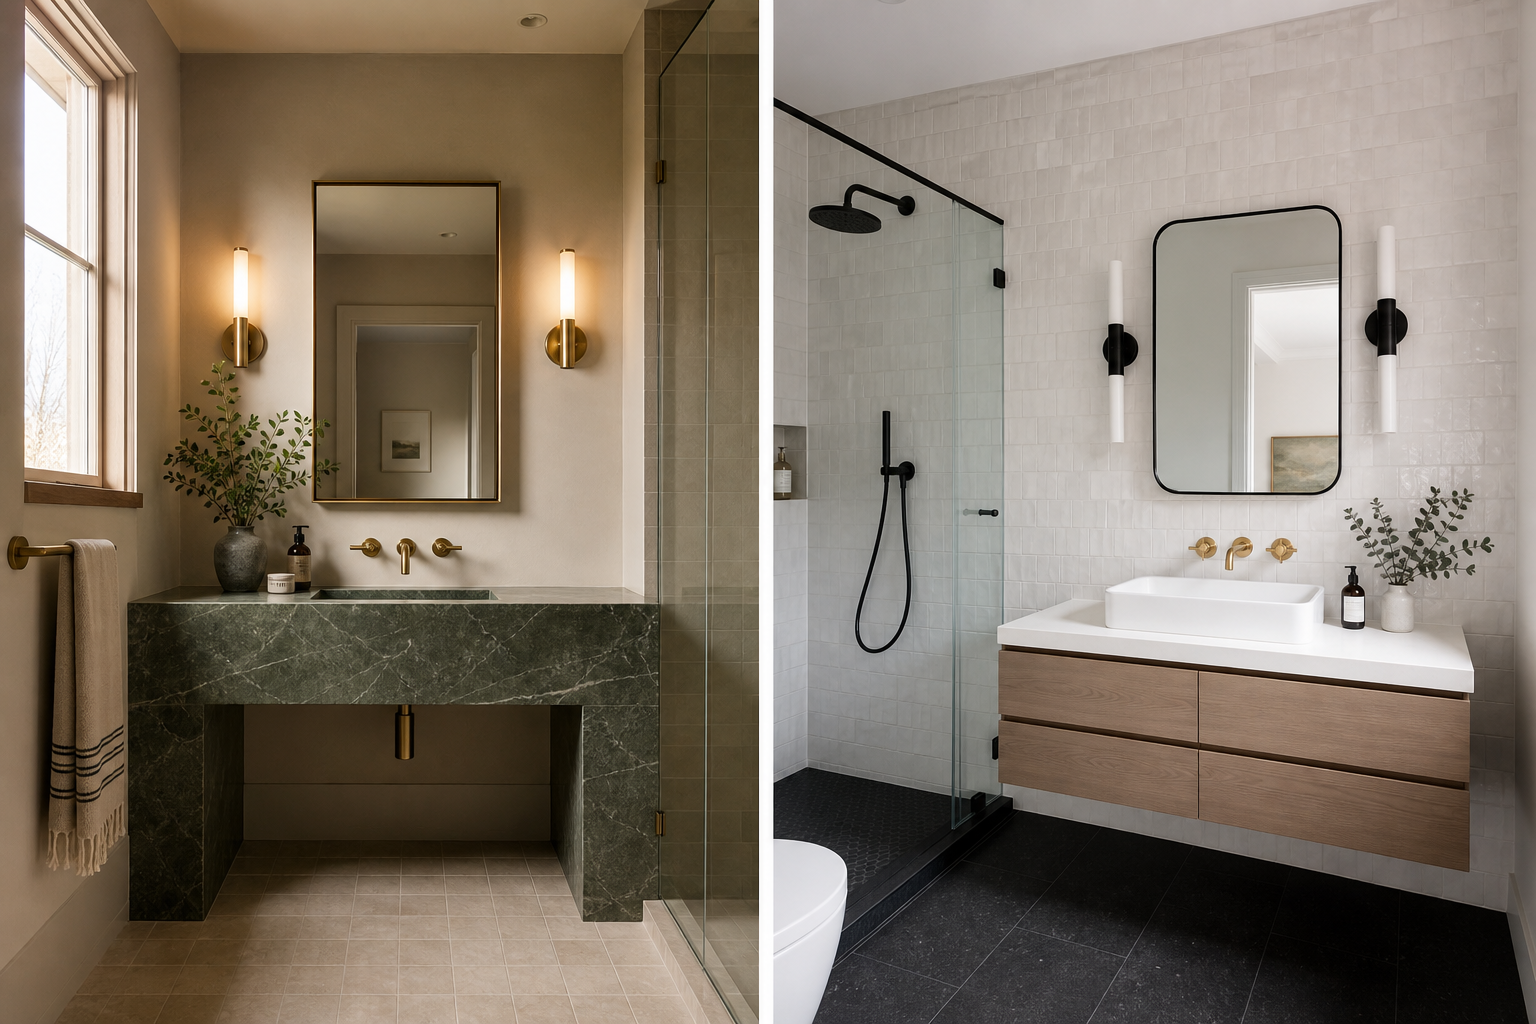
Most vanity lights are mounted above the mirror. This is standard practice and, in most installations, wrong for actual grooming. A light source mounted directly above the face casts shadows downward into the eye sockets and under the nose and chin. The effect is familiar from overhead theatrical lighting: faces look tired, complex, difficult to read accurately. It is the lighting condition least suited to tasks that require seeing the face clearly.
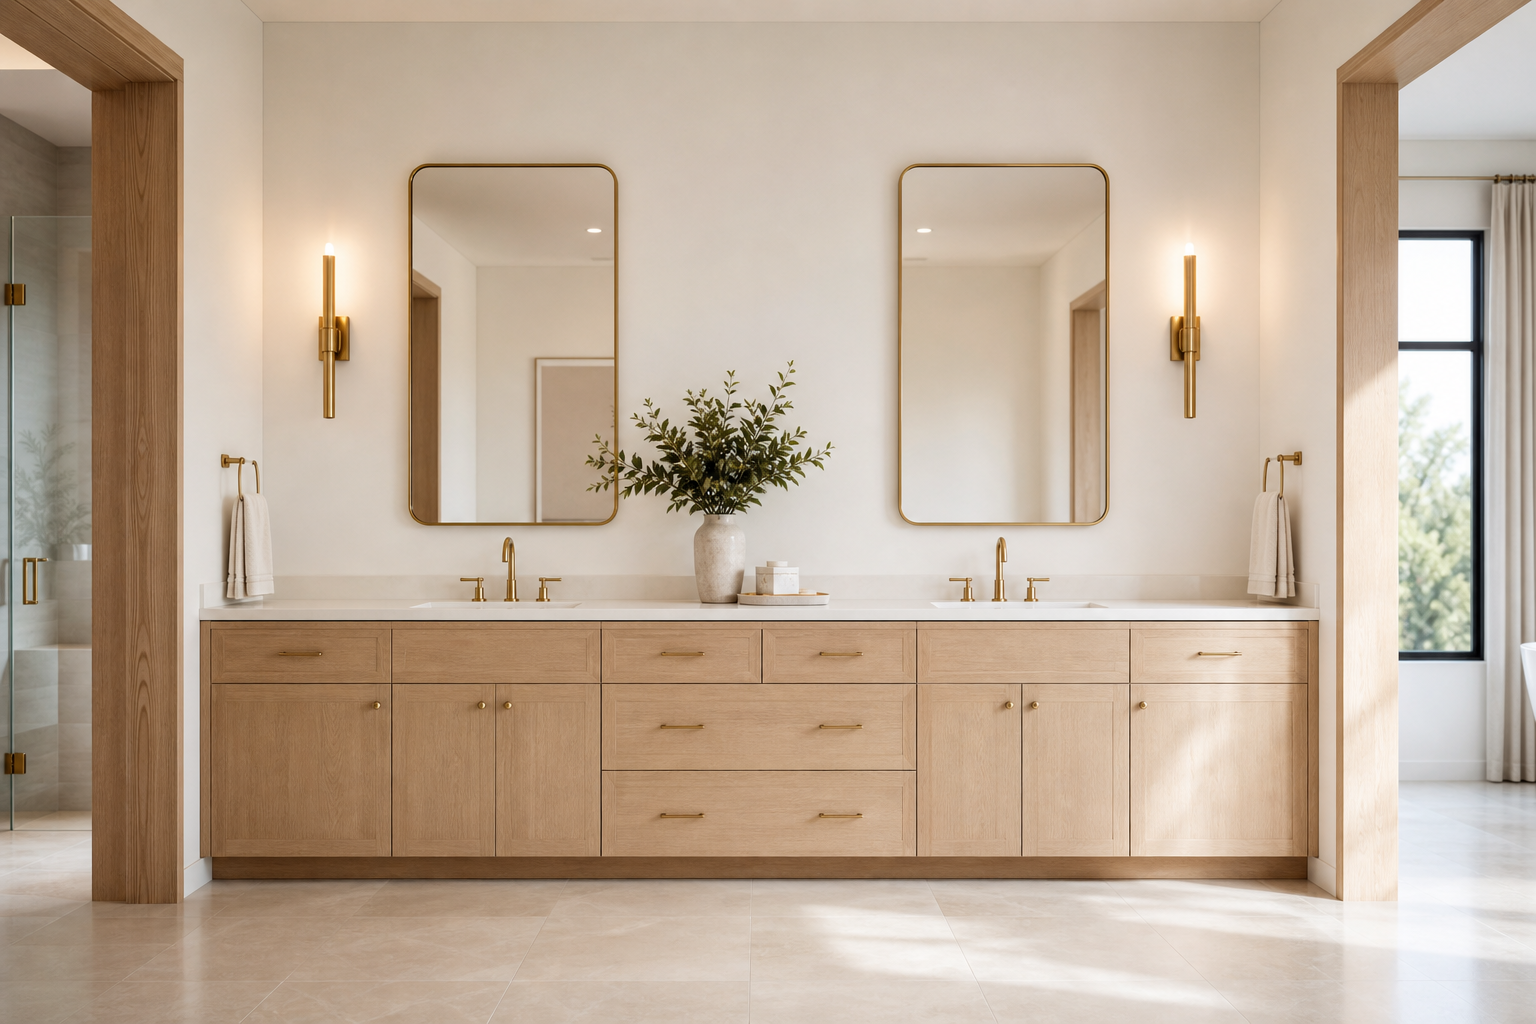
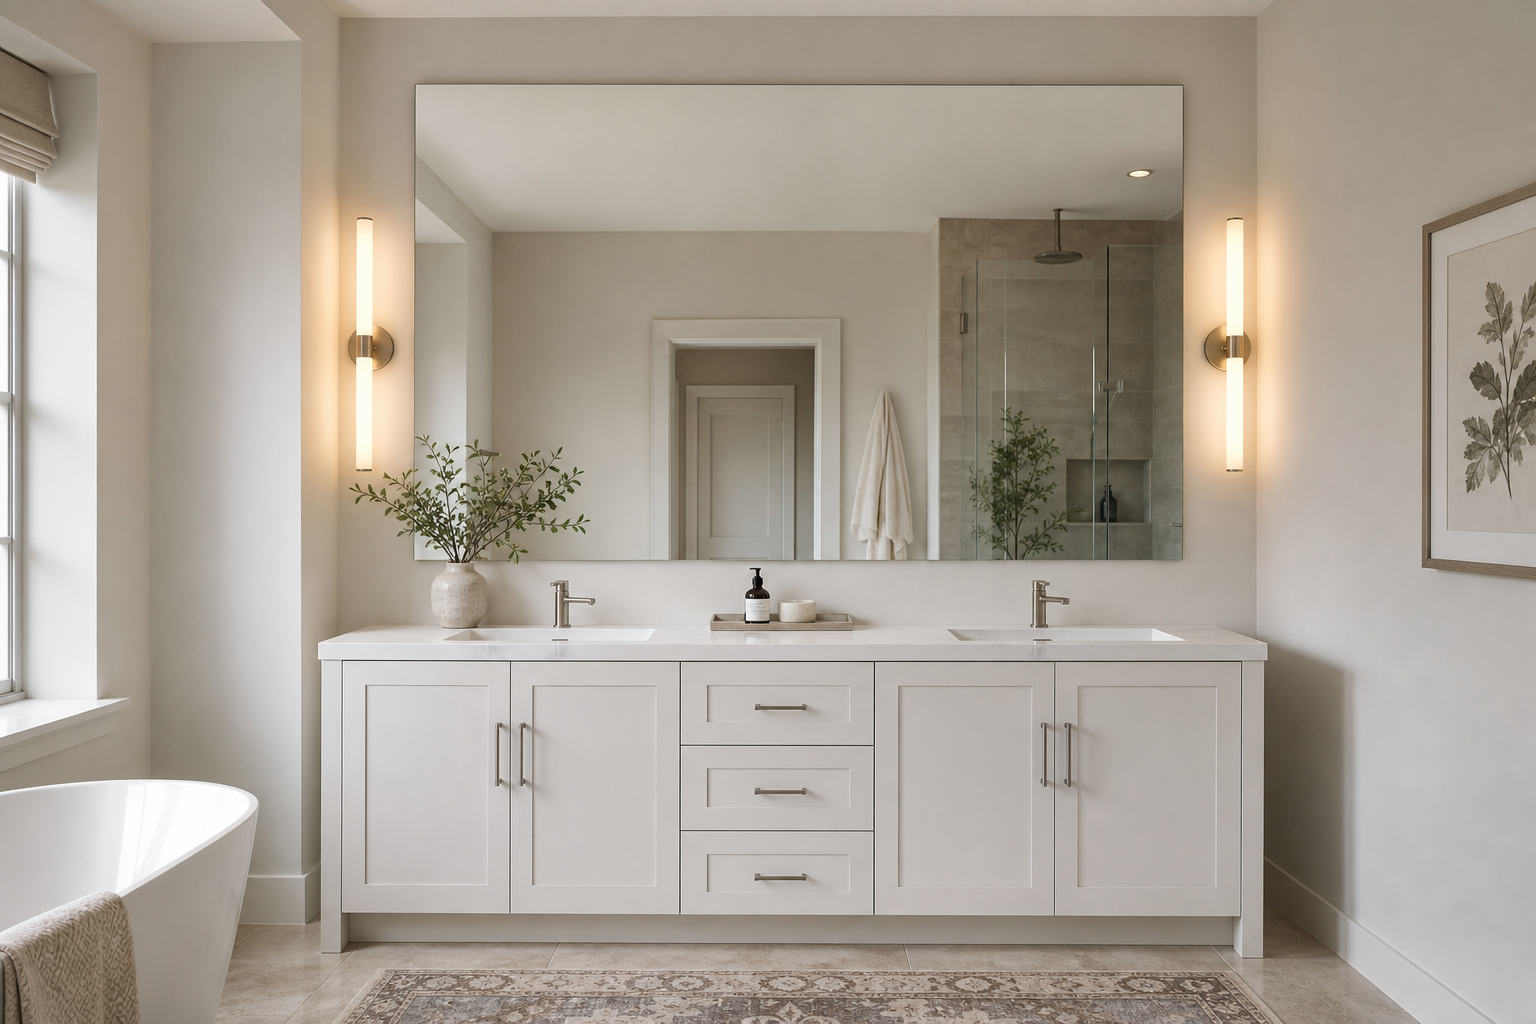
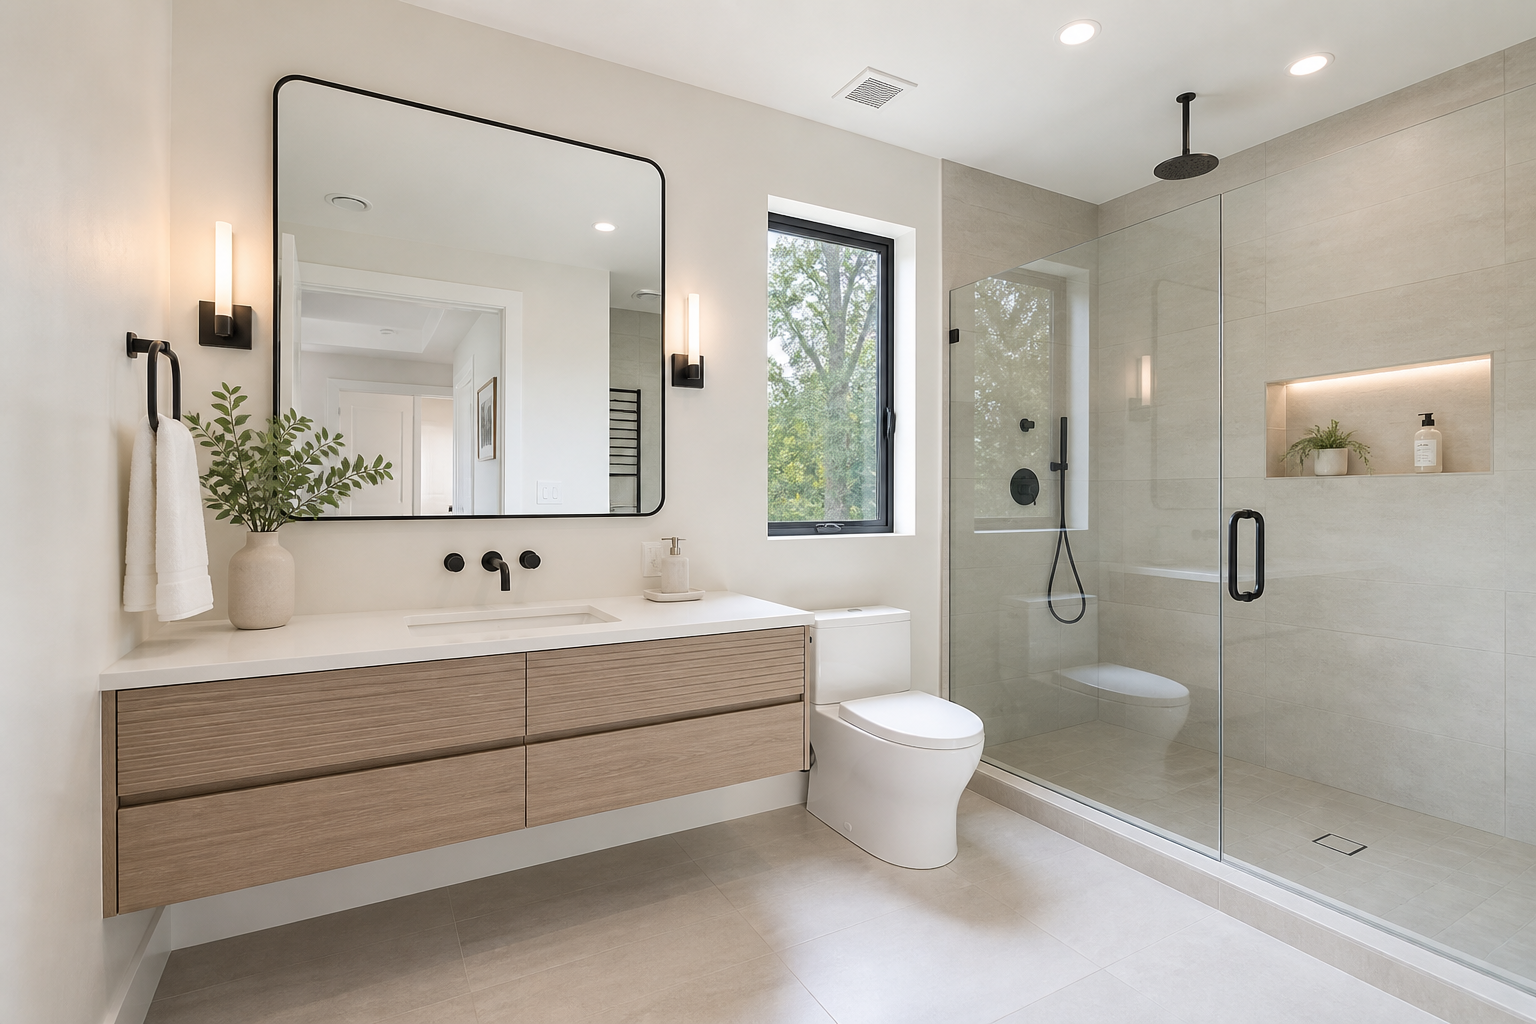
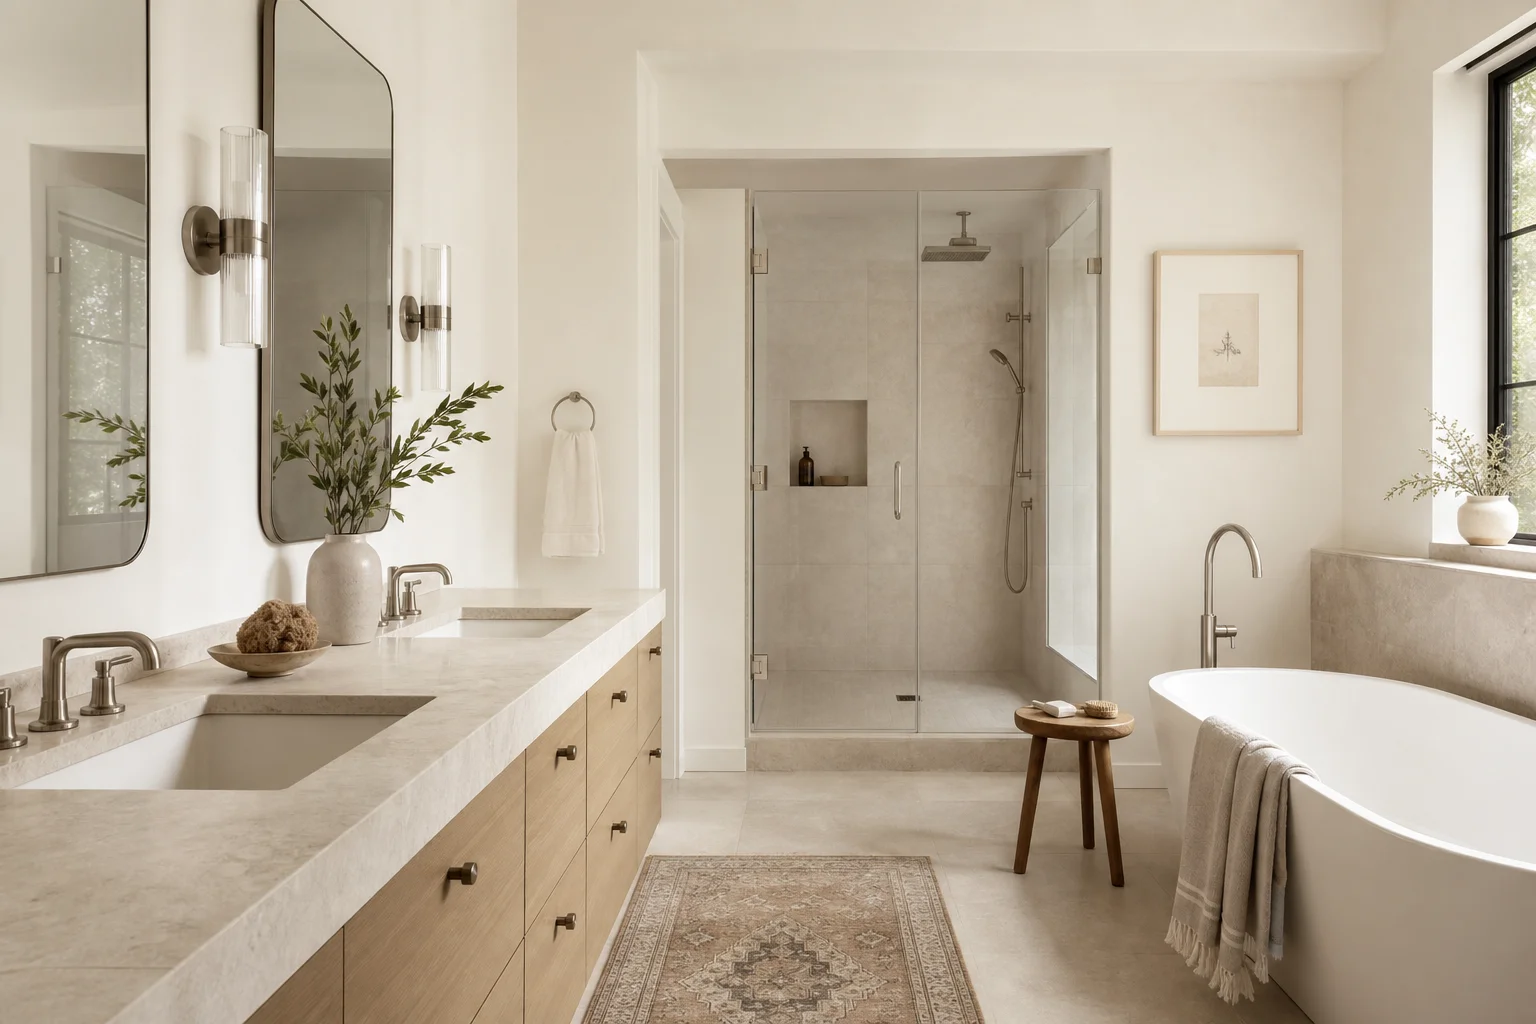
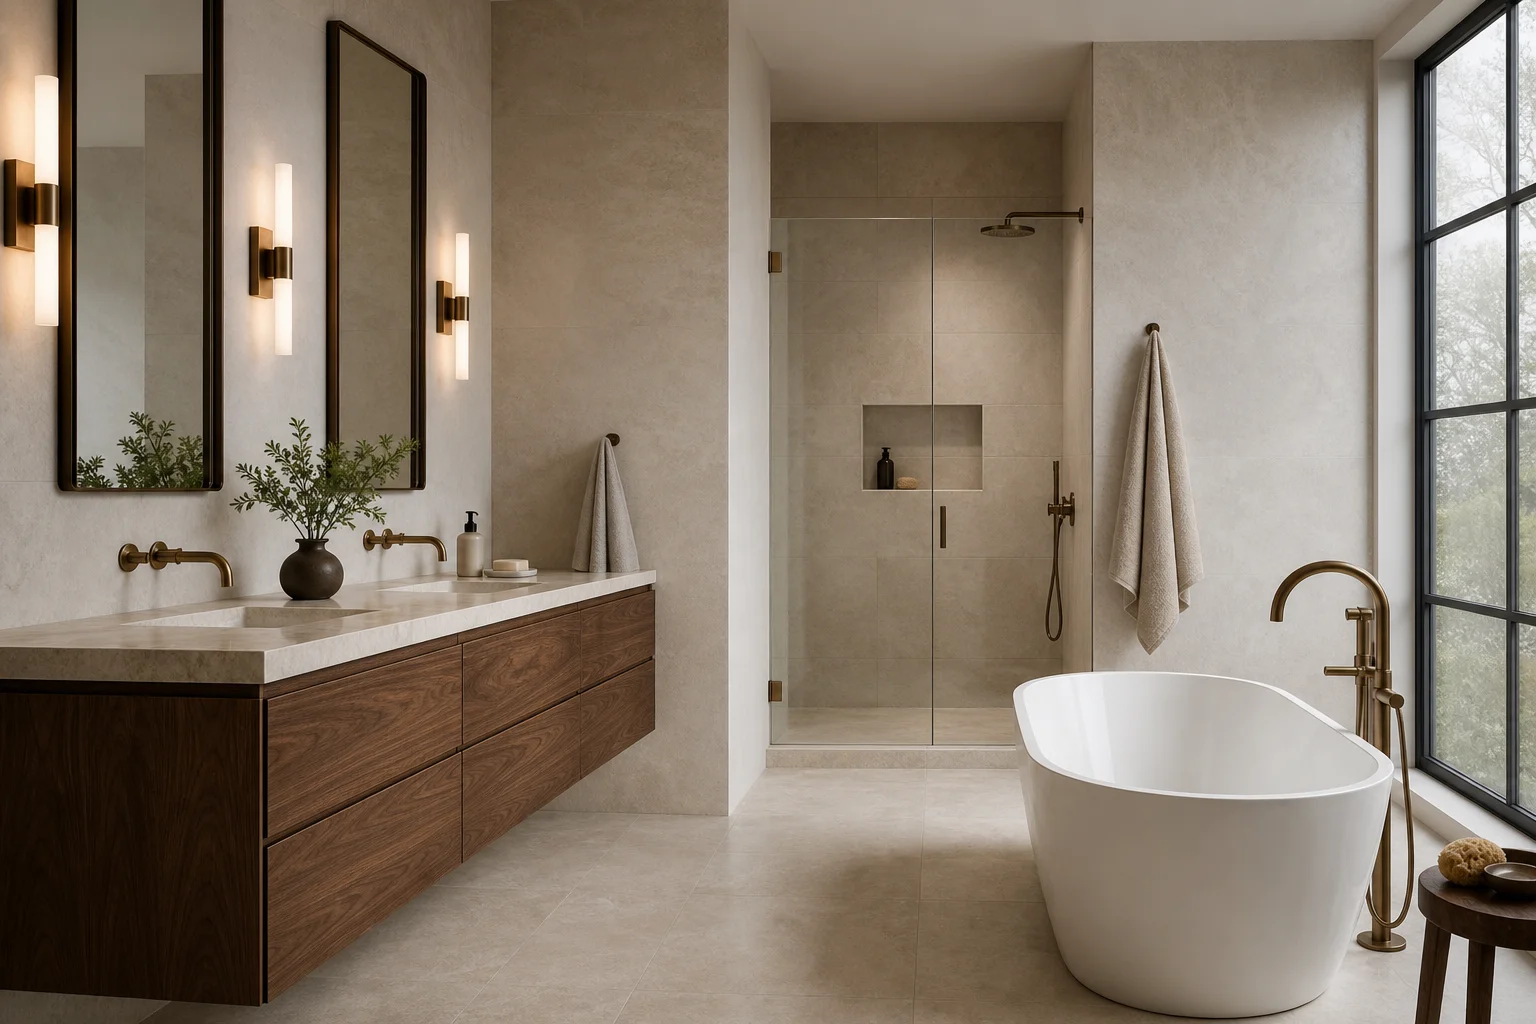
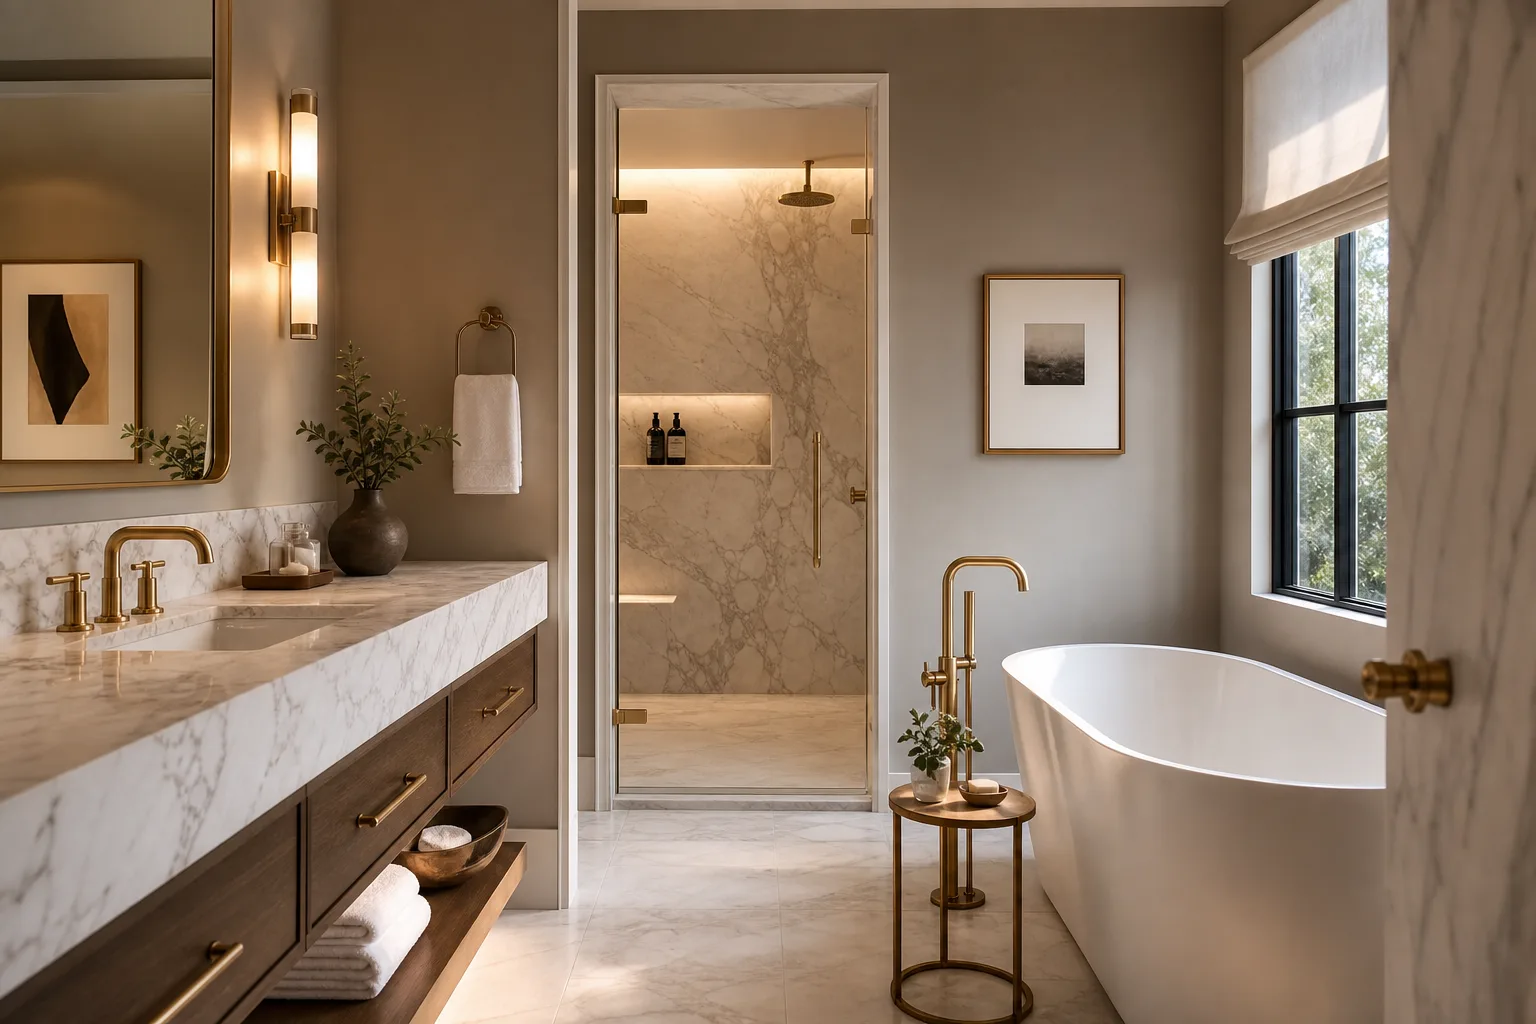
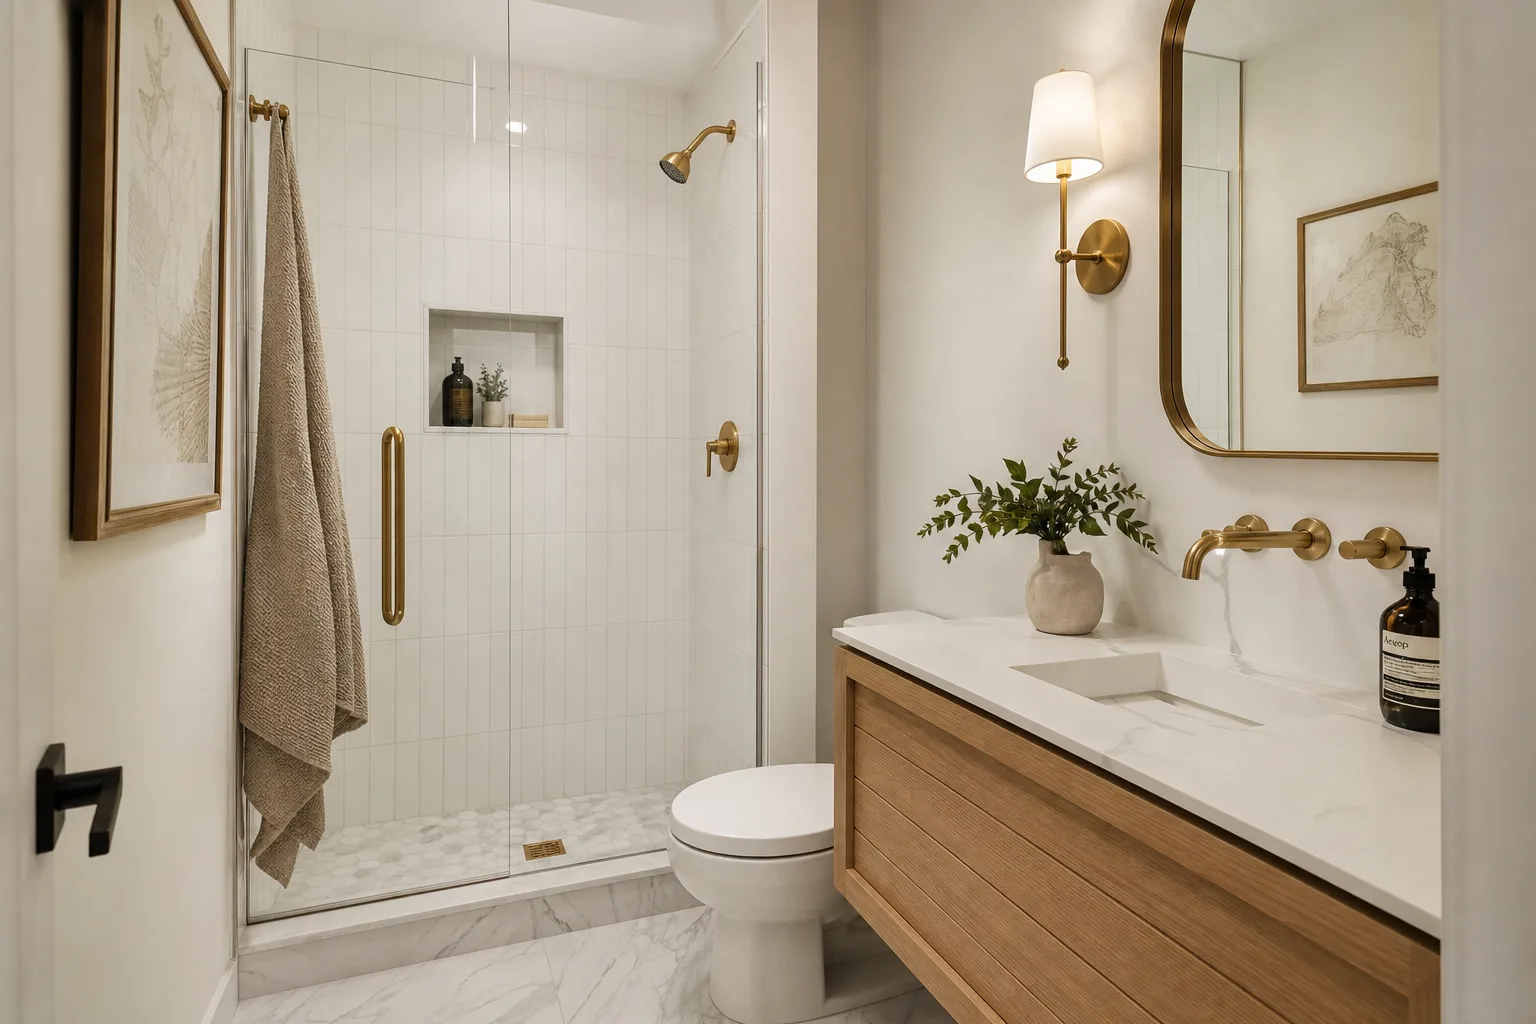
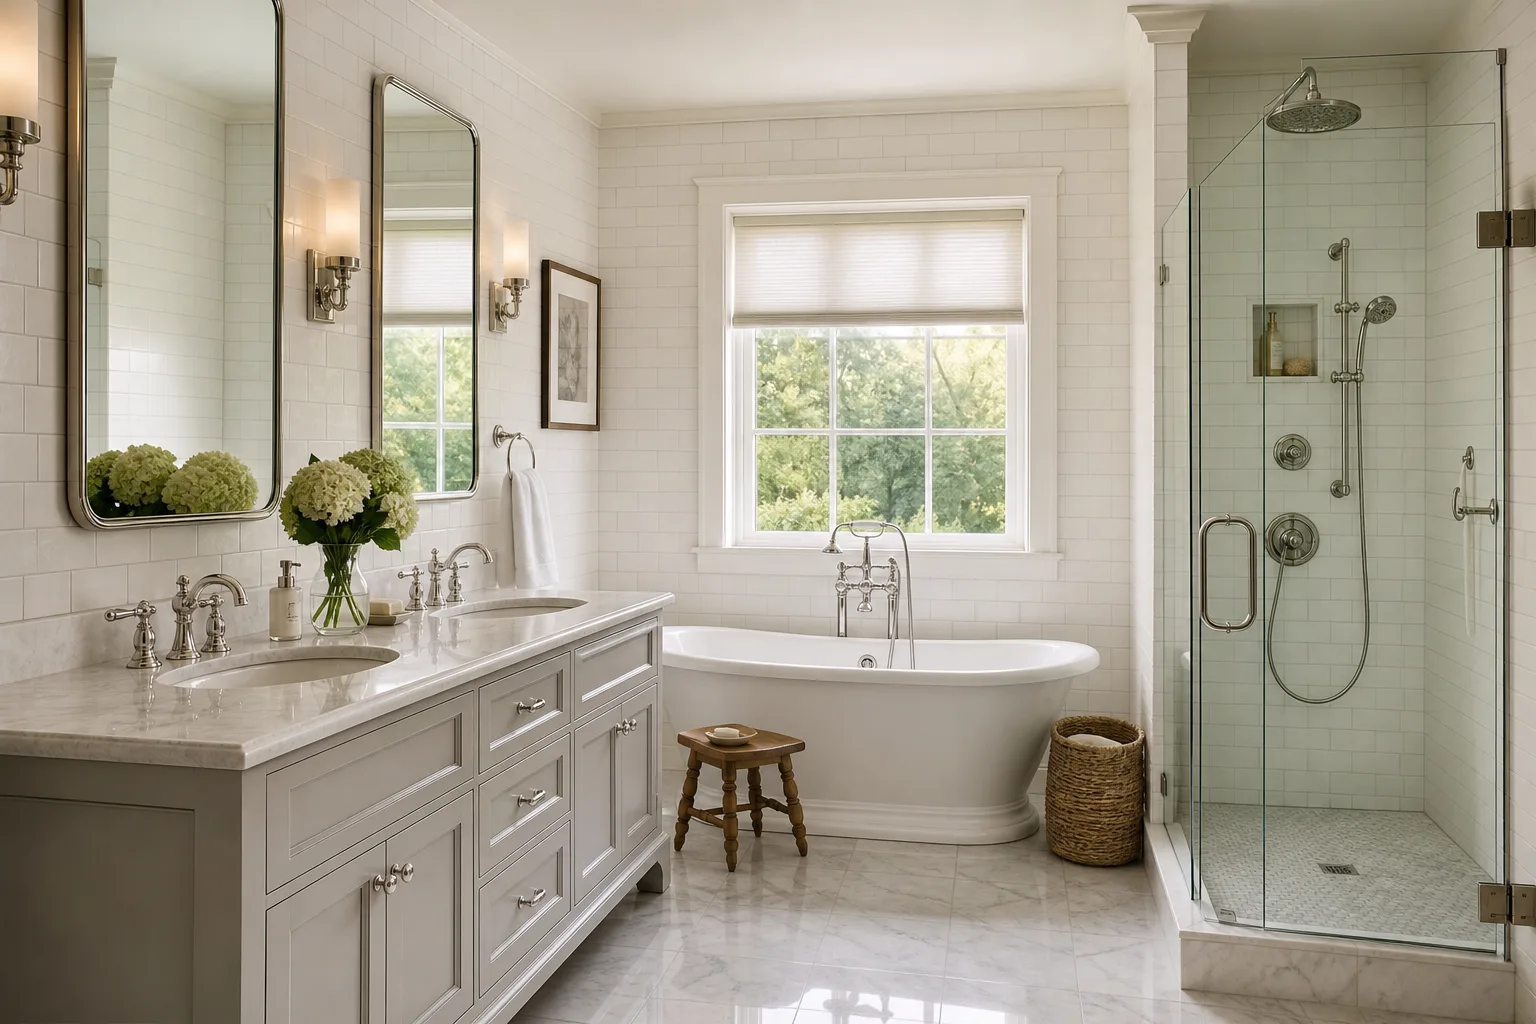
The correct placement for task lighting at a vanity is at face height, on each side of the mirror, not above it. Side-mounted sconces at approximately 60 to 65 inches from the floor deliver light horizontally across the face, eliminating the downward shadow cast and producing even, accurate illumination. Where sconces are installed on both sides, they also minimize the single-source directionality that creates asymmetric shadows under heavy ridge lines.
Where a side-mounted configuration is not architecturally possible, the above-mirror fixture should be centered carefully and positioned to deliver light at the face, not onto the top of the head. Lower installation height and a longer fixture that spreads the source across more horizontal distance both help. A fixture mounted at 79 to 80 inches above the floor, centered above the mirror, and spanning most of the mirror's width distributes light more effectively than a compact source mounted at 84 inches.
The practical variable is the human height range using the mirror. A household with one adult at 5'4" and one at 6'2" will get substantially different light from a single fixed source. Side-mounted sconces at face height solve this by delivering horizontal illumination from a position that is less sensitive to height variation.
The NKBA recommends a minimum of 150 watts of incandescent-equivalent illumination for vanity task lighting in a bathroom of standard size, split across sources on both sides of the mirror where possible. The actual wattage matters less than the foot-candle delivery at the face, which depends on the source type, the fixture efficiency, and the distance from the source to the subject.
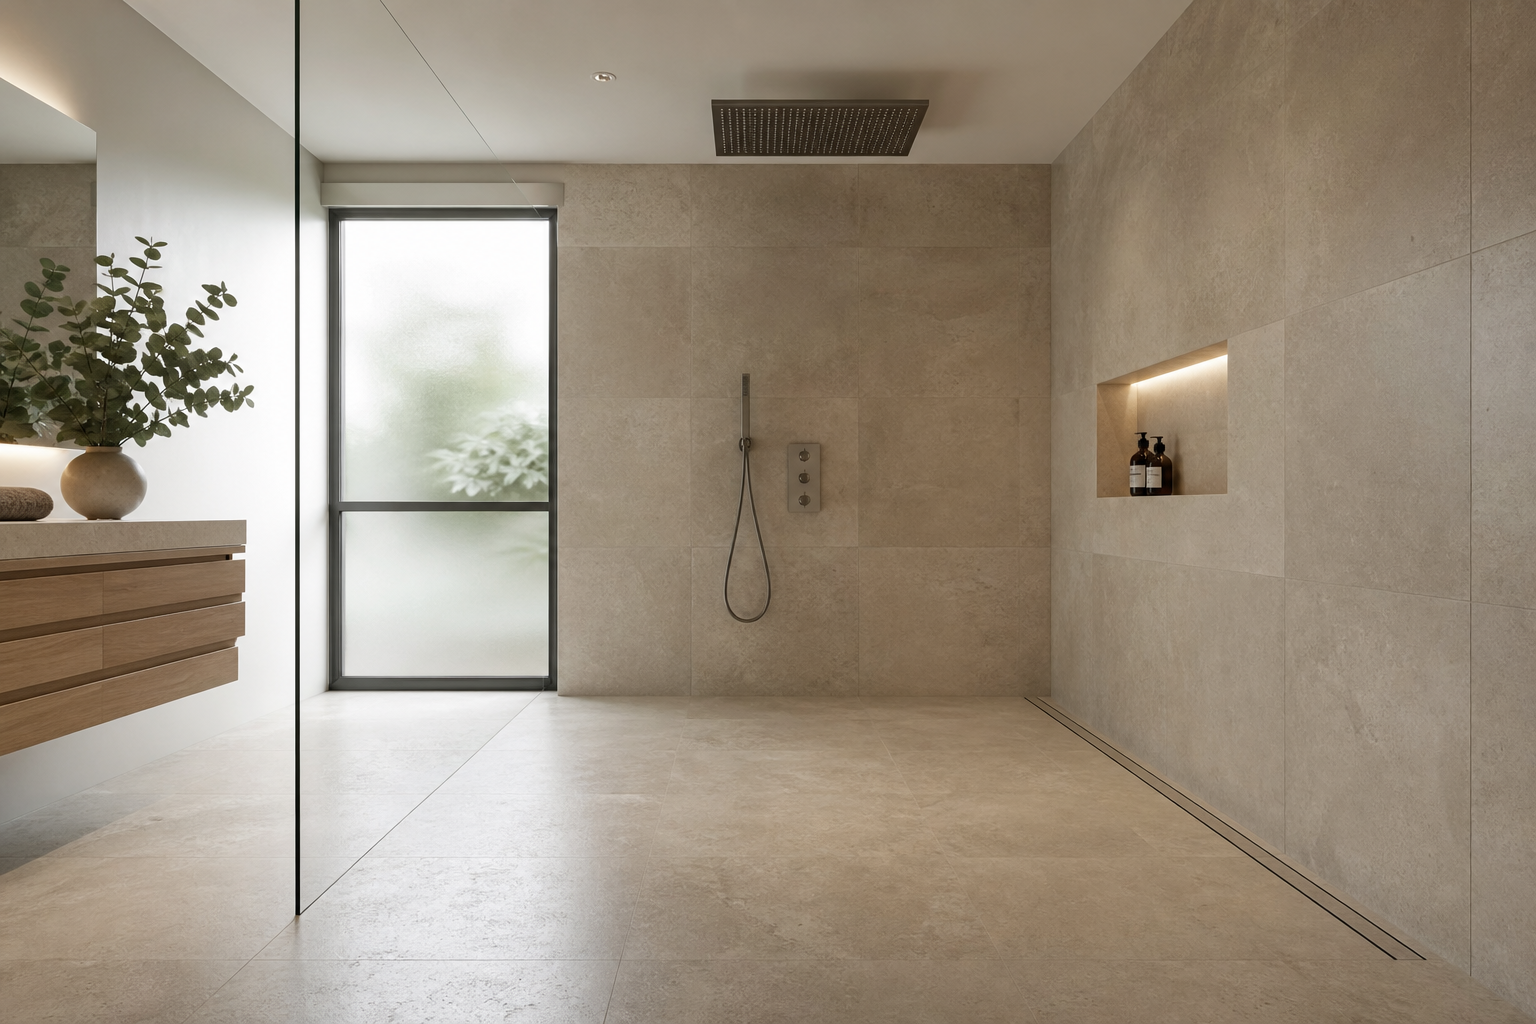
Layer Two: General Ambient Illumination
The ambient layer serves the room when the mirror is not in use. Getting dressed. Using the toilet. Moving through the room. Bathing. These activities need enough light to see safely without the focused intensity of task illumination.
In a bathroom, the most common ambient source is the same fixture that is supposed to serve as task lighting: a single overhead light. When that fixture runs both modes off one switch, the ambient mode is not really controlled. It is either on at full task intensity or off entirely.
A properly layered ambient source is independent of the task light. This is where the second switch comes in. An ambient layer can be a ceiling-mounted fixture with a diffused lens, a recessed downlight arrangement, or even a well-placed backlit mirror. The defining characteristic is that it can be turned on and off without affecting the task layer. At full brightness, both layers are on for grooming. For a bath or evening use, only the ambient layer is on, often dimmed.
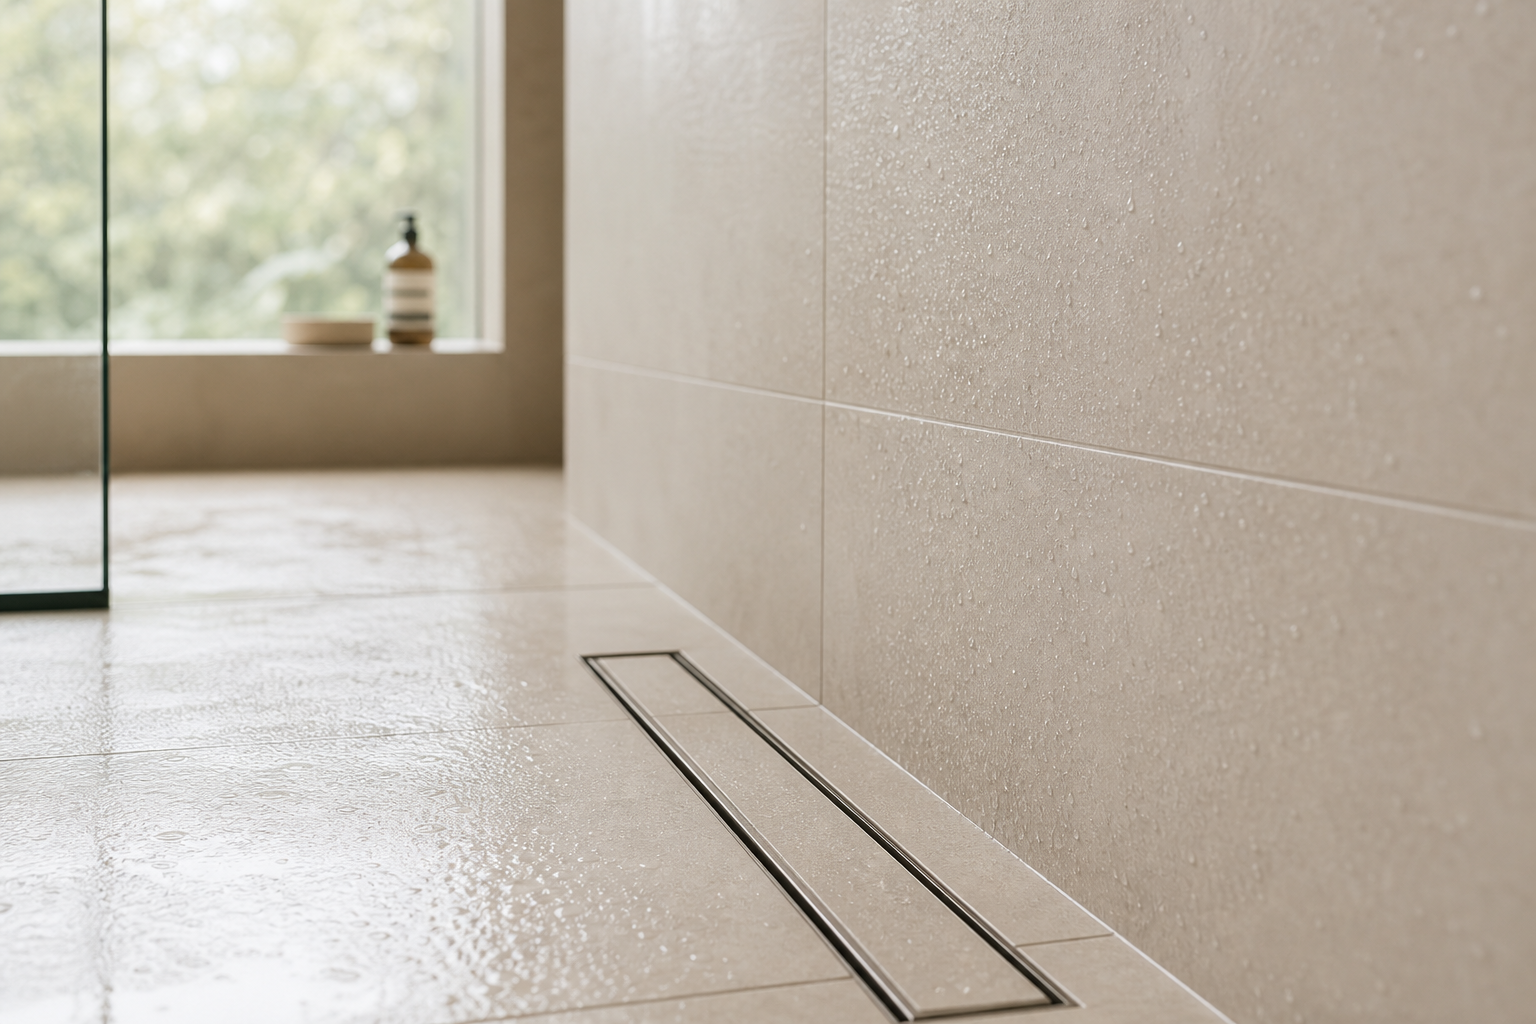
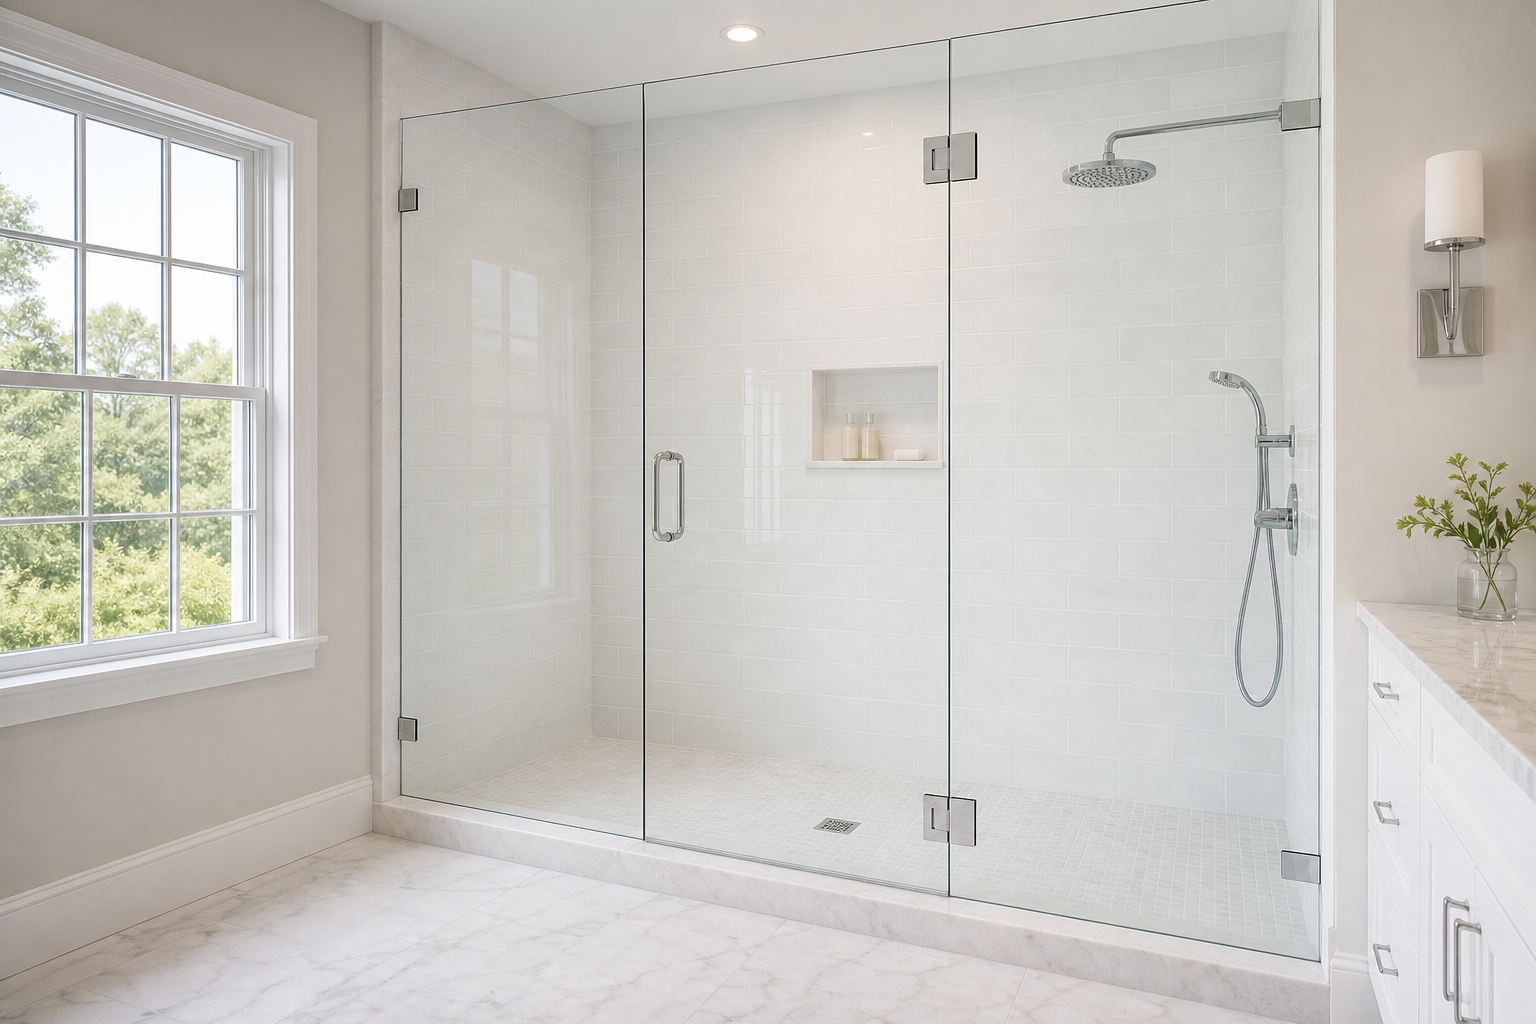
Recessed downlights are a common ambient choice in bathrooms, but they come with a placement constraint that is easy to overlook. A downlight directly over the shower or tub must be rated for wet-zone installation, not just damp-zone rated. The National Electrical Code distinguishes between wet and damp locations, and a fixture installed inside a shower enclosure or within the spray zone of a tub has specific listing requirements that most residential downlights do not meet. The specification needs to happen before the electrician installs the fixture, not after.
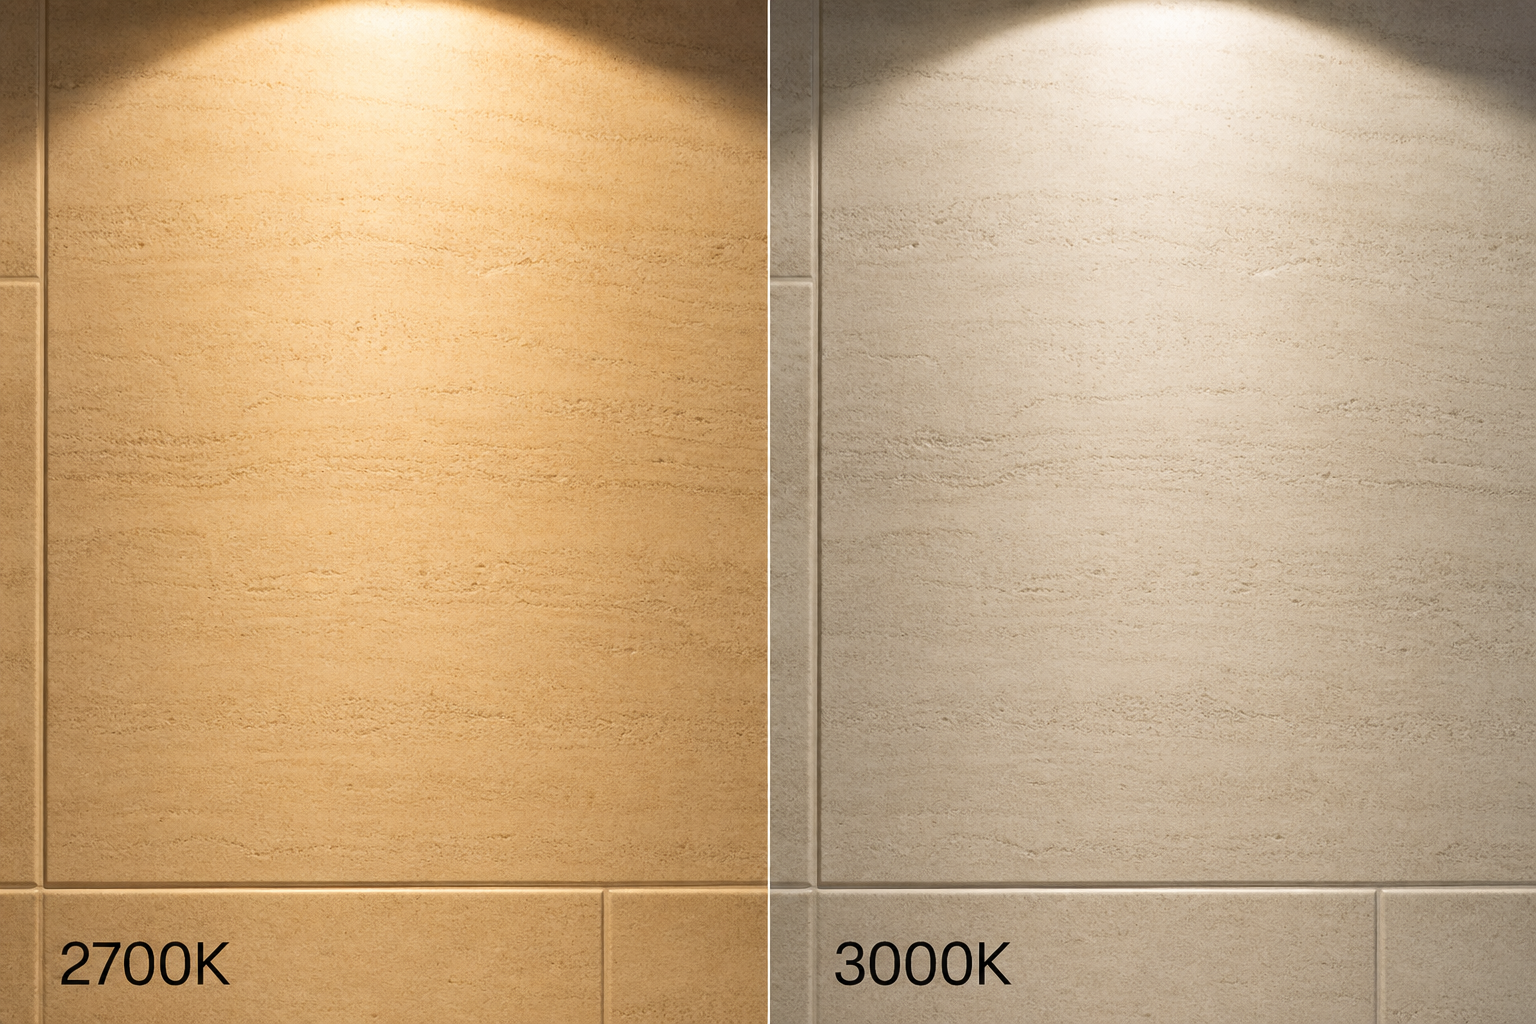
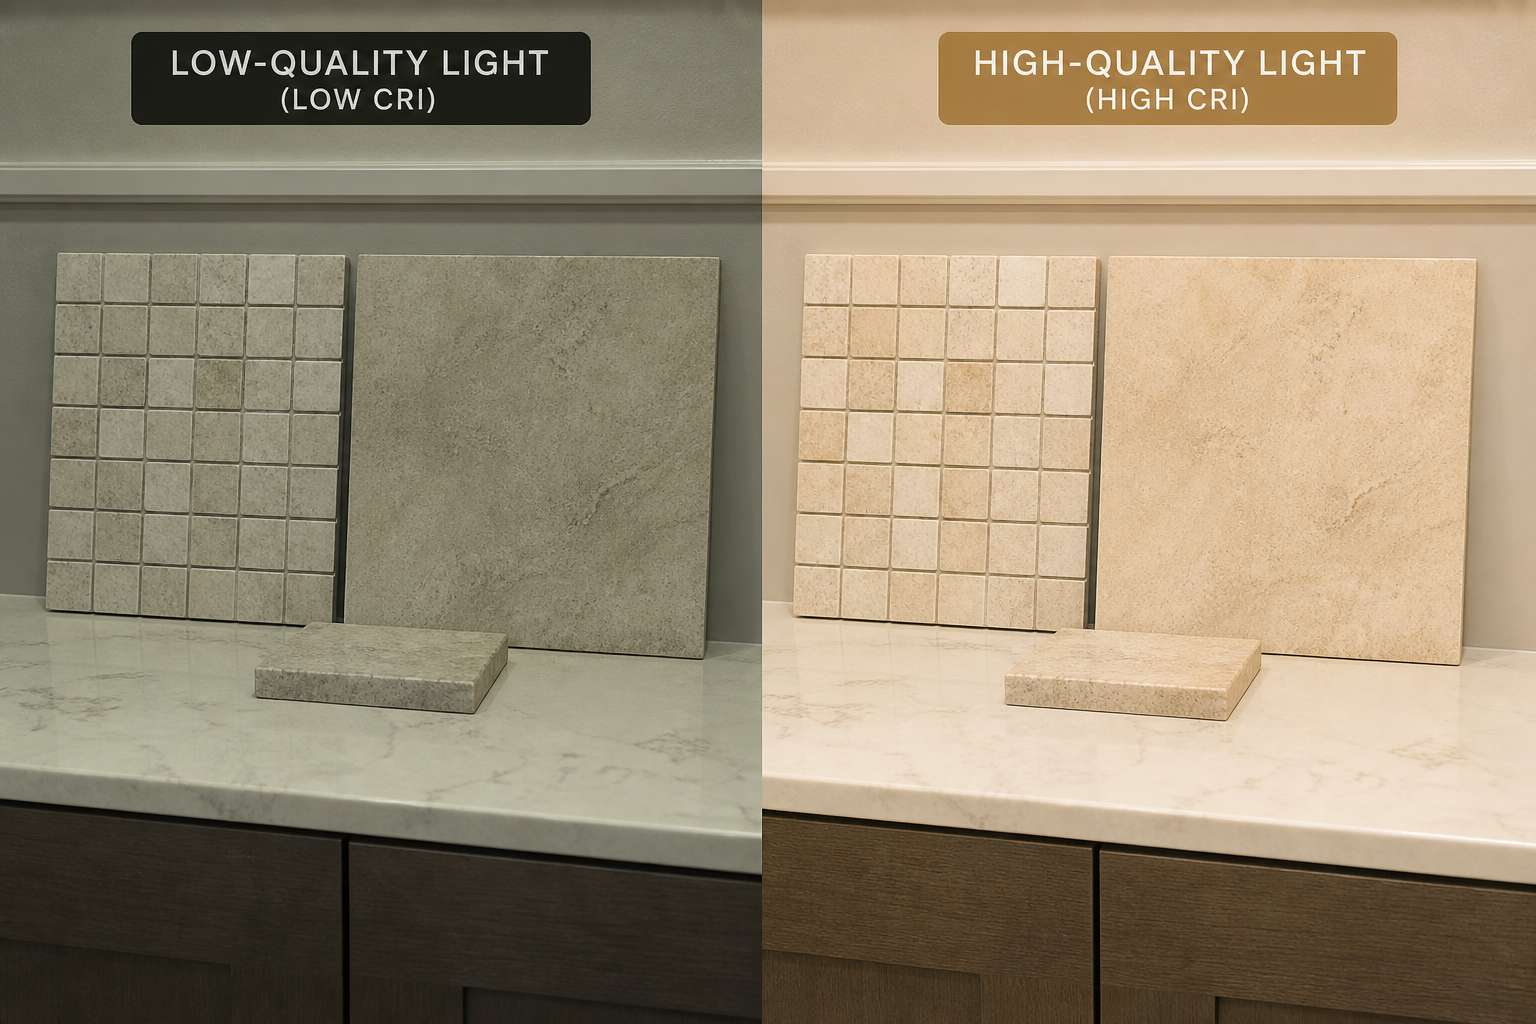
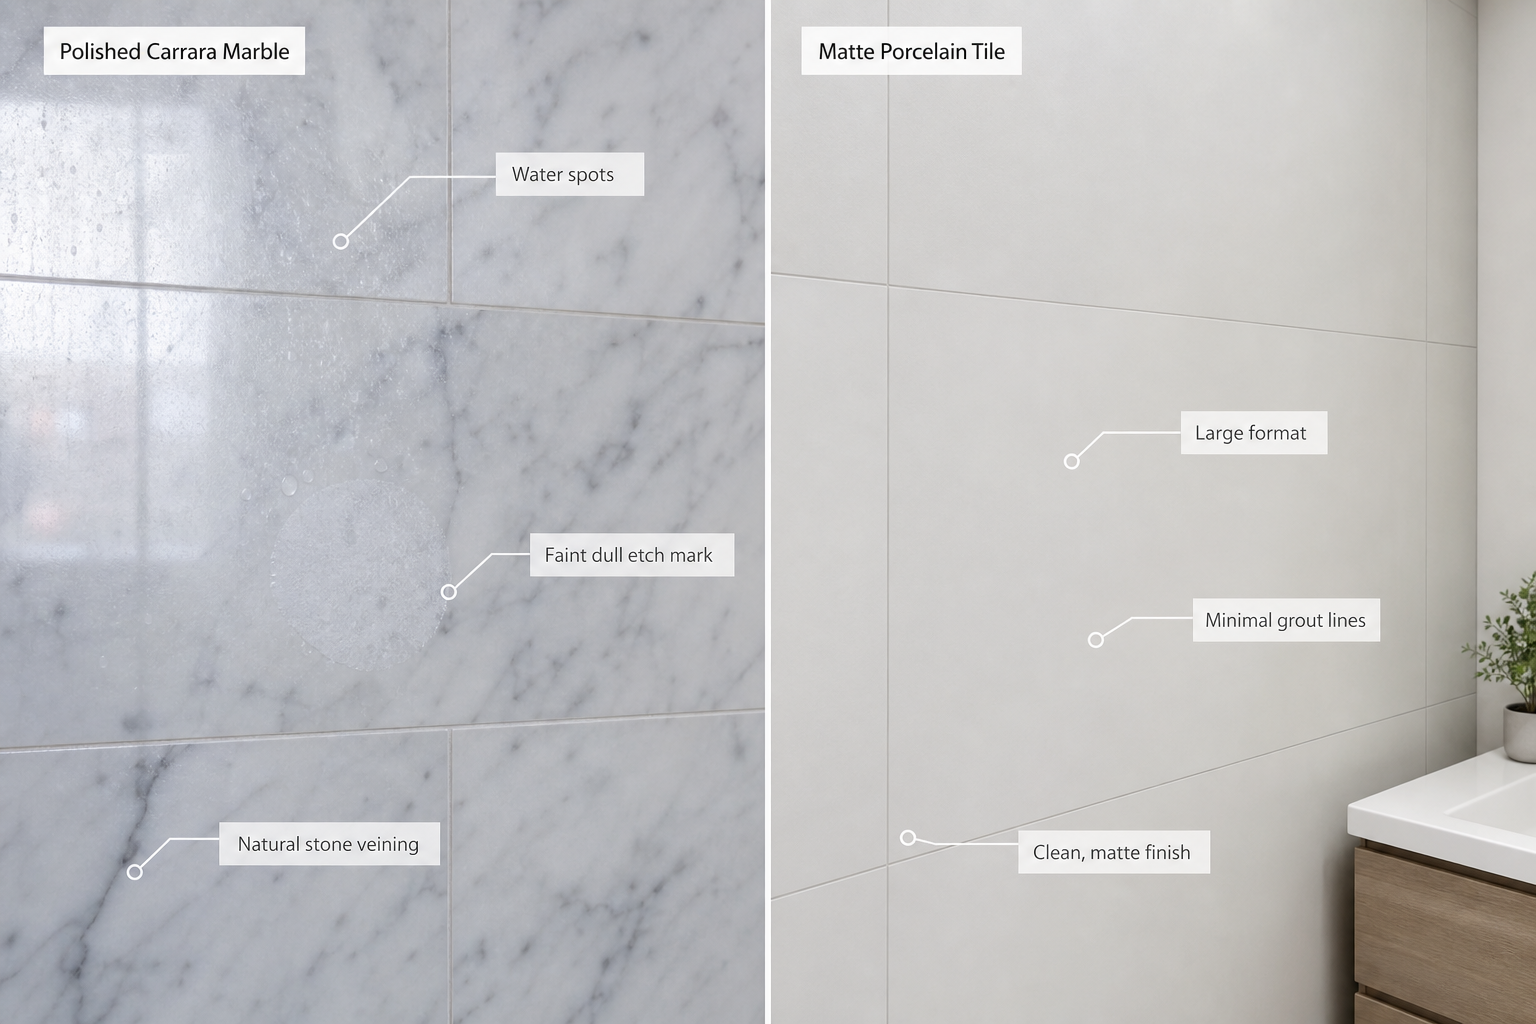
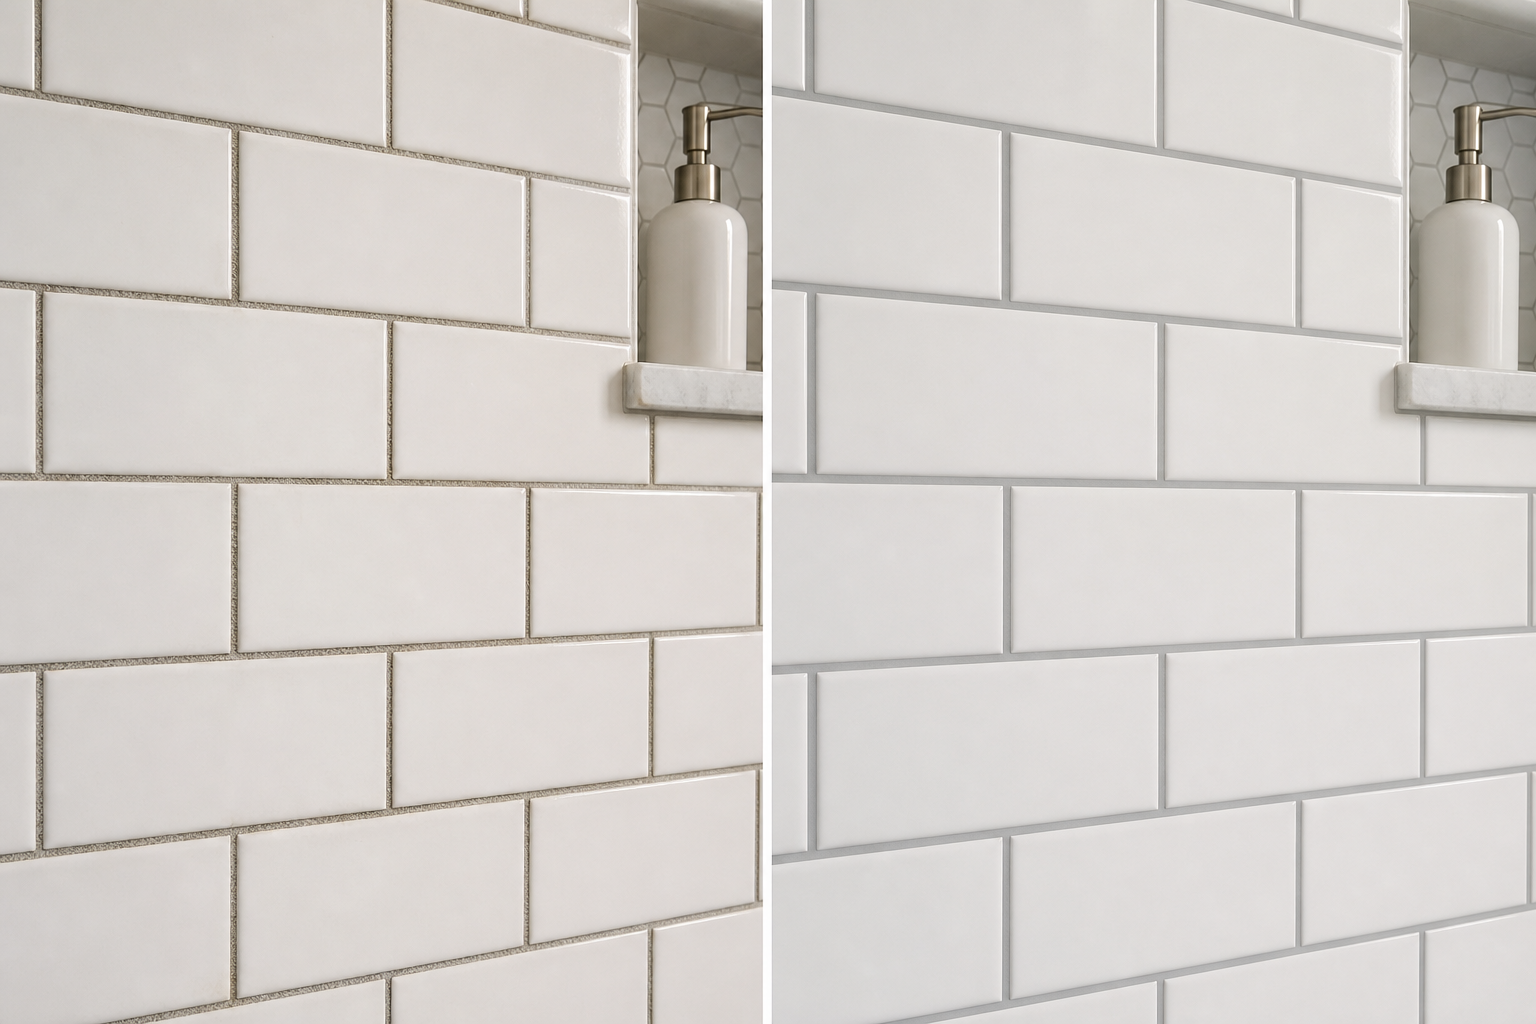
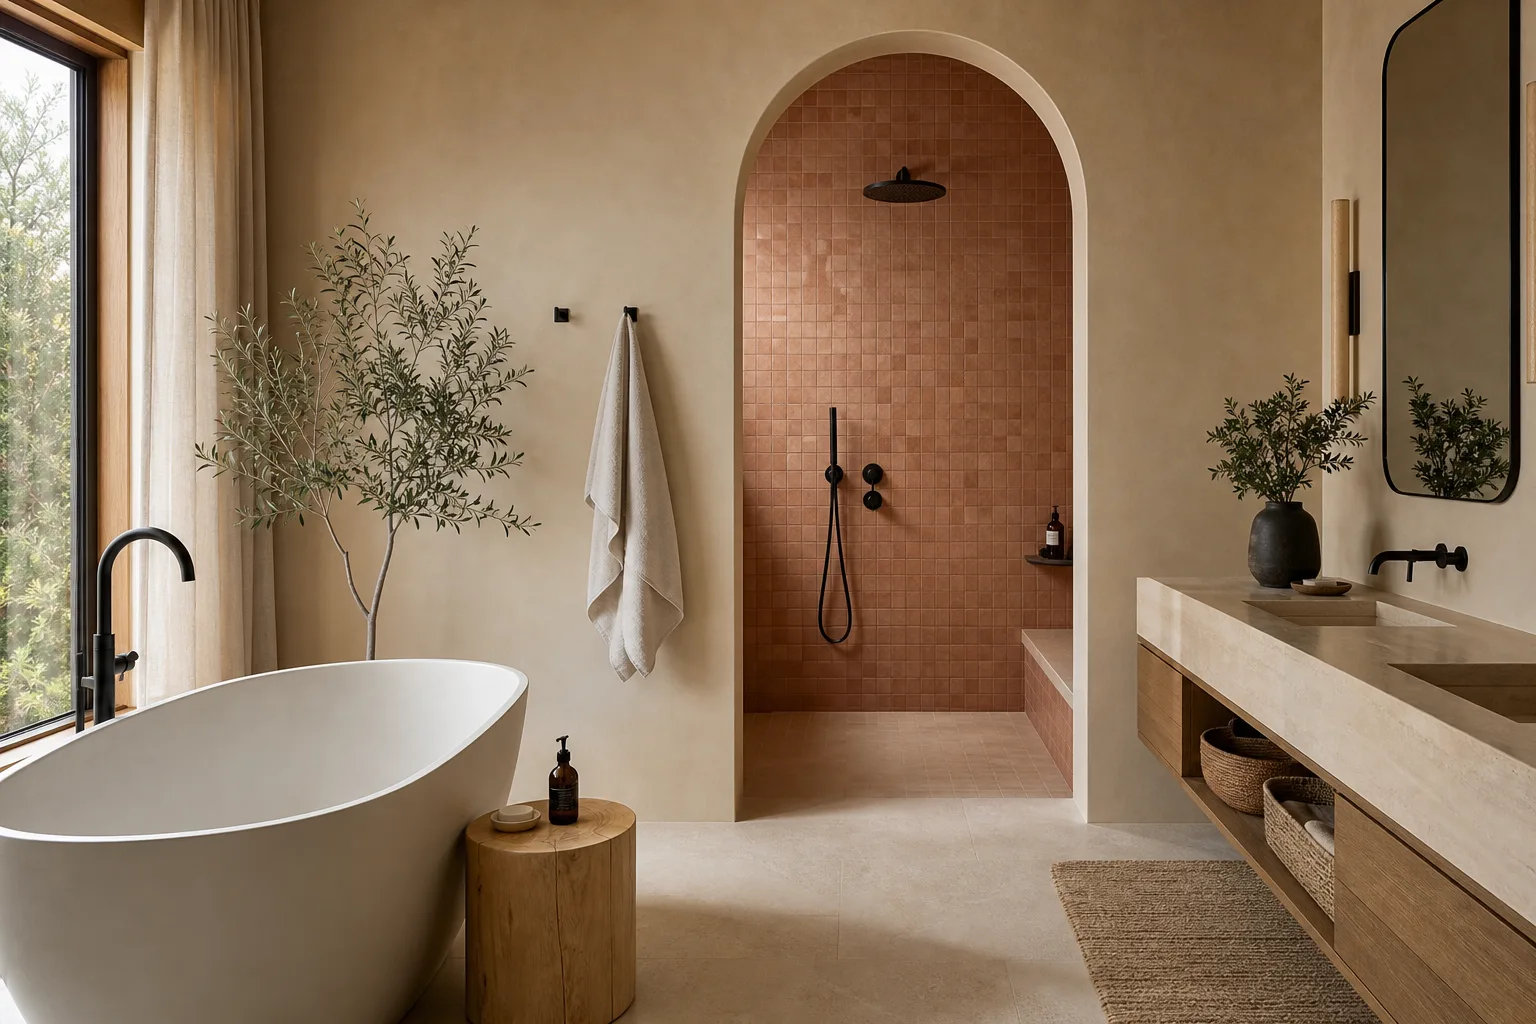
Color temperature in the ambient layer matters to how the room feels at different hours. A 2700K source reads as warm, relaxed, and residential. A 3000K source is cleaner and more neutral. Above 3500K, bathroom ambient light begins to feel institutional. Most bathroom renovations choose 2700K or 3000K depending on the material palette, with cooler temperatures working better in rooms with strong whites and darker grouting and warmer temperatures reading better in rooms with cream, gray, or natural material tones.
Layer Three: Accent or Decorative Lighting
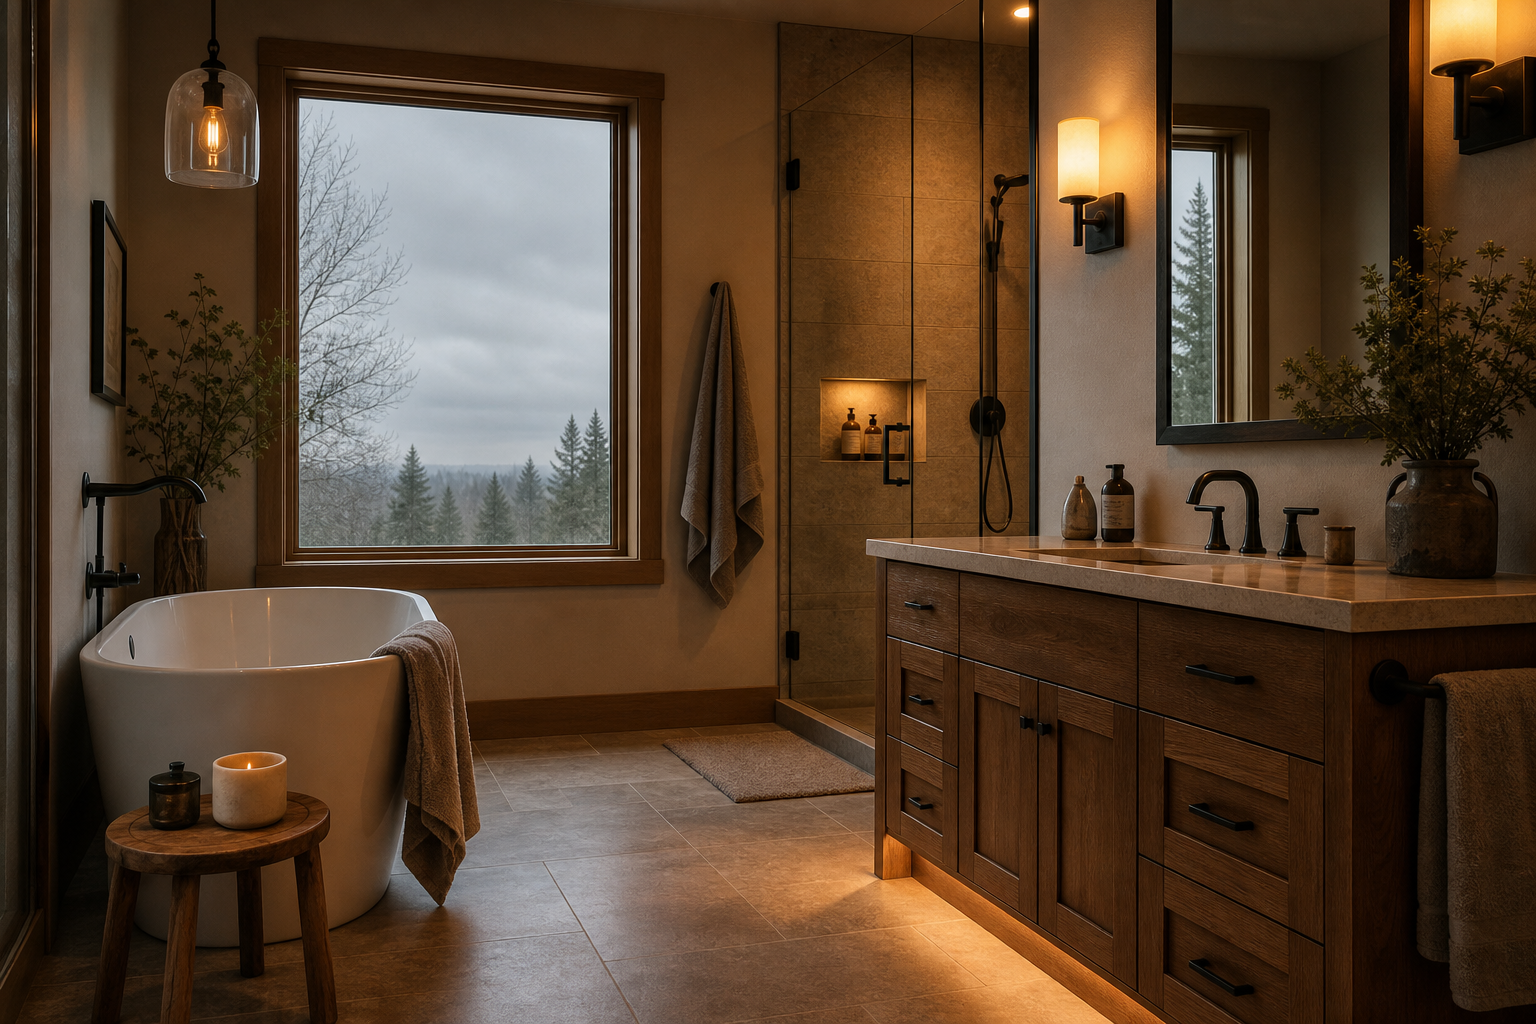
The accent layer is the optional one. Not every bathroom needs it. But in a room where architectural conditions allow it, an accent source can change the room's character entirely after the work day ends.
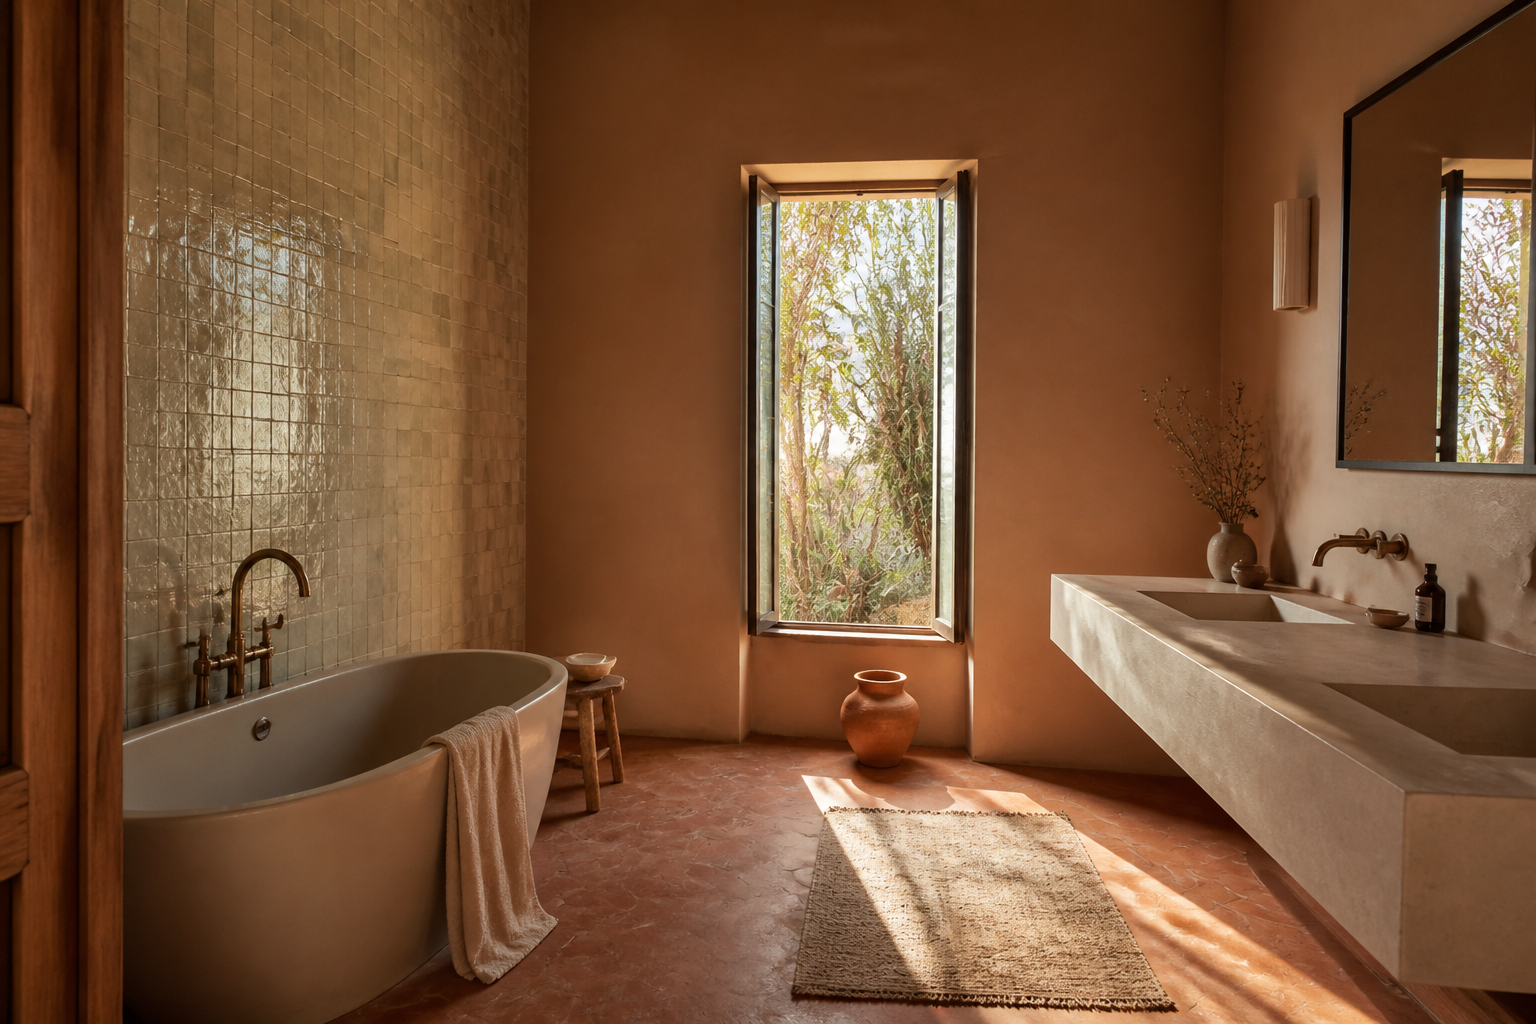
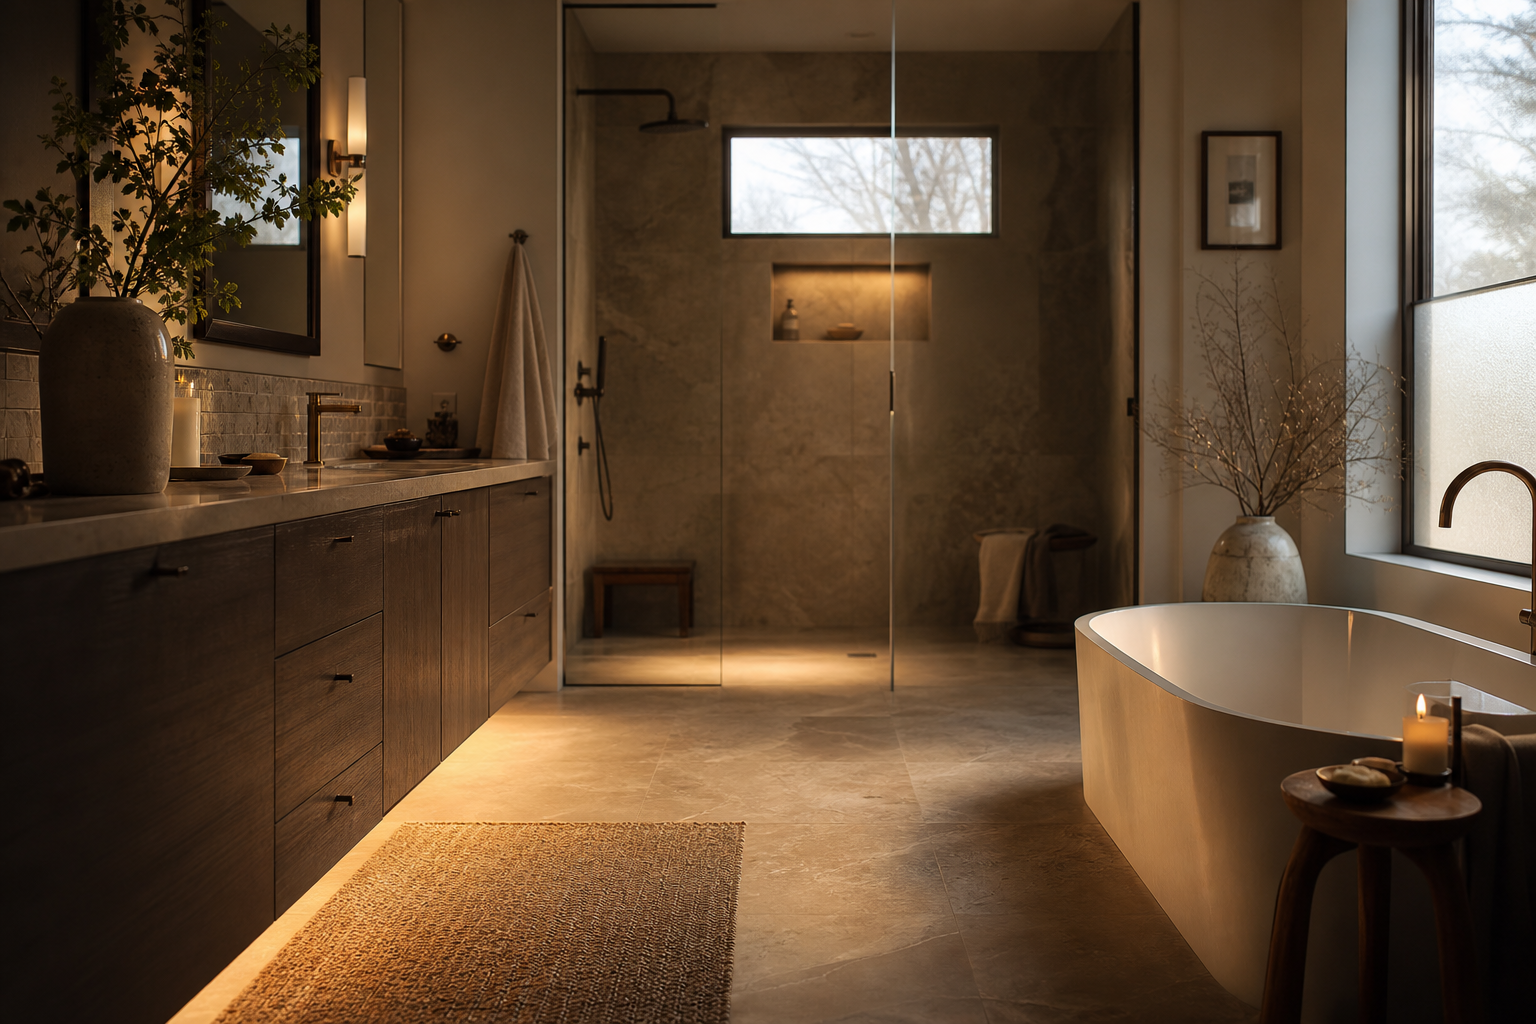
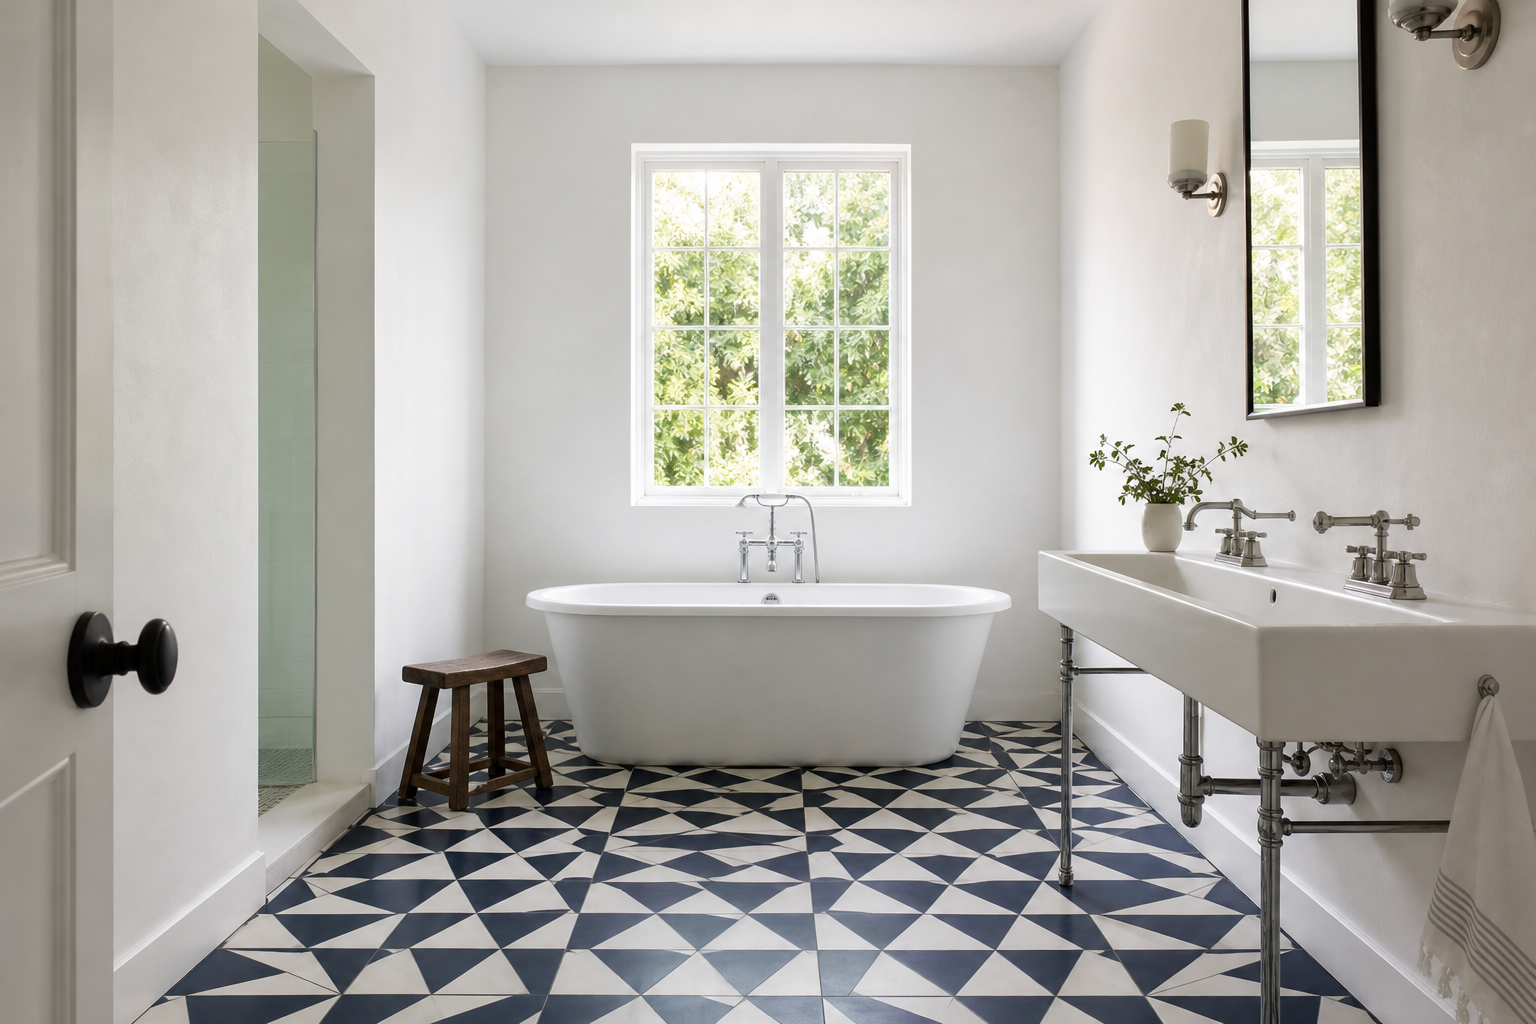
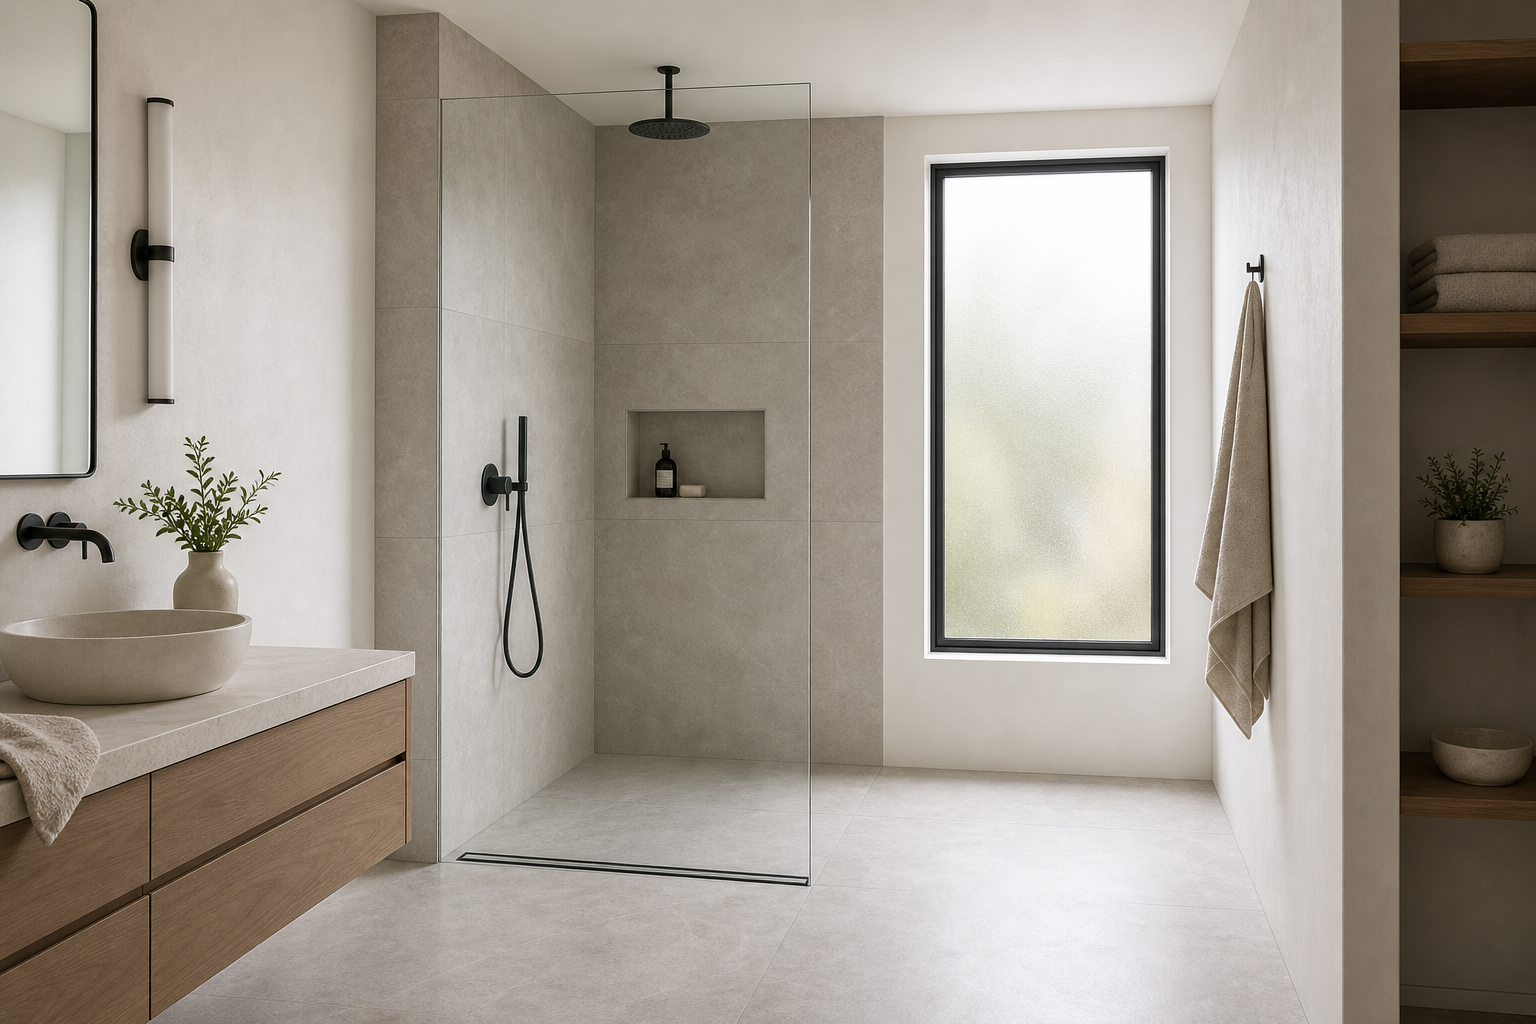
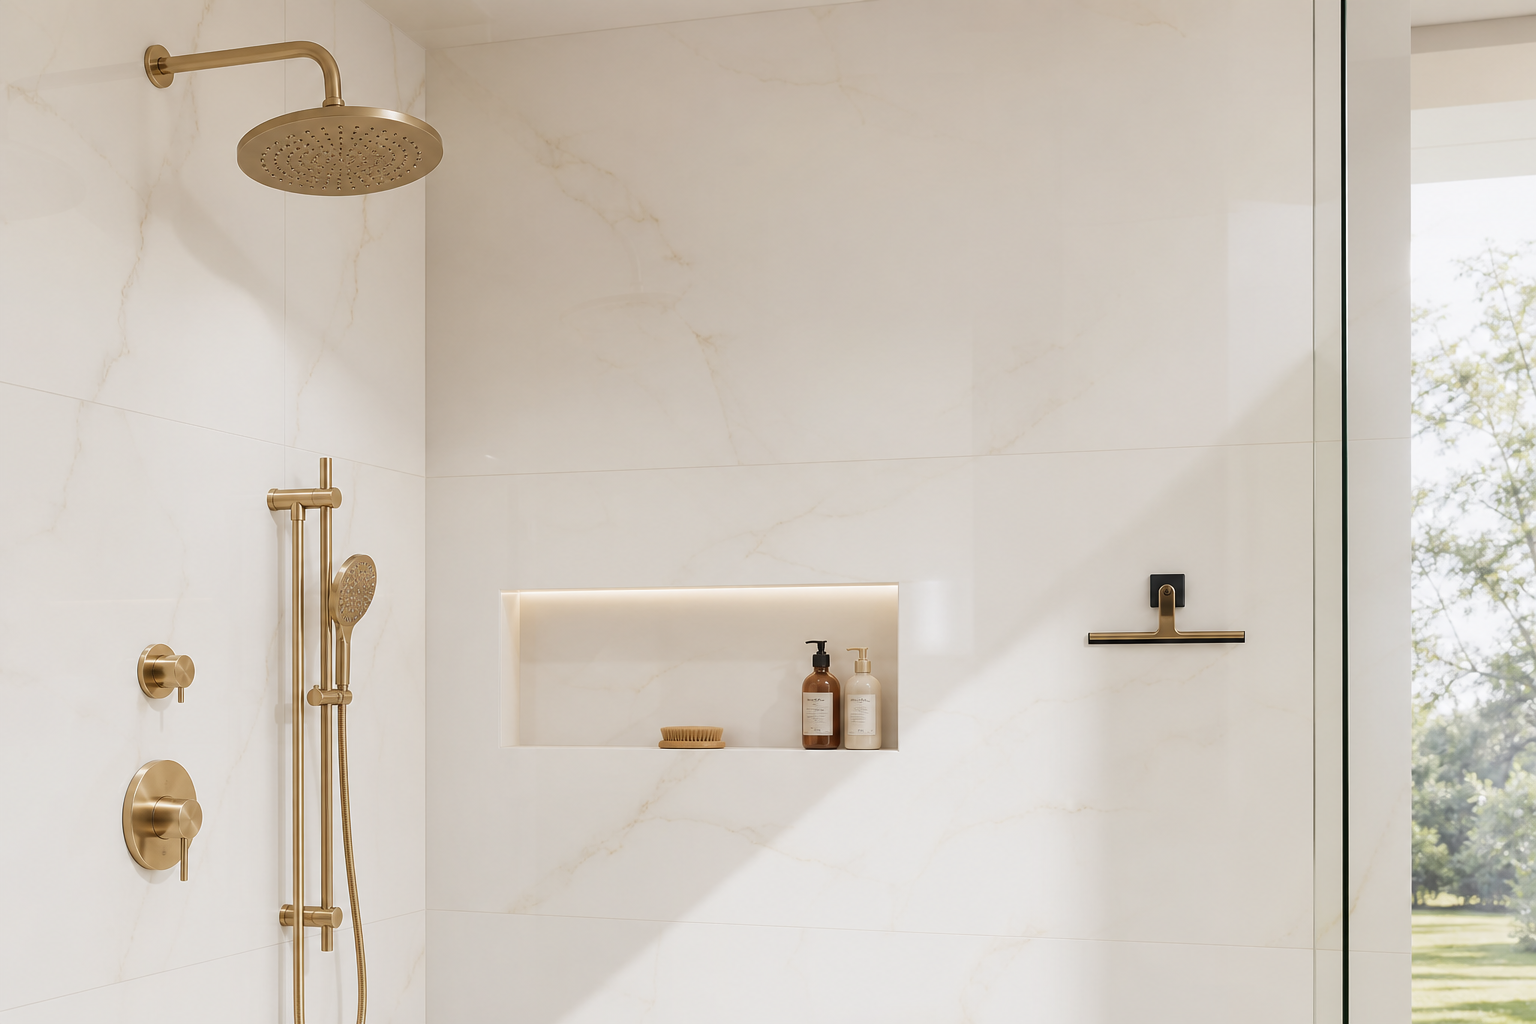
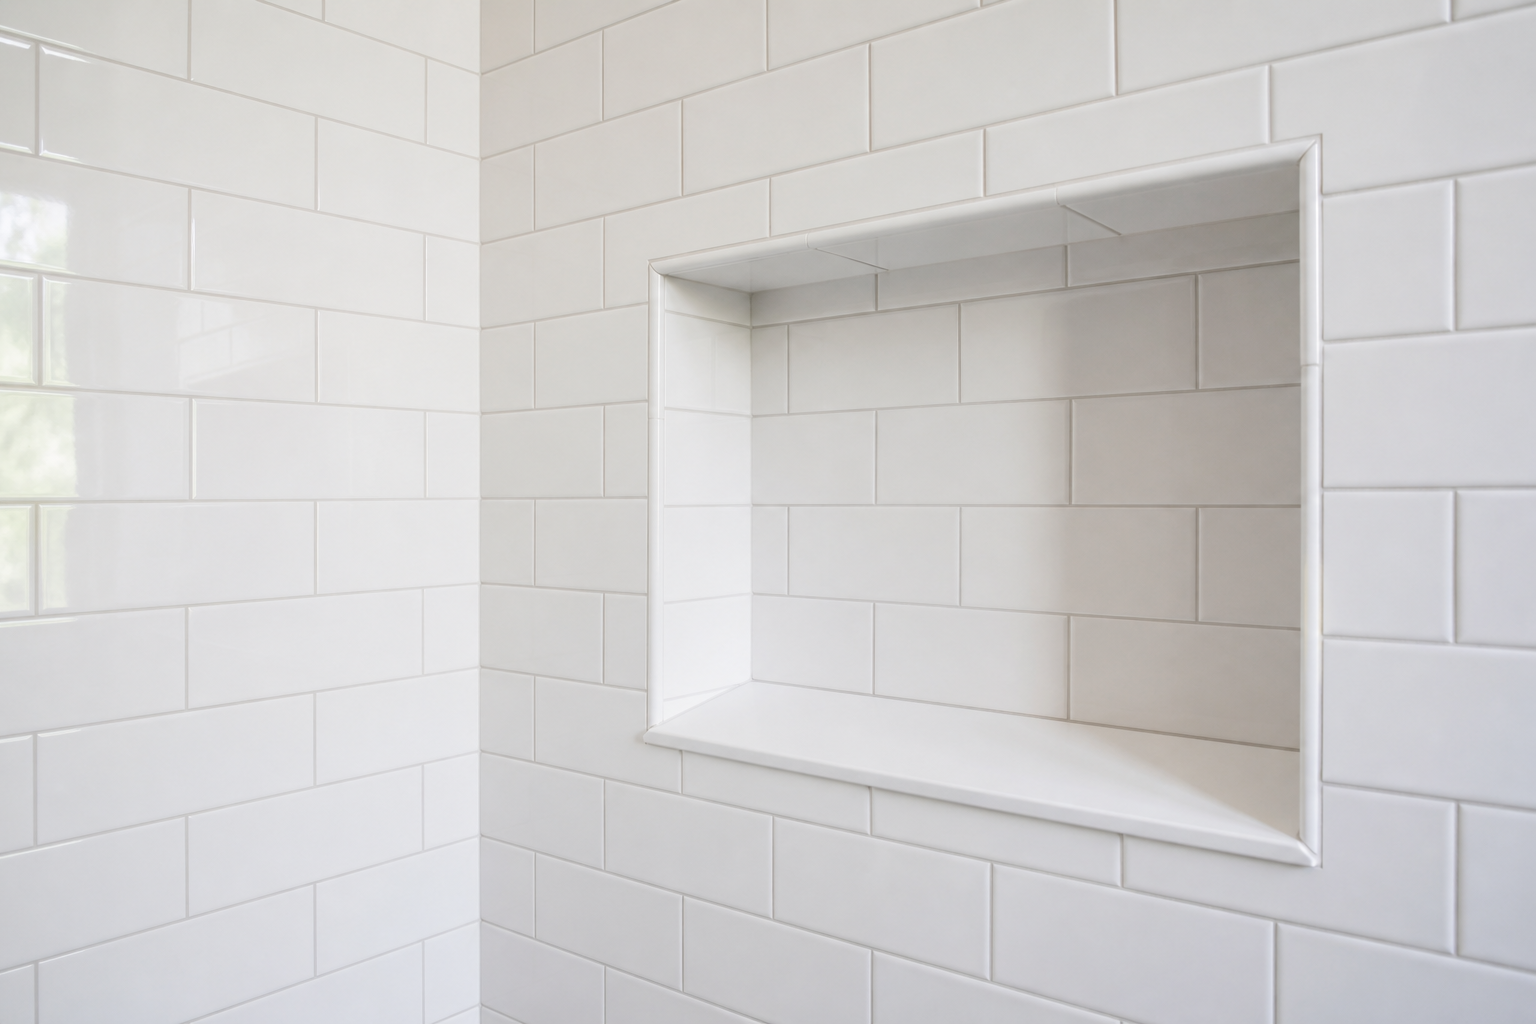
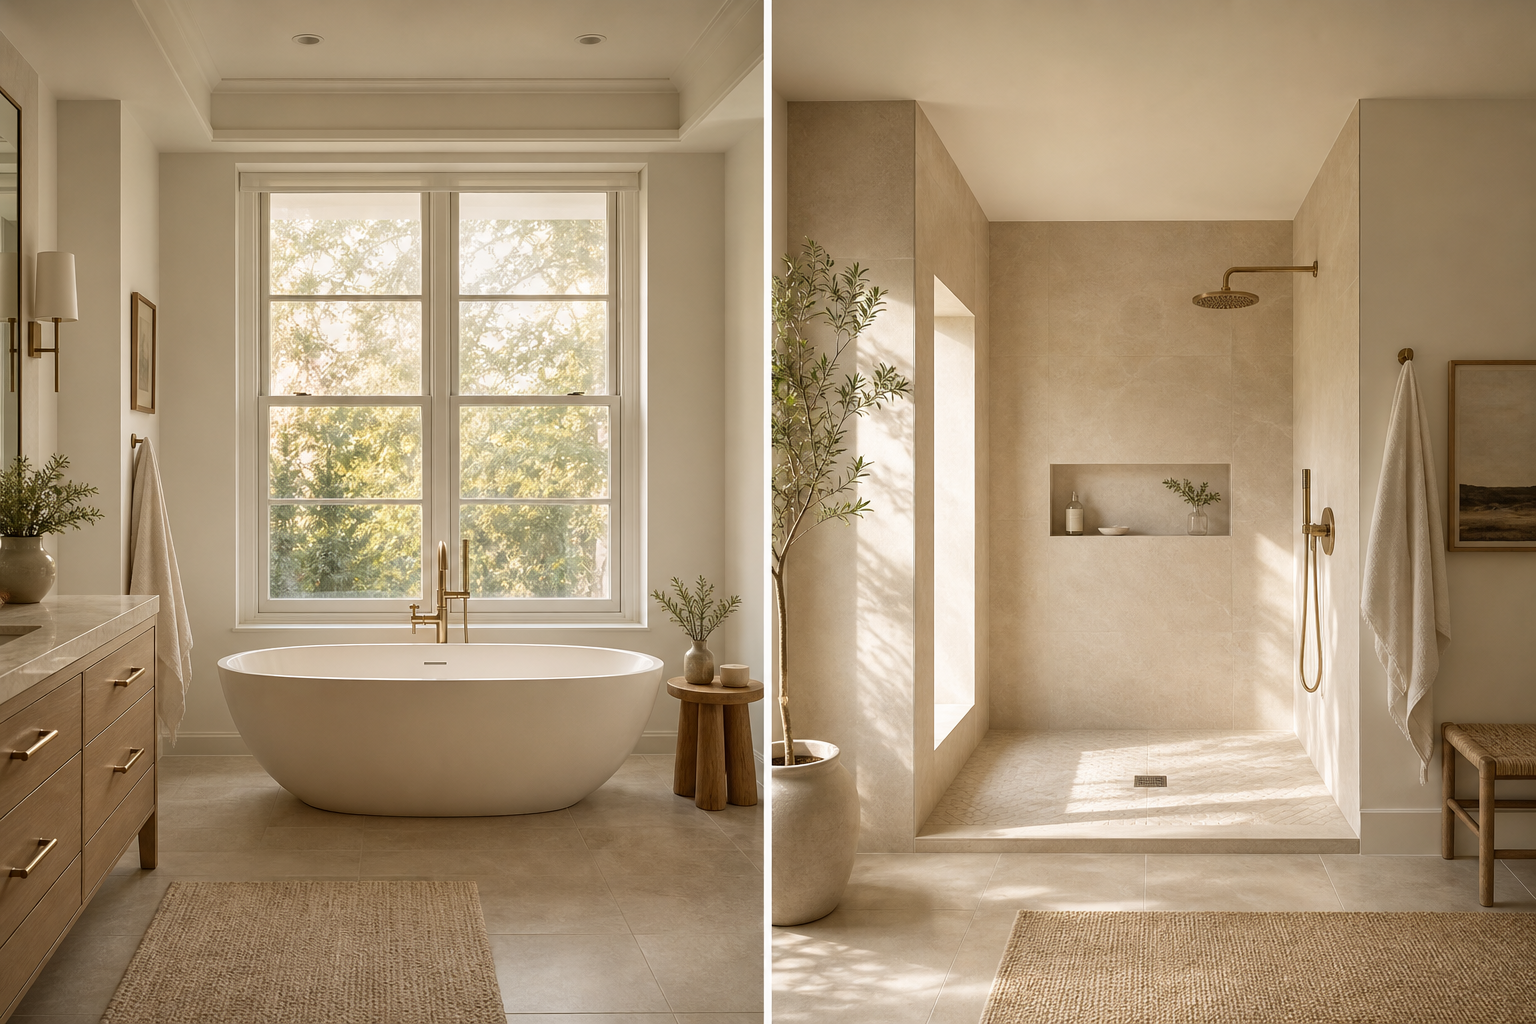
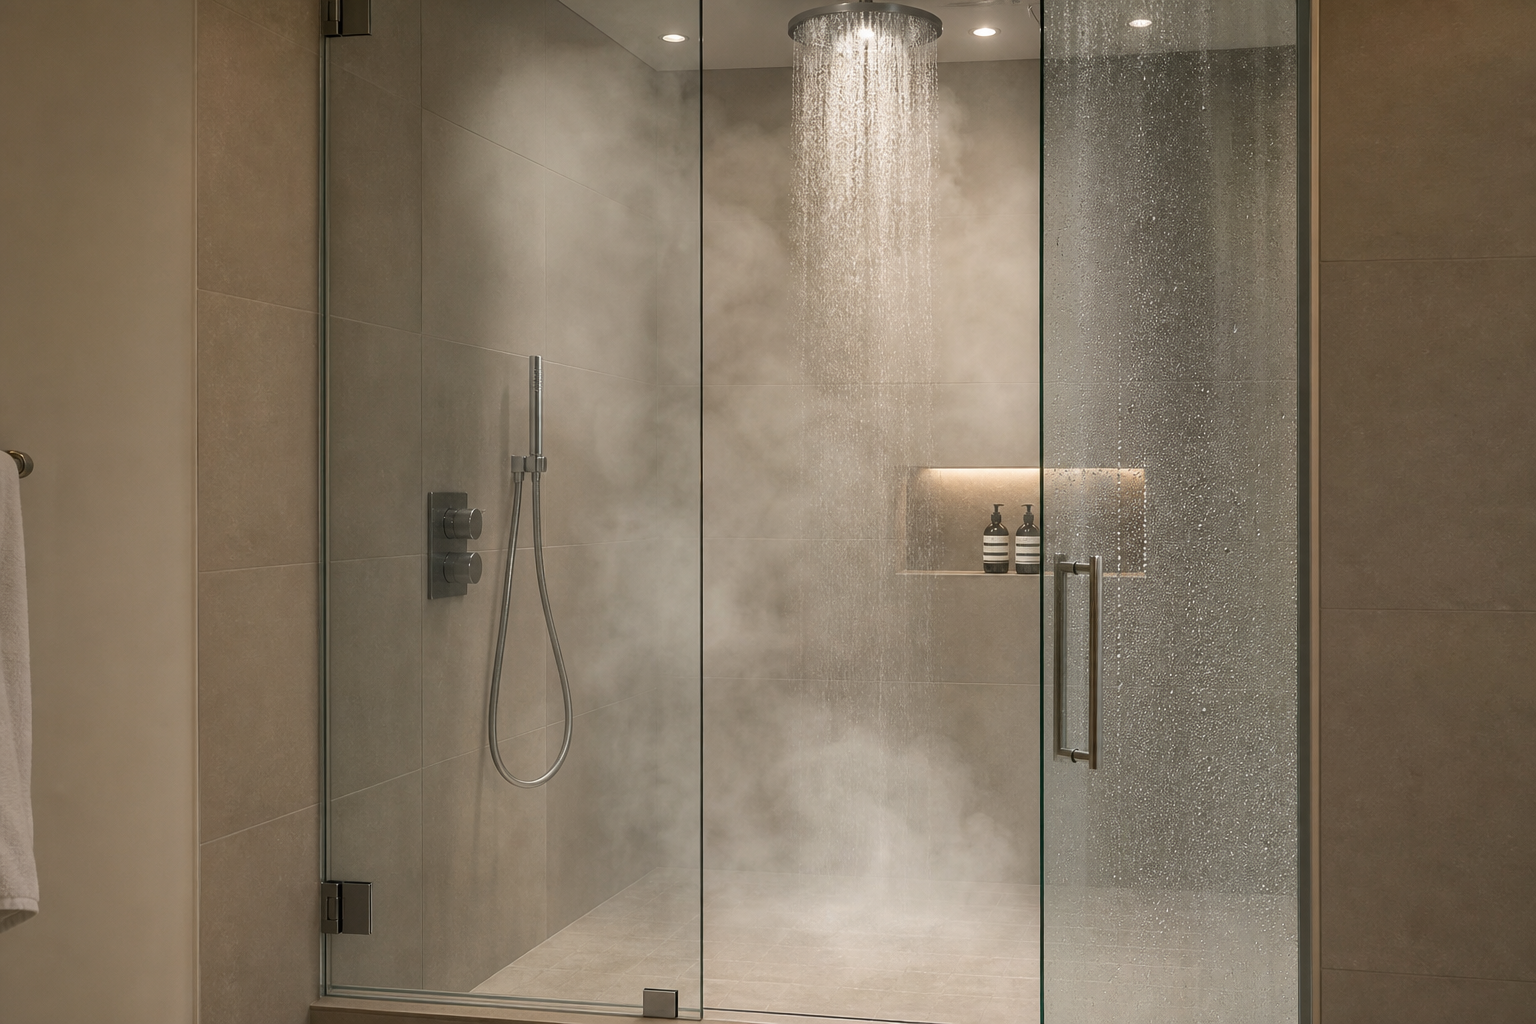
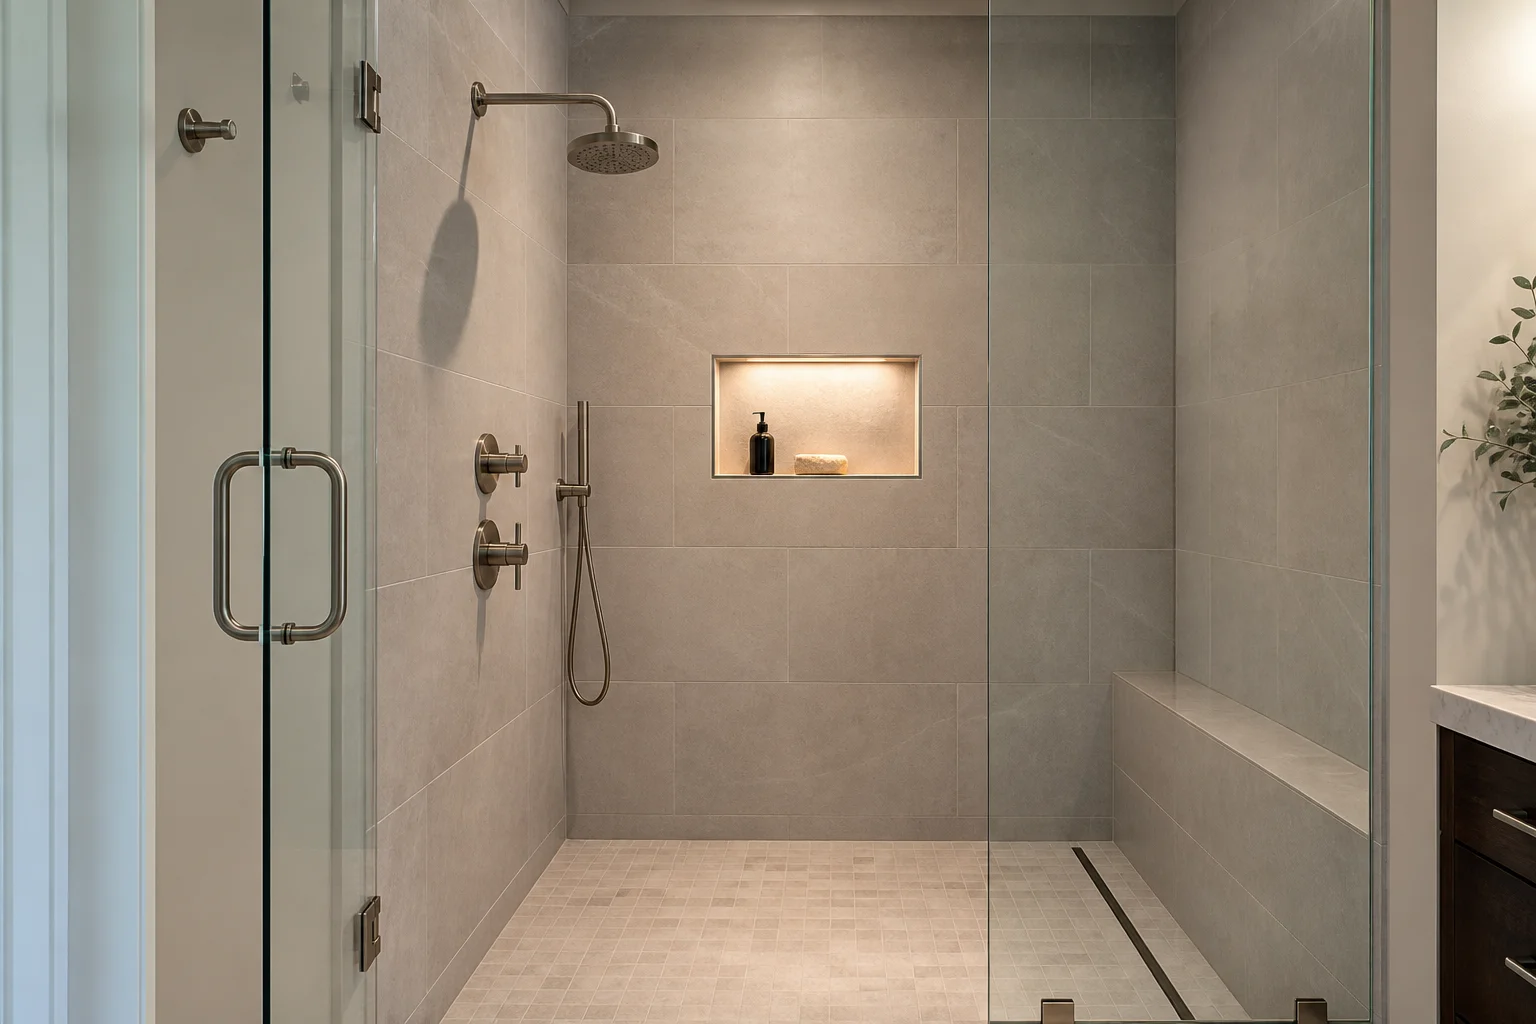
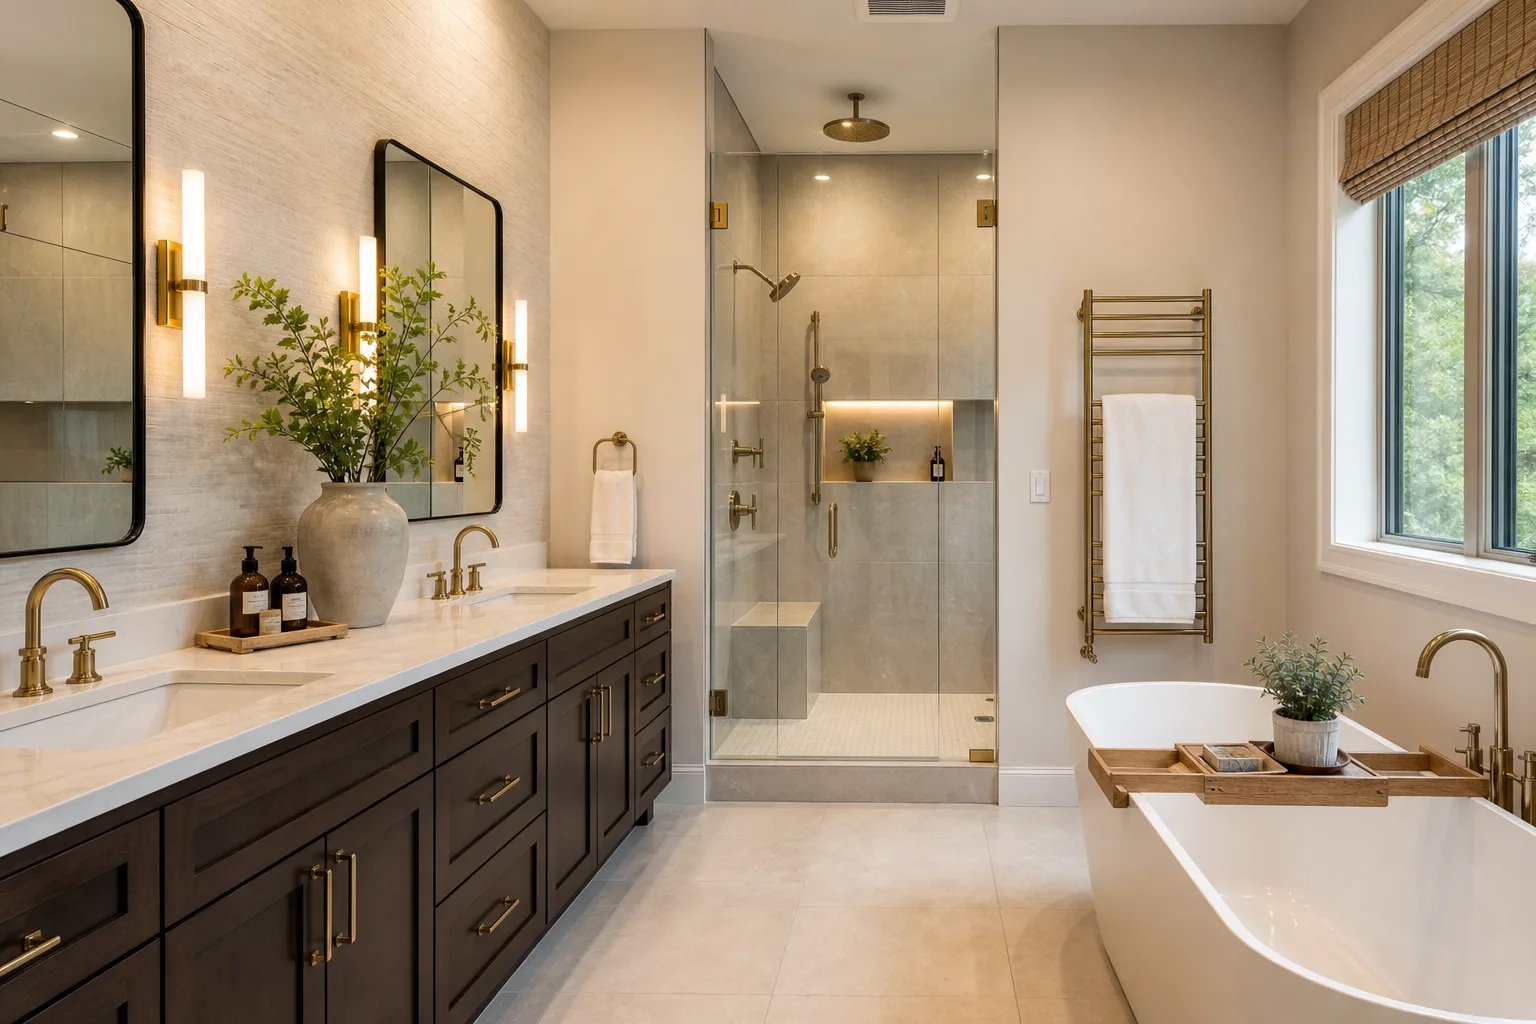
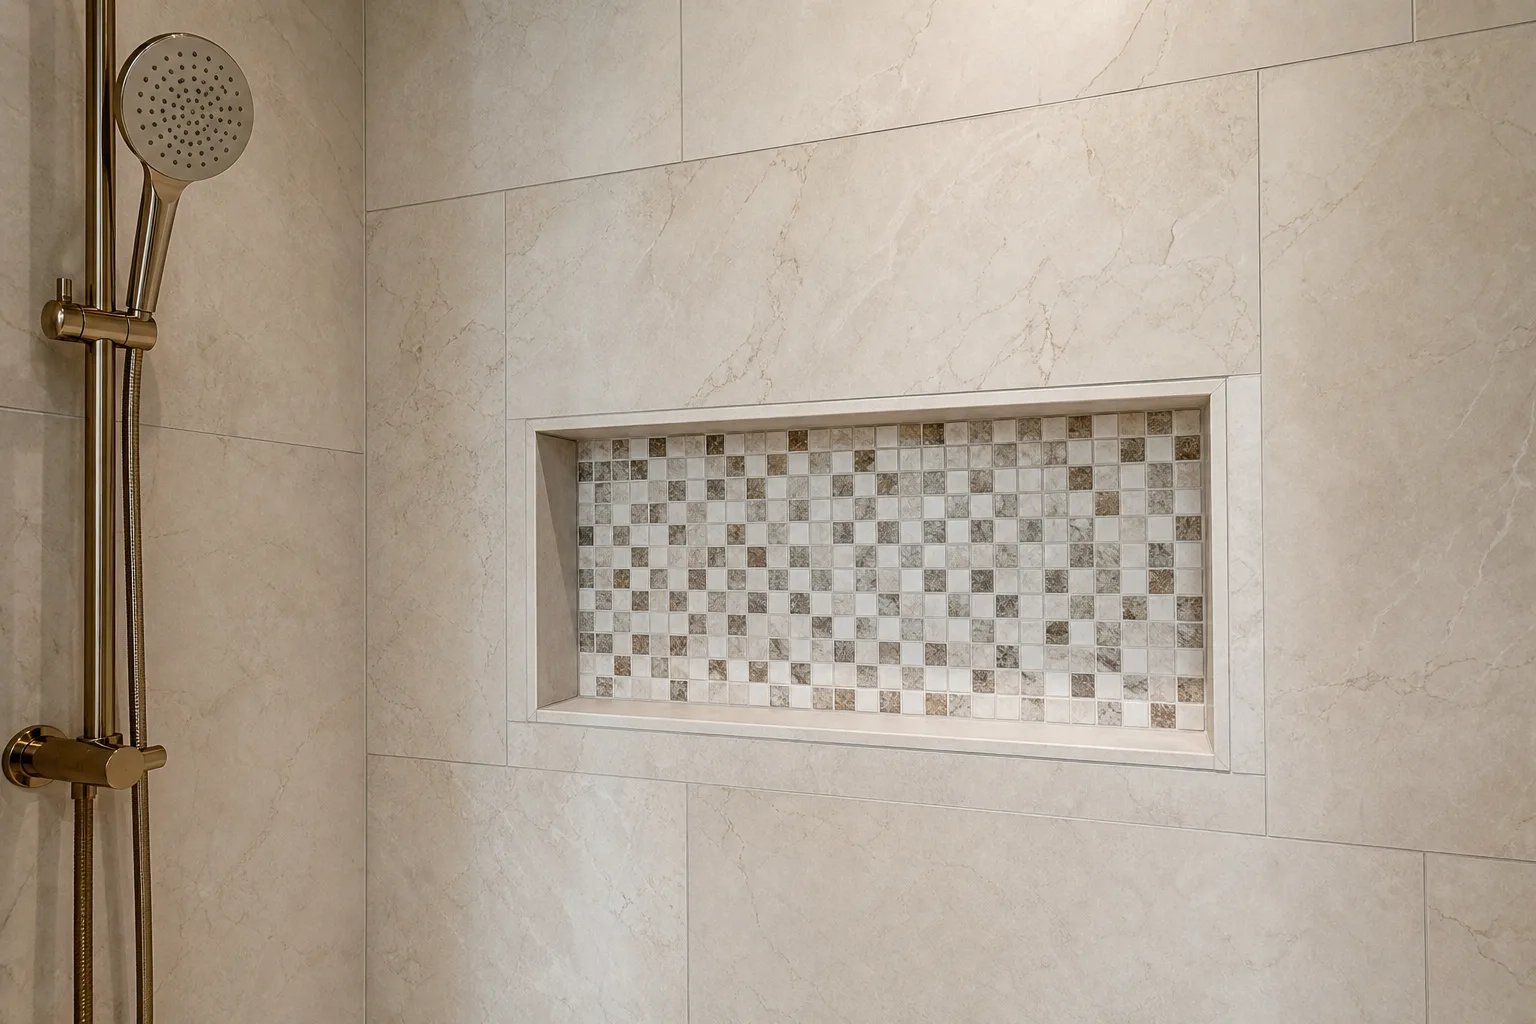
Accent lighting in a bathroom is typically low, indirect, or architectural. A small, shielded LED strip tucked under a floating vanity creates a warm pool of light at the floor. A recessed niche in the shower with a waterproof LED source turns the shower into a different room in the evening. A backlit mirror provides both task function and ambient glow from a single source. A decorative pendant over a freestanding tub, properly specified for damp locations, anchors the tub as a distinct zone in the room.
The principle behind accent lighting is contrast. A room at uniform brightness is flat. Contrast between lit and unlit zones gives depth to materials, reads shadows correctly, and creates a sense of hierarchy. This is why a bathroom with good accent lighting often looks larger than a bathroom with equal square footage but flat overhead illumination: the visible limits of the room are defined by shadow, and shadow controlled is depth implied.
The accent layer requires its own switch. Or more usefully, a dimmer. A dimmer allows the accent sources to be adjusted for the time of day and the purpose of the room use. This is where the cost of a single dimmer, wired before the walls close, returns its value every evening for the life of the room.
Layer Four: Night Lighting
Night navigation is the layer that is most consistently skipped and most consistently regretted.
A bathroom at 2 a.m. should be usable at low light. Full-brightness task lighting at that hour disrupts circadian rhythm, suppresses melatonin, and makes sleep resumption slower. Controlled studies on light exposure at night have documented this effect repeatedly. The American Academy of Sleep Medicine and multiple sleep research institutions have identified short-wavelength blue light in particular as circadian disruptive, which is why warmer, lower-intensity light at night is not just comfortable but physiologically meaningful.
A properly designed night mode for a bathroom does not require a separate fixture. A dimmer on the ambient layer, controlled by a second switch at a height accessible in the dark, allows the room to operate at minimum safe illumination without waking anyone else in the house. Some households use a motion-activated night light at the baseboard, a plug-in solution that solves the navigation problem without wiring. Others install a dedicated low-level LED strip near the floor on its own switched circuit.
The specific solution matters less than making the decision before the electrical rough-in closes. A second switch position, a motion sensor rough-in, a conduit stub: these are inexpensive adjustments at the framing stage and expensive to add afterward.
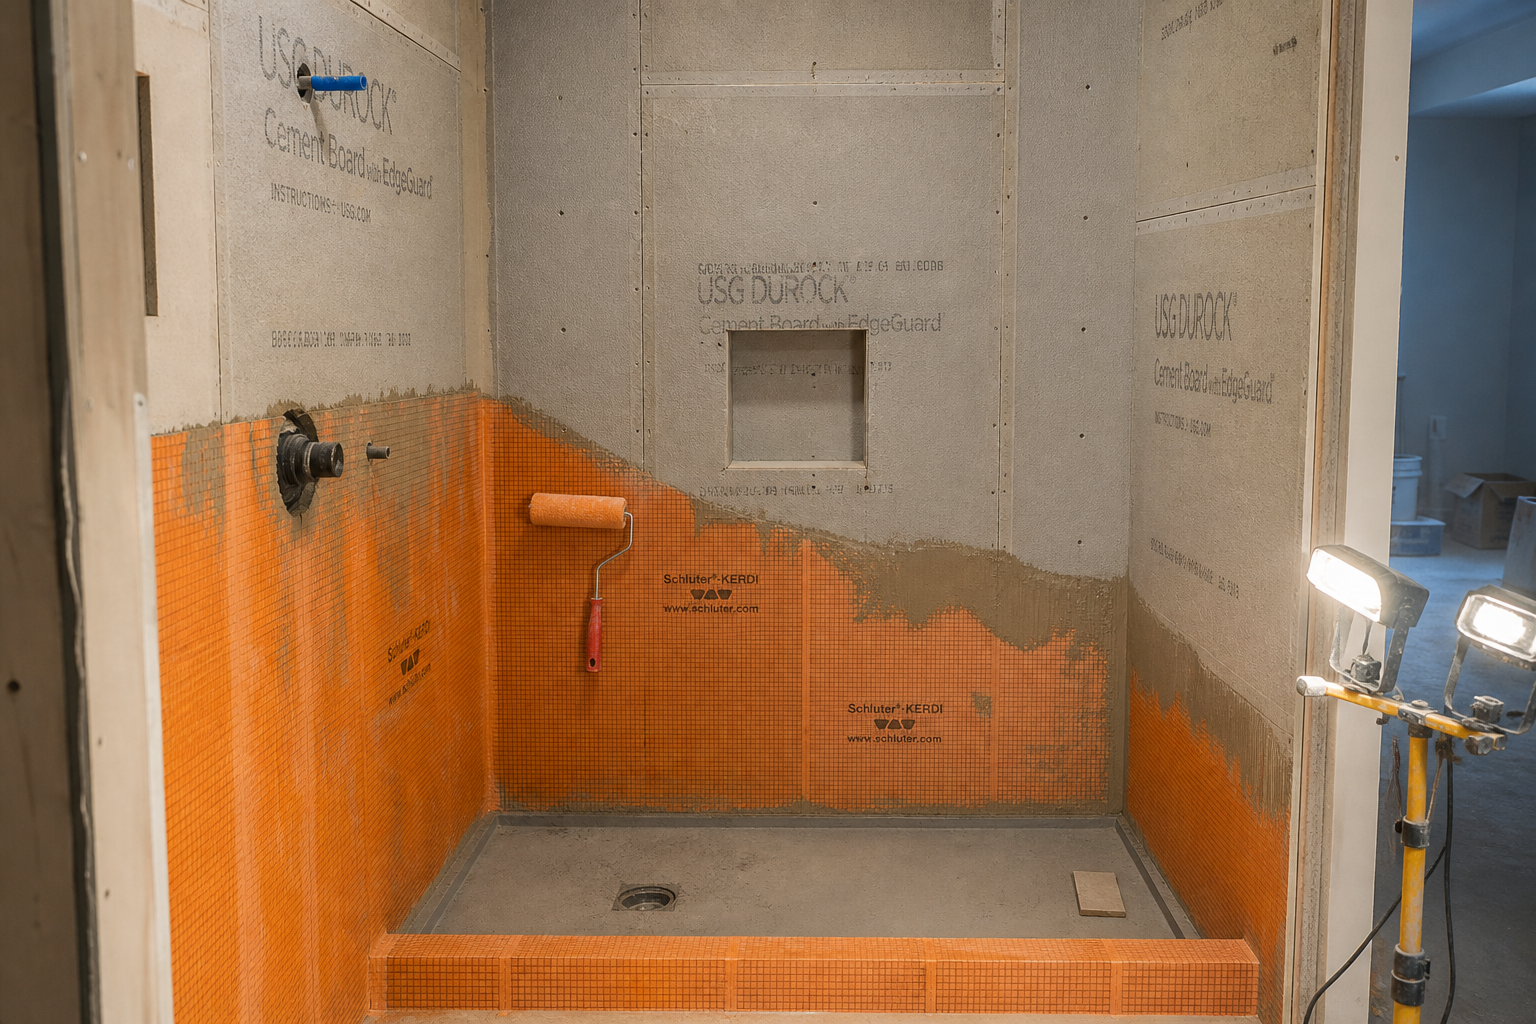
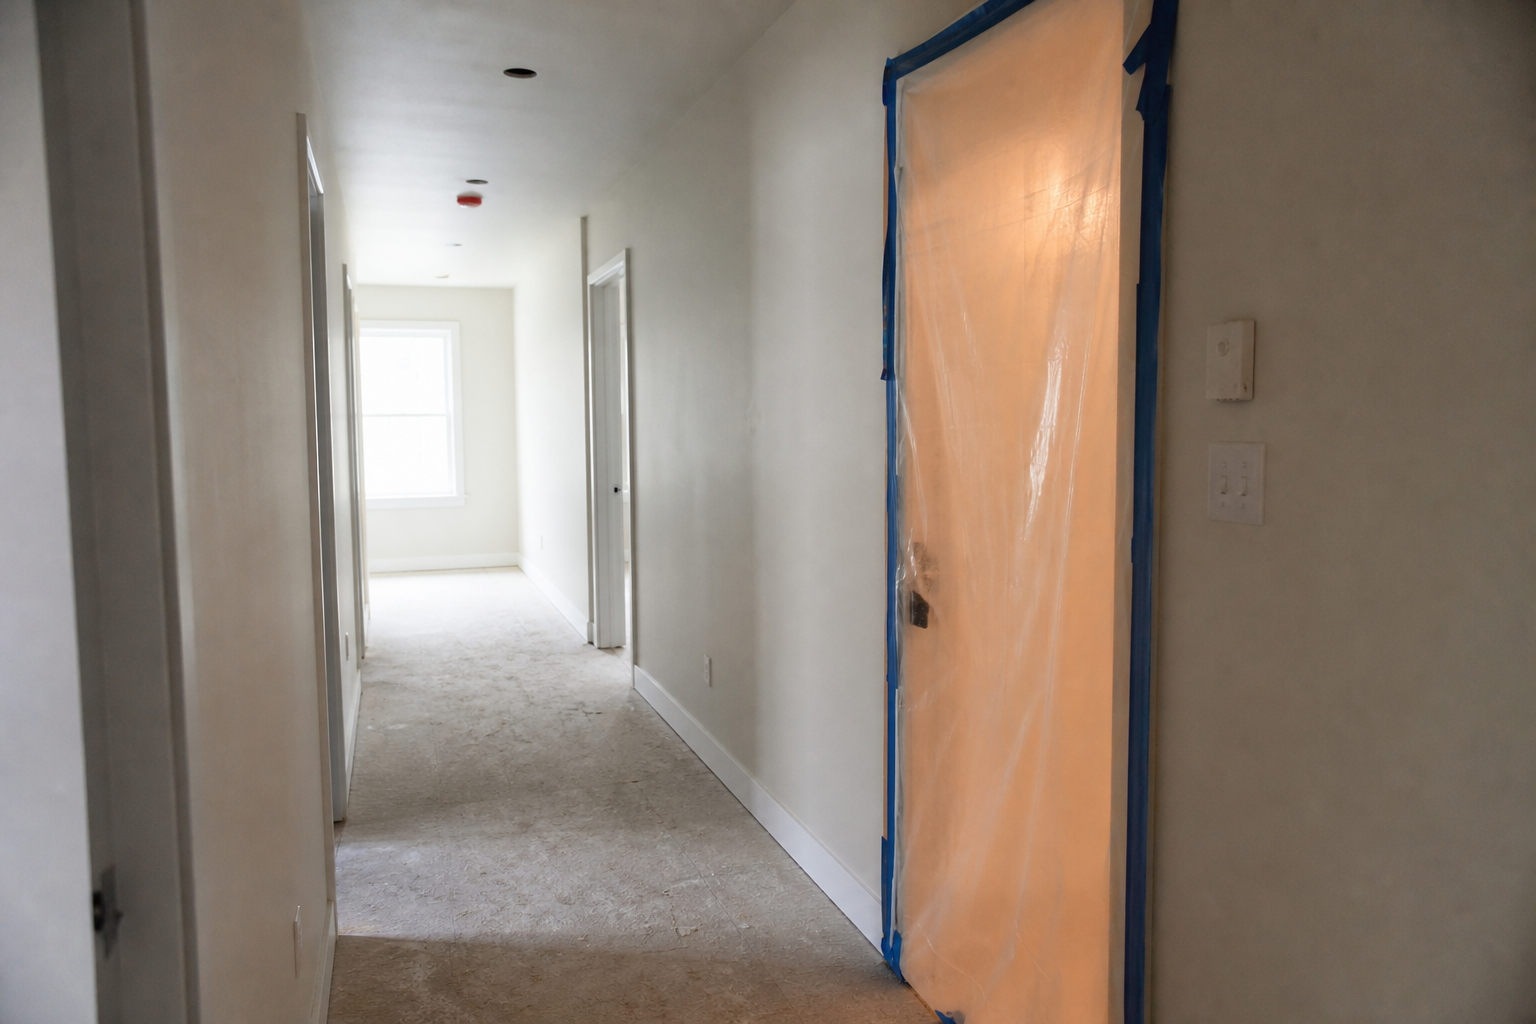
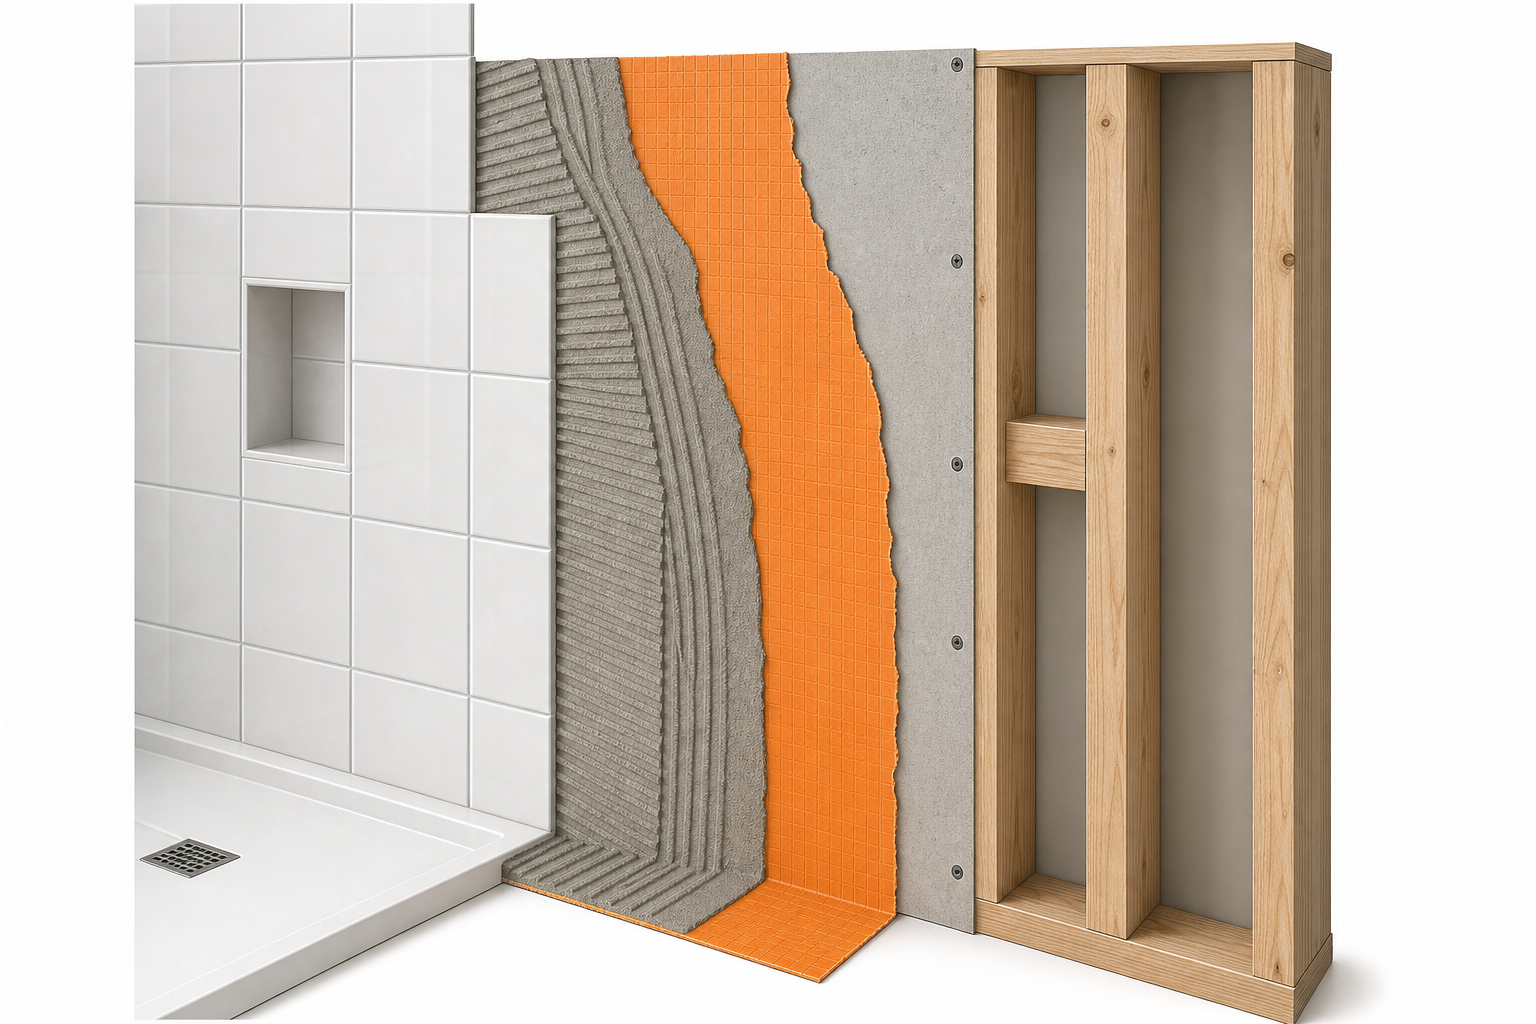
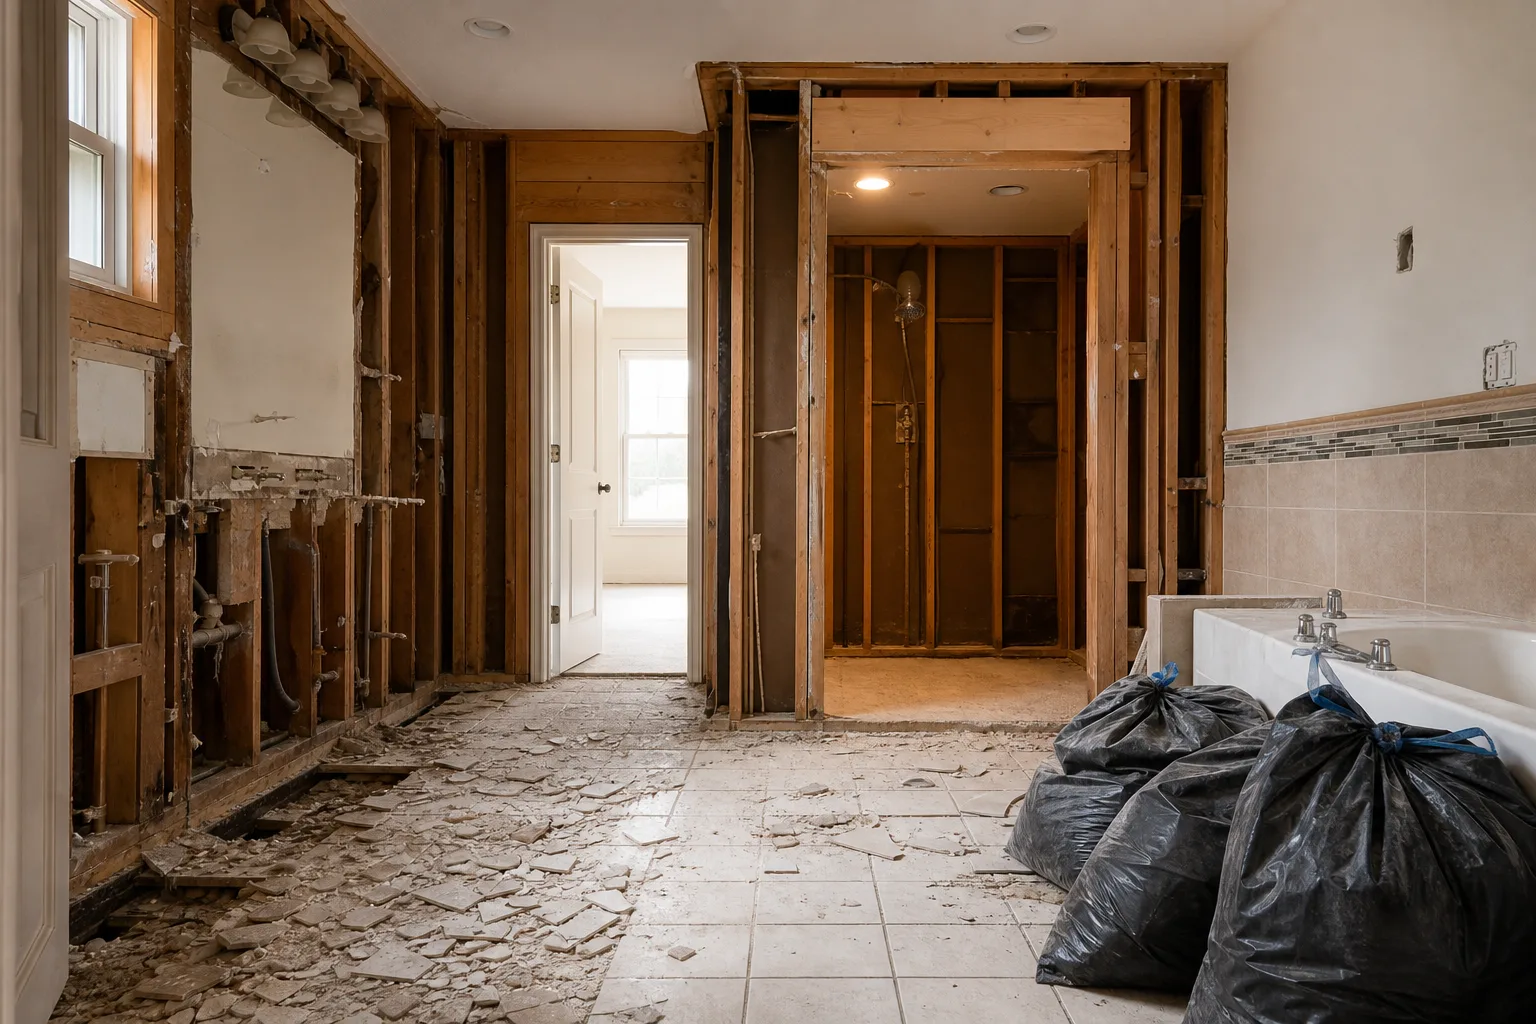
The Rough-In Is the Deadline
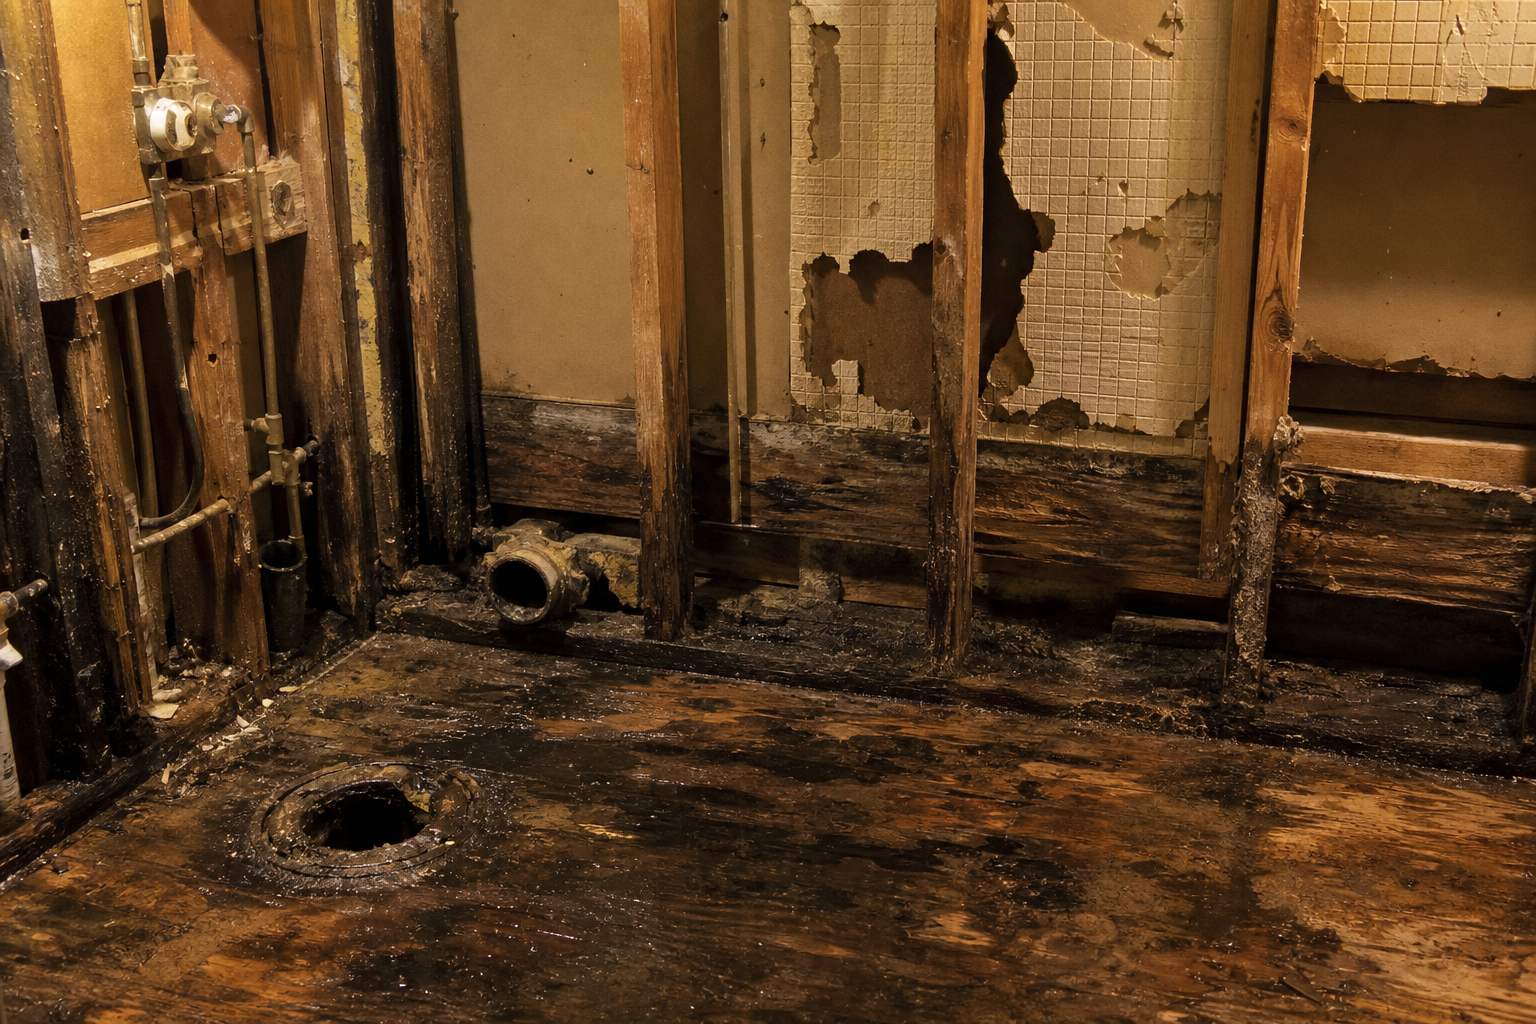
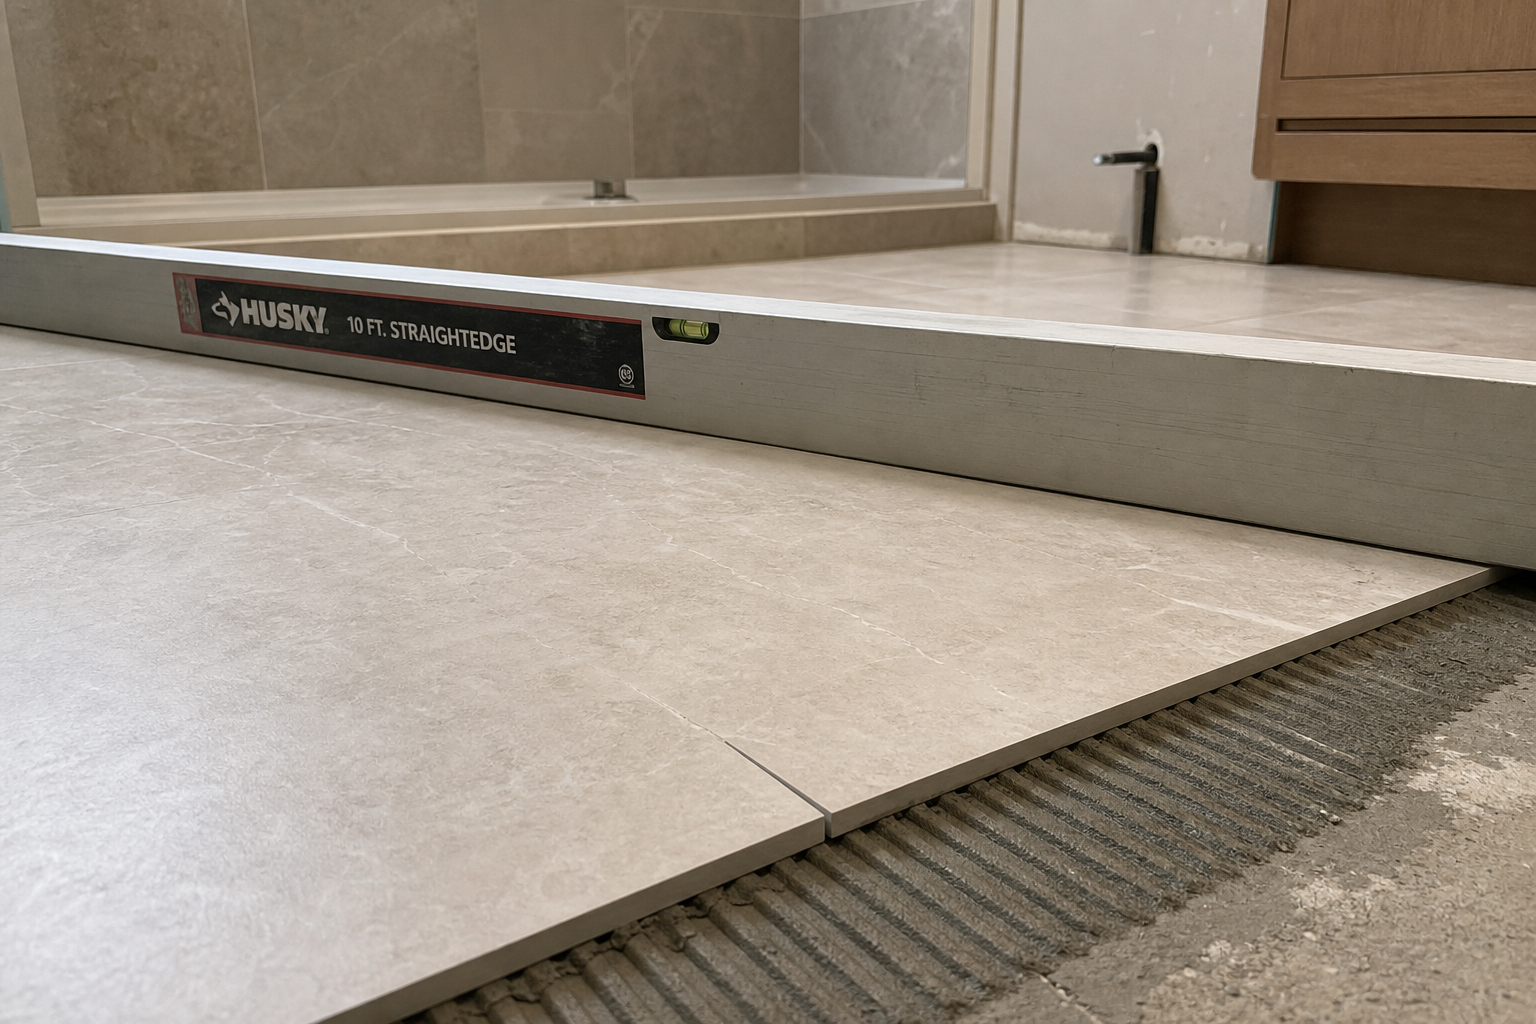
Every electrical decision described above has one thing in common. The right time to make it is before the electrician finishes rough-in. After rough-in, switches and circuits exist where they were placed. Adding a location requires opening the wall at the switch point, fishing new wire, potentially opening the panel, and closing and refinishing the wall. In a tiled bathroom, moving a switch after installation can involve cutting through finished tile.
The rough-in walk is the conversation that saves the most money and frustration. A lighting plan on paper, reviewed with the electrician before any wire is run, costs nothing to revise. The same revision after rough-in costs real money. After tile, it may cost a section of the room.
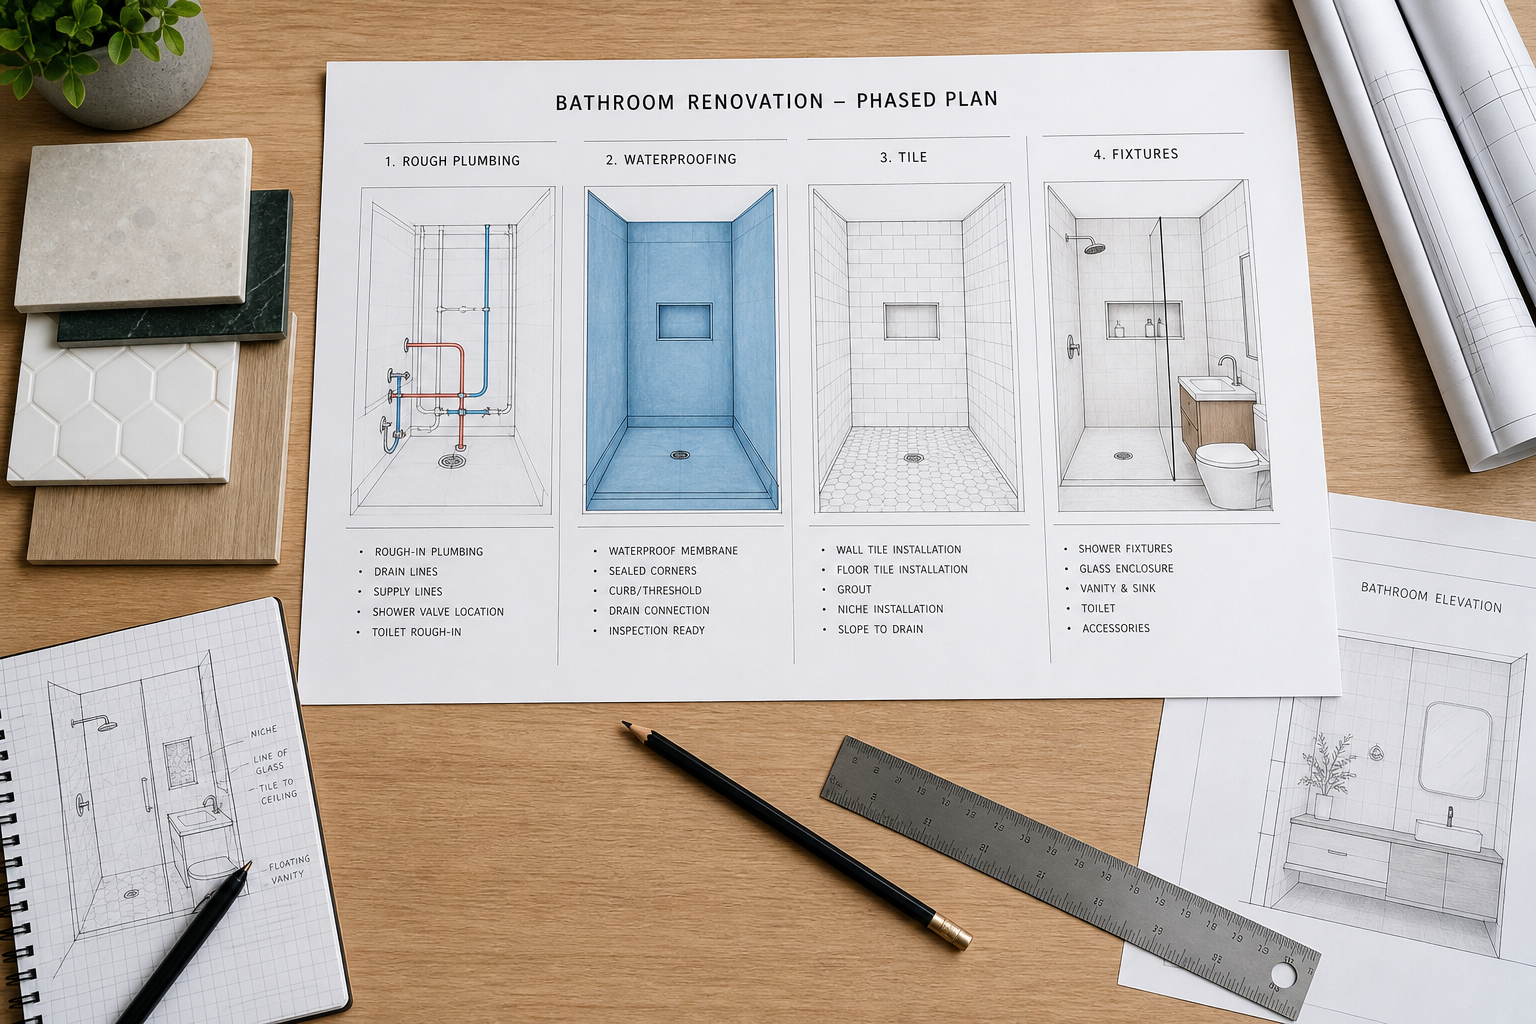
This sequence is why lighting design needs to be resolved during the design phase, not selected during the fixture shopping phase. The fixture choices come later. The zone decisions, the switch positions, the dimmer locations, the circuit separations: those decisions are structural, and they belong at the beginning.
The NKBA Bath Planning Guidelines recommend reviewing the complete lighting plan, including switch positions and fixture locations, before the construction documents are finalized. That recommendation exists because the industry has enough examples of lighting plans that were good on paper but never translated into the rough-in correctly. The conversation has to happen explicitly, between the designer and the electrician, with actual drawings.
What a Three-Layer Plan Looks Like in Practice
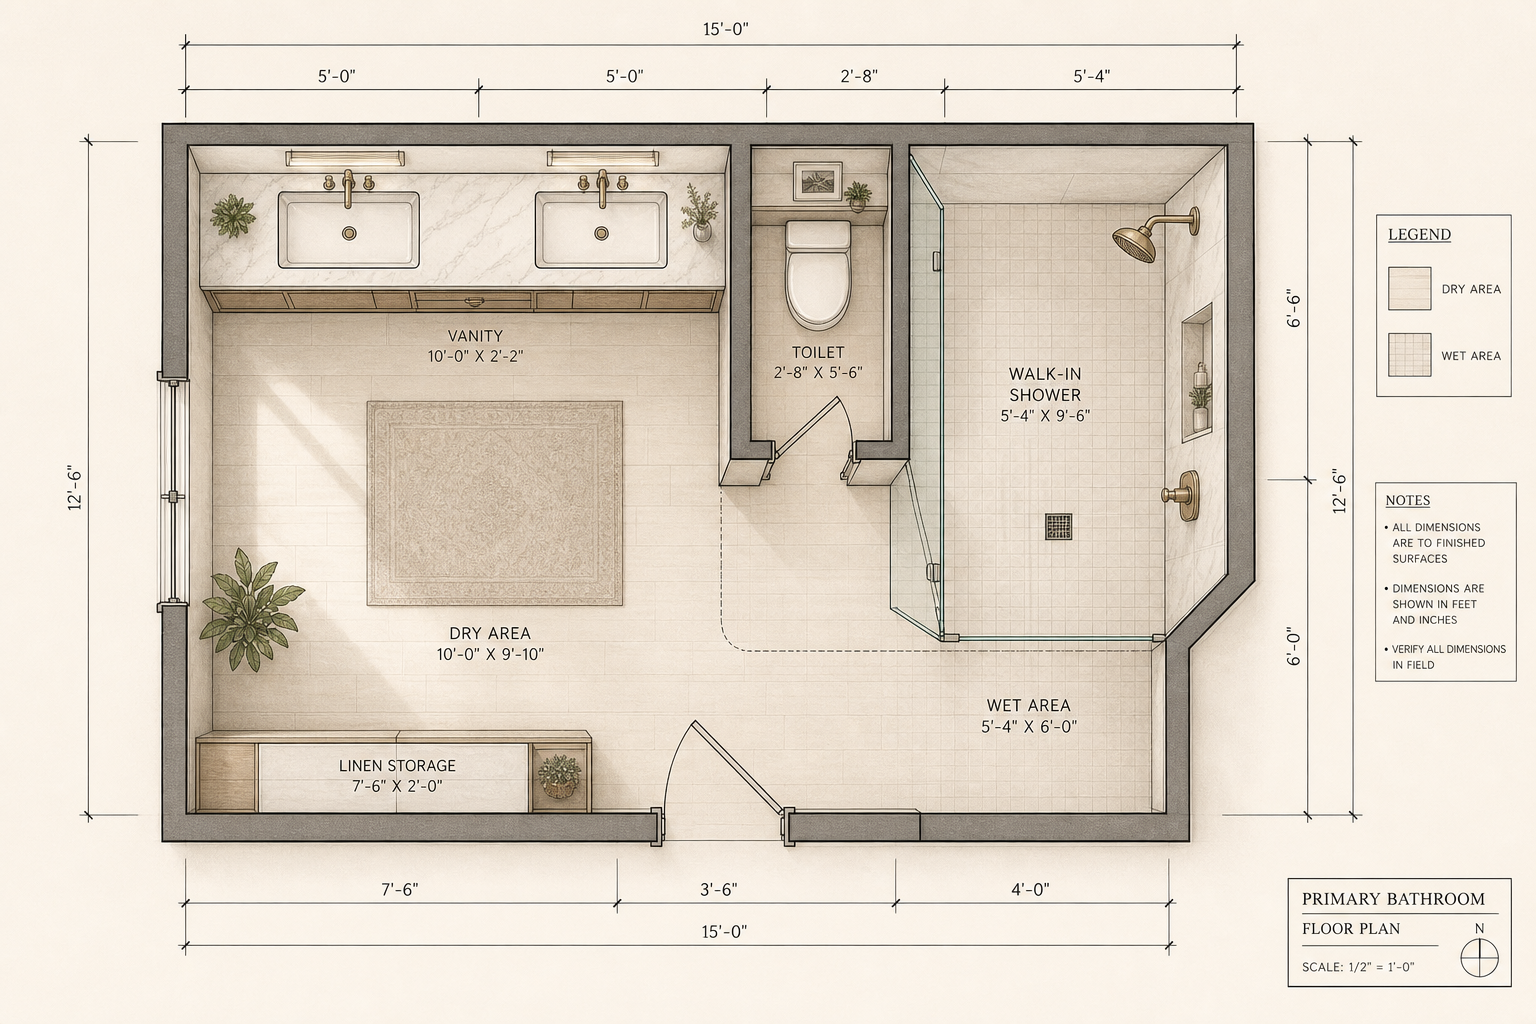
A practical three-layer bathroom lighting plan, not including optional accent, looks like this: task lighting at the vanity on its own switch, ambient lighting on a separate dimmer, and at least one low-level provision for night navigation. Three circuits or two with a dimmer that can hit five to ten percent. Two switch positions at the door. A note on the electrical plan specifying wet-location ratings for any fixture over the tub or inside the shower.
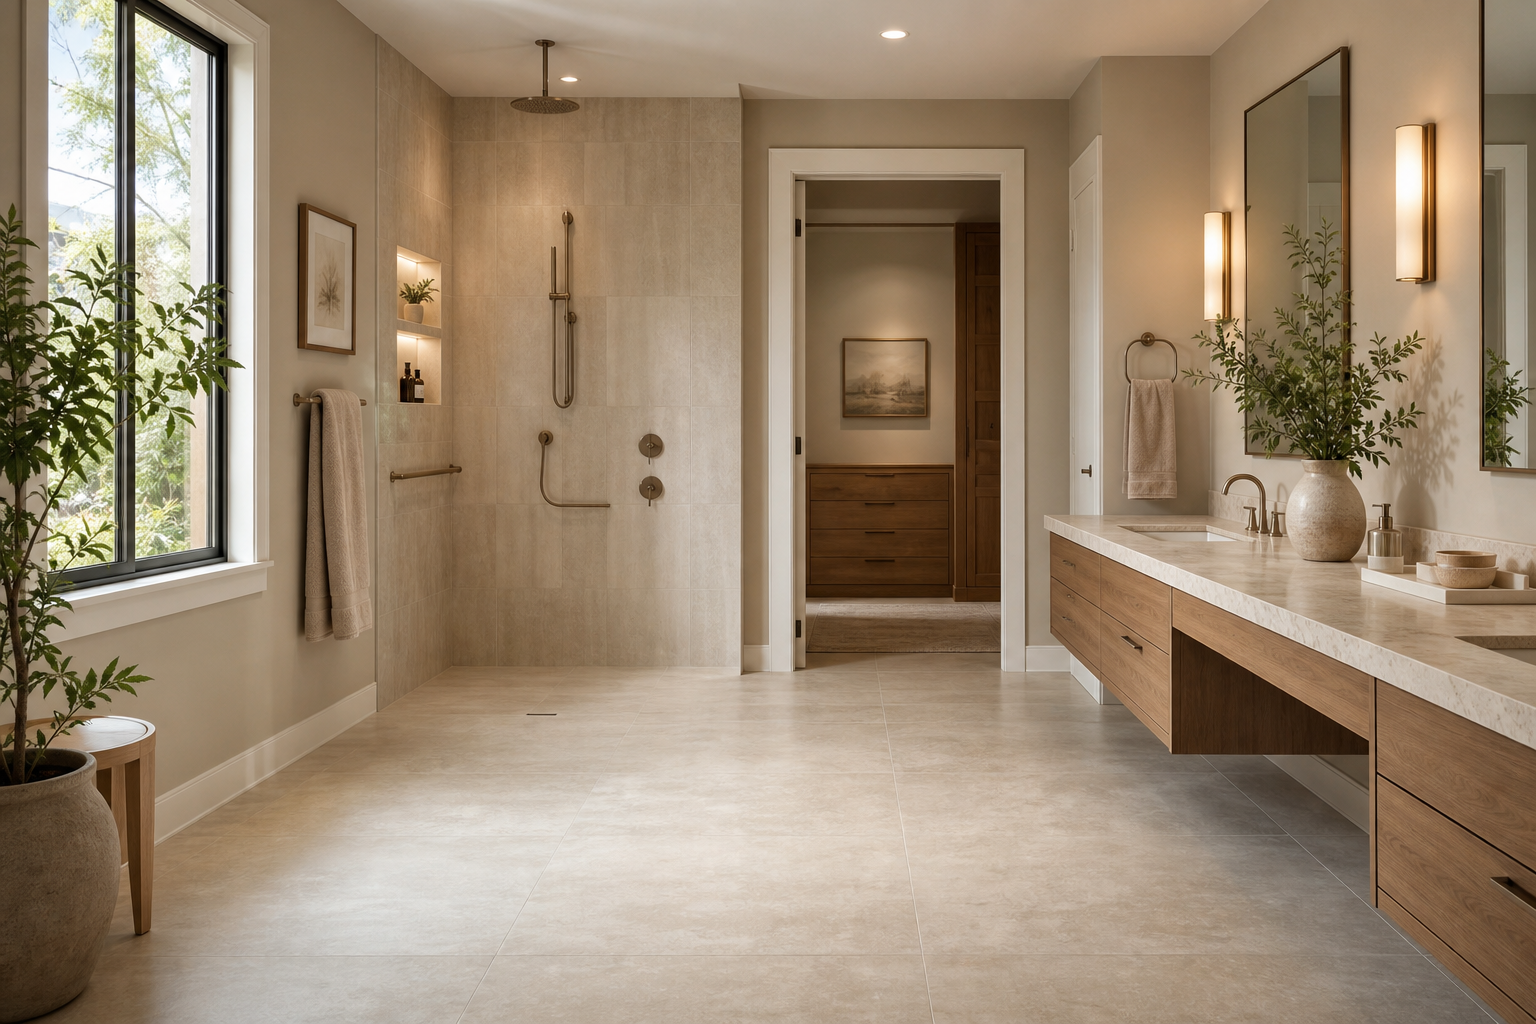
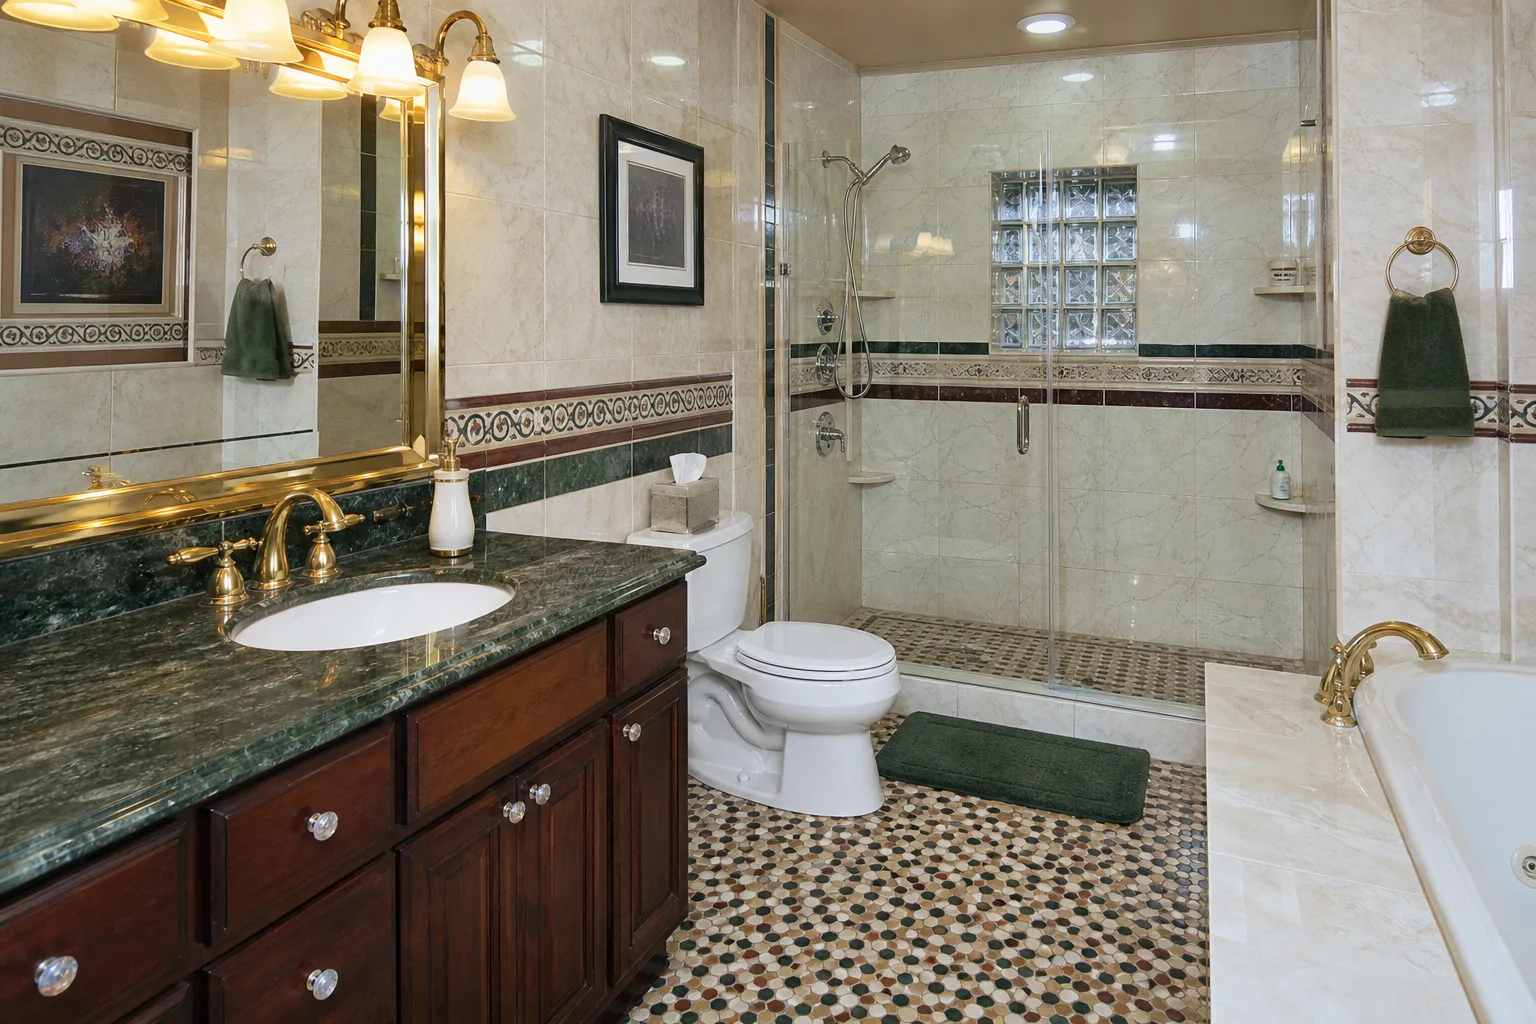
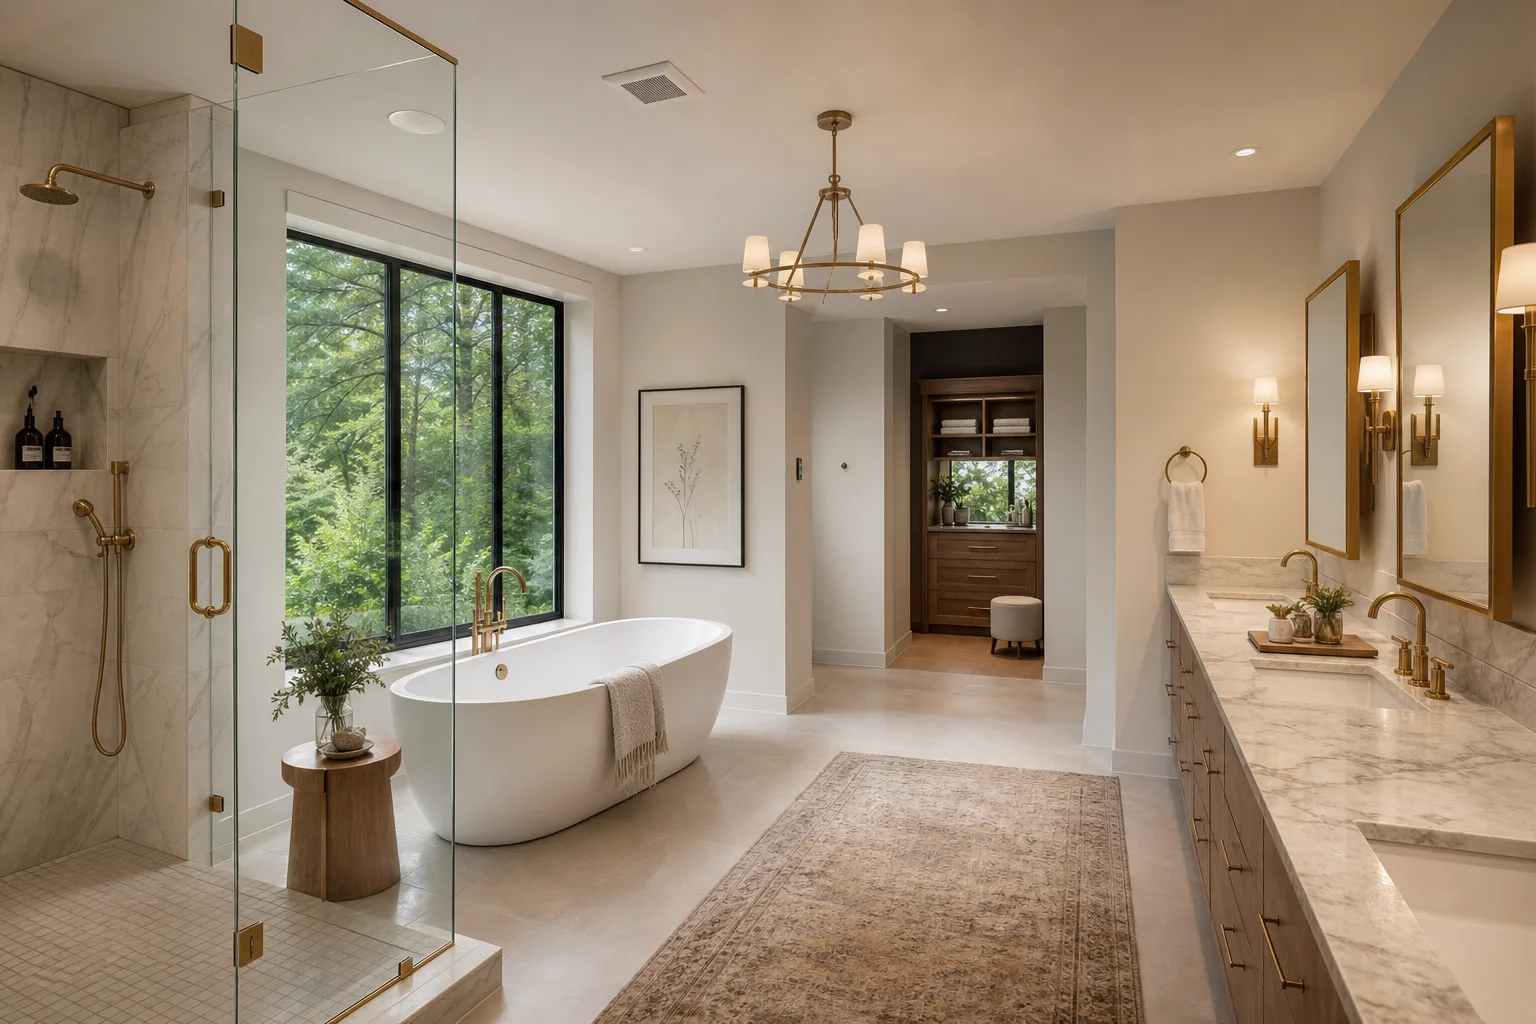
In a master bathroom with a separate tub area, the plan may extend to four or five sources. Task lighting at the vanity. Ambient downlights on a dimmer. A pendant or accent fixture at the tub zone on its own switch. A low-level baseplate or strip for night. That is still only three or four switch positions and two or three dimmer modules. The material cost of the controls is small relative to the rest of the renovation.
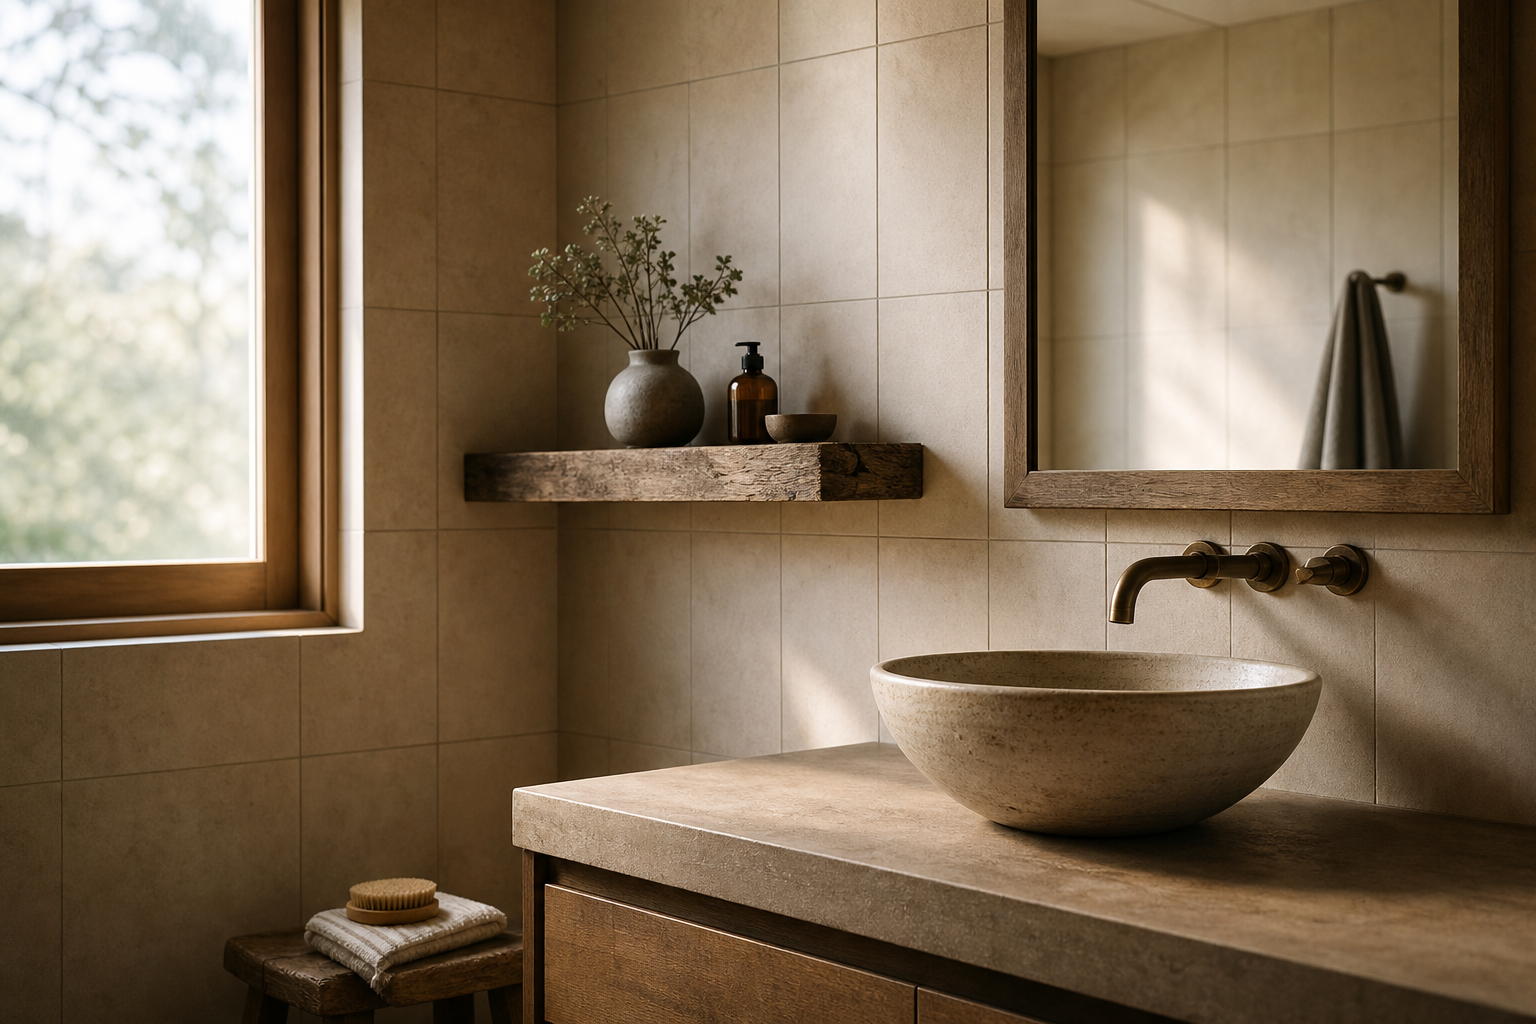
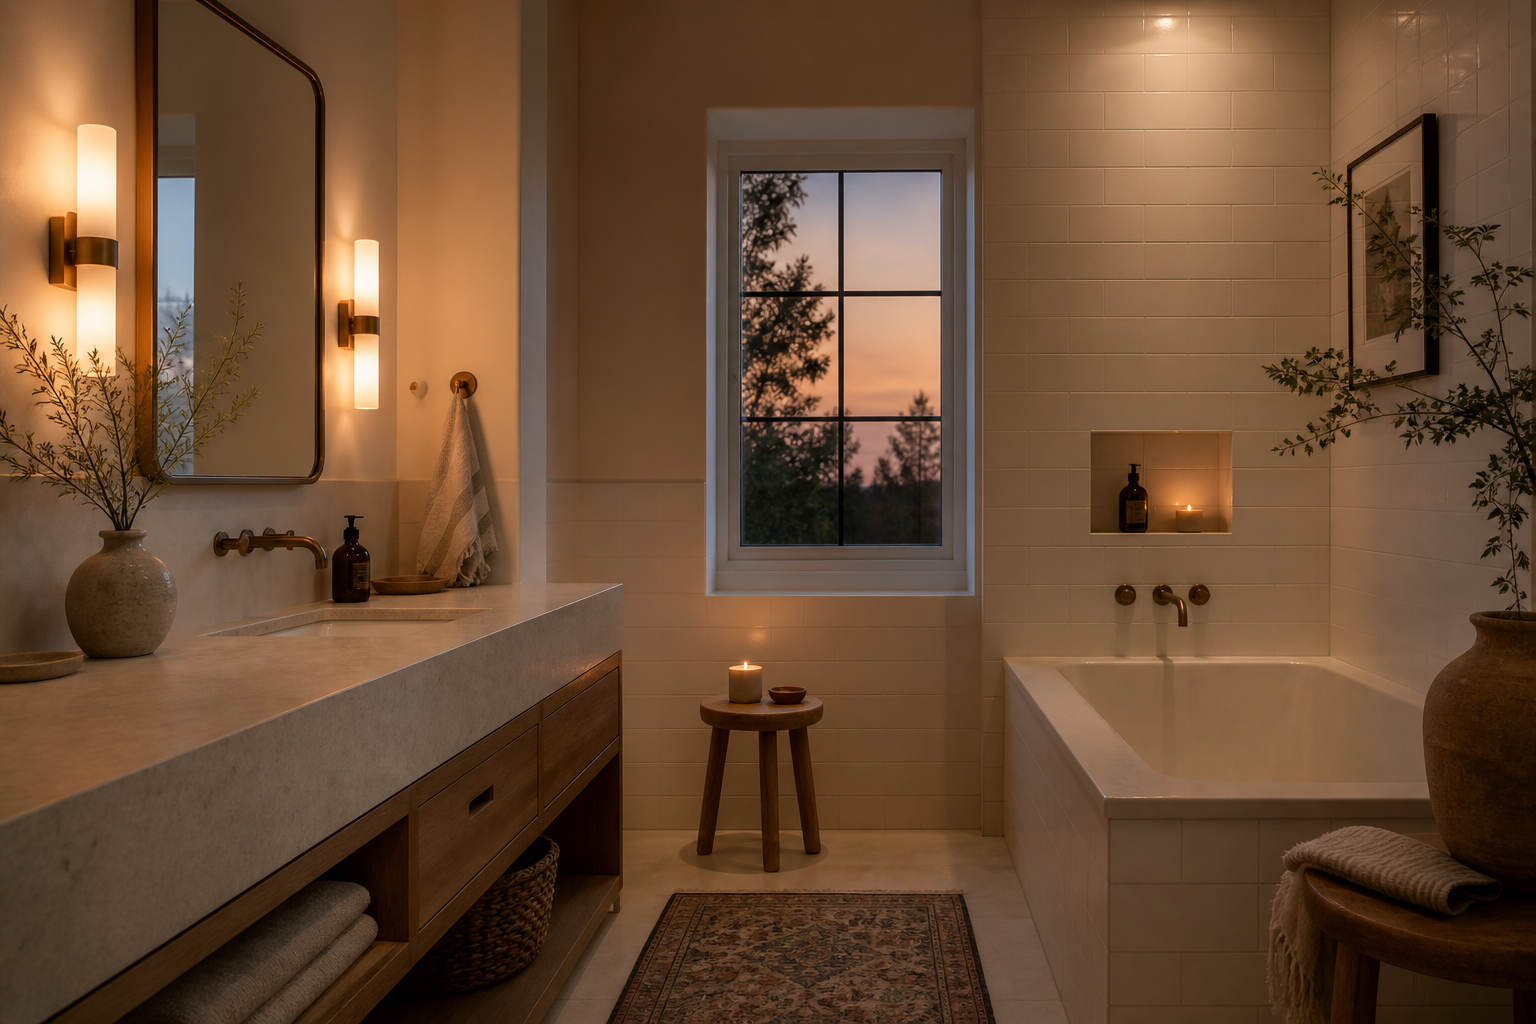
The piece that is easy to underestimate is how much the quality of a bathroom changes when the light is right at the actual time of use. A bathroom that wakes you up gently in a dim warm glow is a different room from the same bathroom under uniform flat overhead light. The same tile, the same vanity, the same mirrors. Different experience entirely.
Lighting zones are on our design drawings before the electrician rough-in is scheduled. We show task, ambient, and optional accent layers with their switch positions and dimmer locations. A client who sees this before walls close can make the decision it requires.