A curbless shower is technically achievable in almost any wood-framed home, but it is not a free upgrade from a curbed shower. It requires dropping or modifying the floor assembly to achieve adequate drain slope, extending waterproofing beyond the shower boundary, and correctly detailing the transition to the dry zone. Done well, it outlasts a curbed shower. Done poorly, it leaks into the subfloor at a location nobody will find for years.
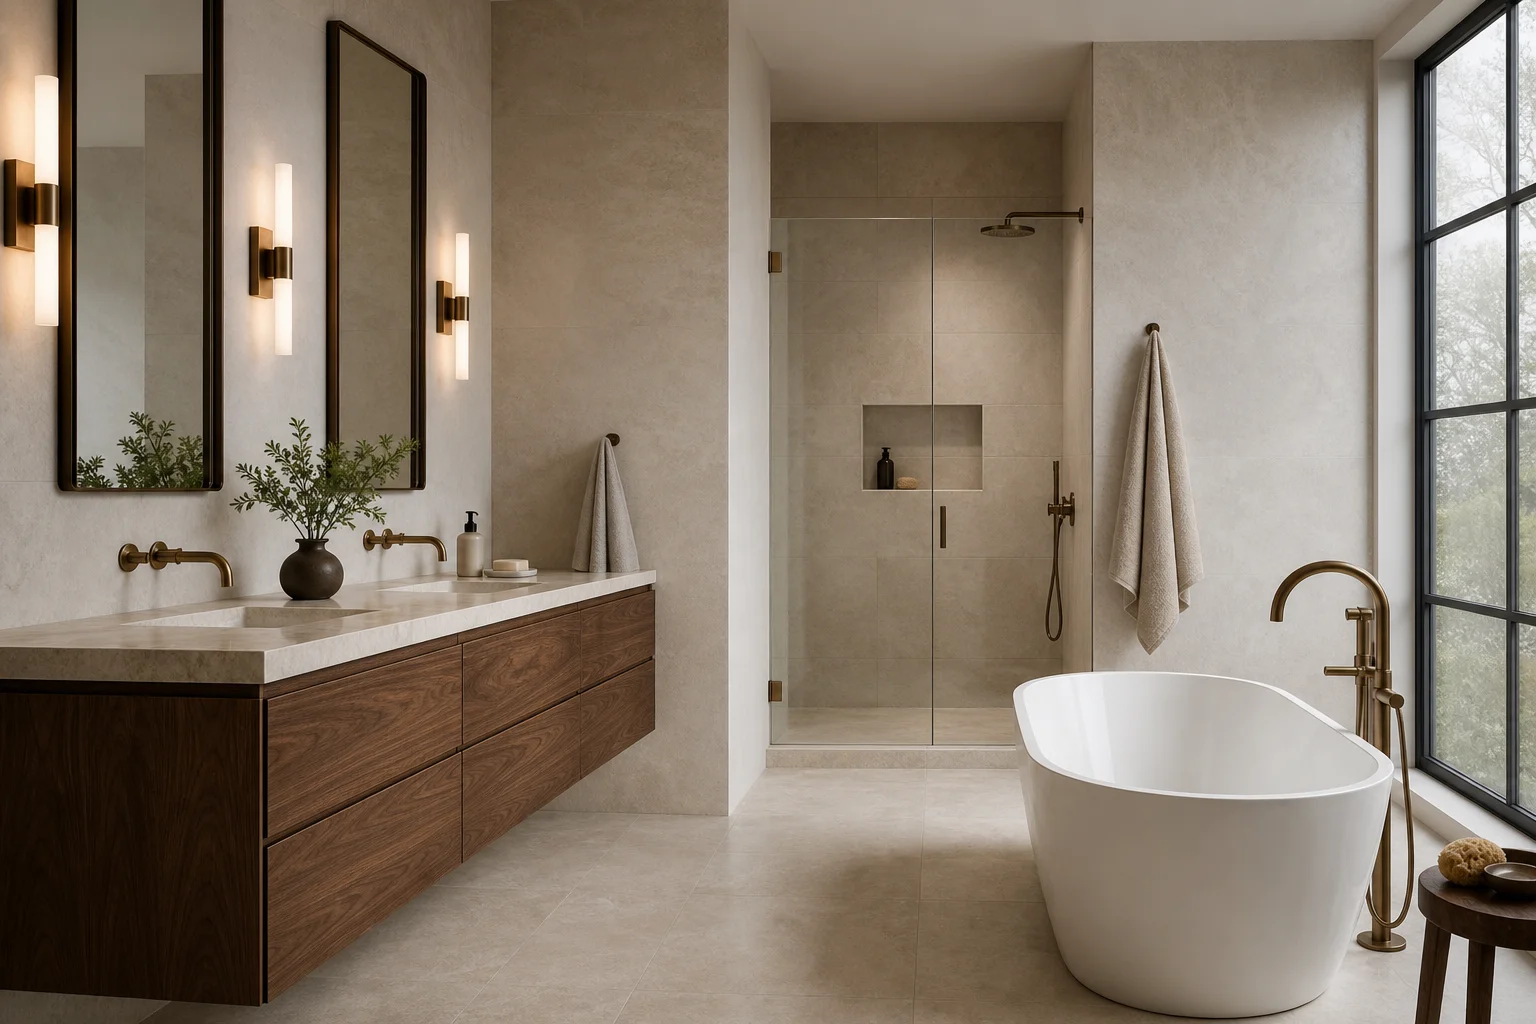
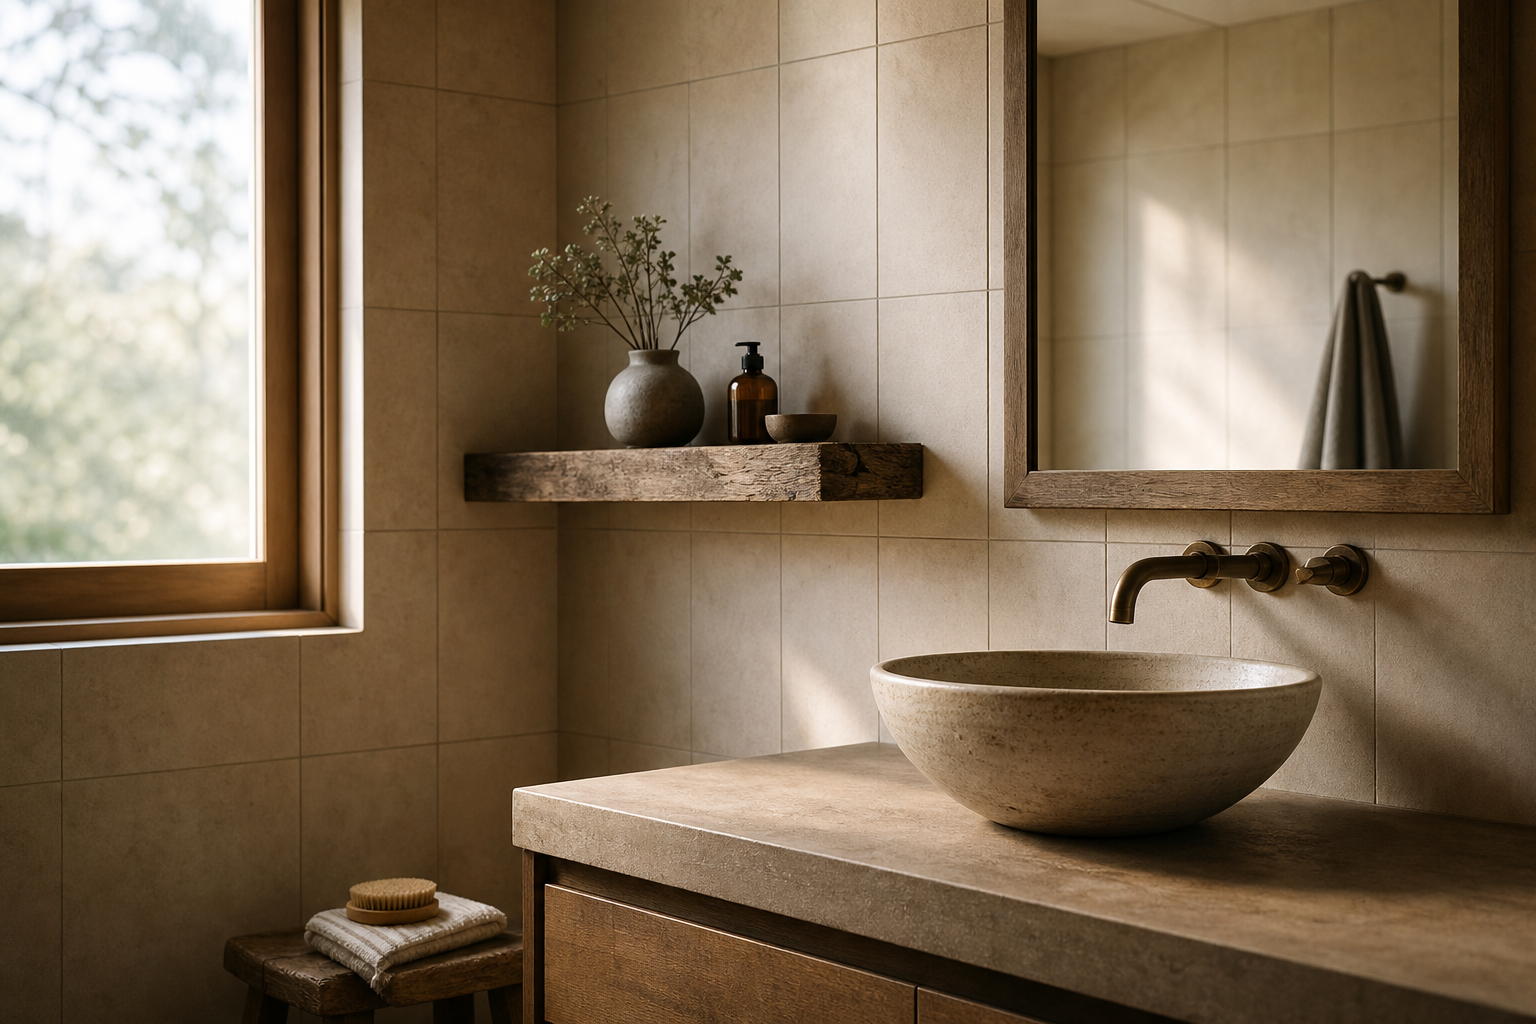
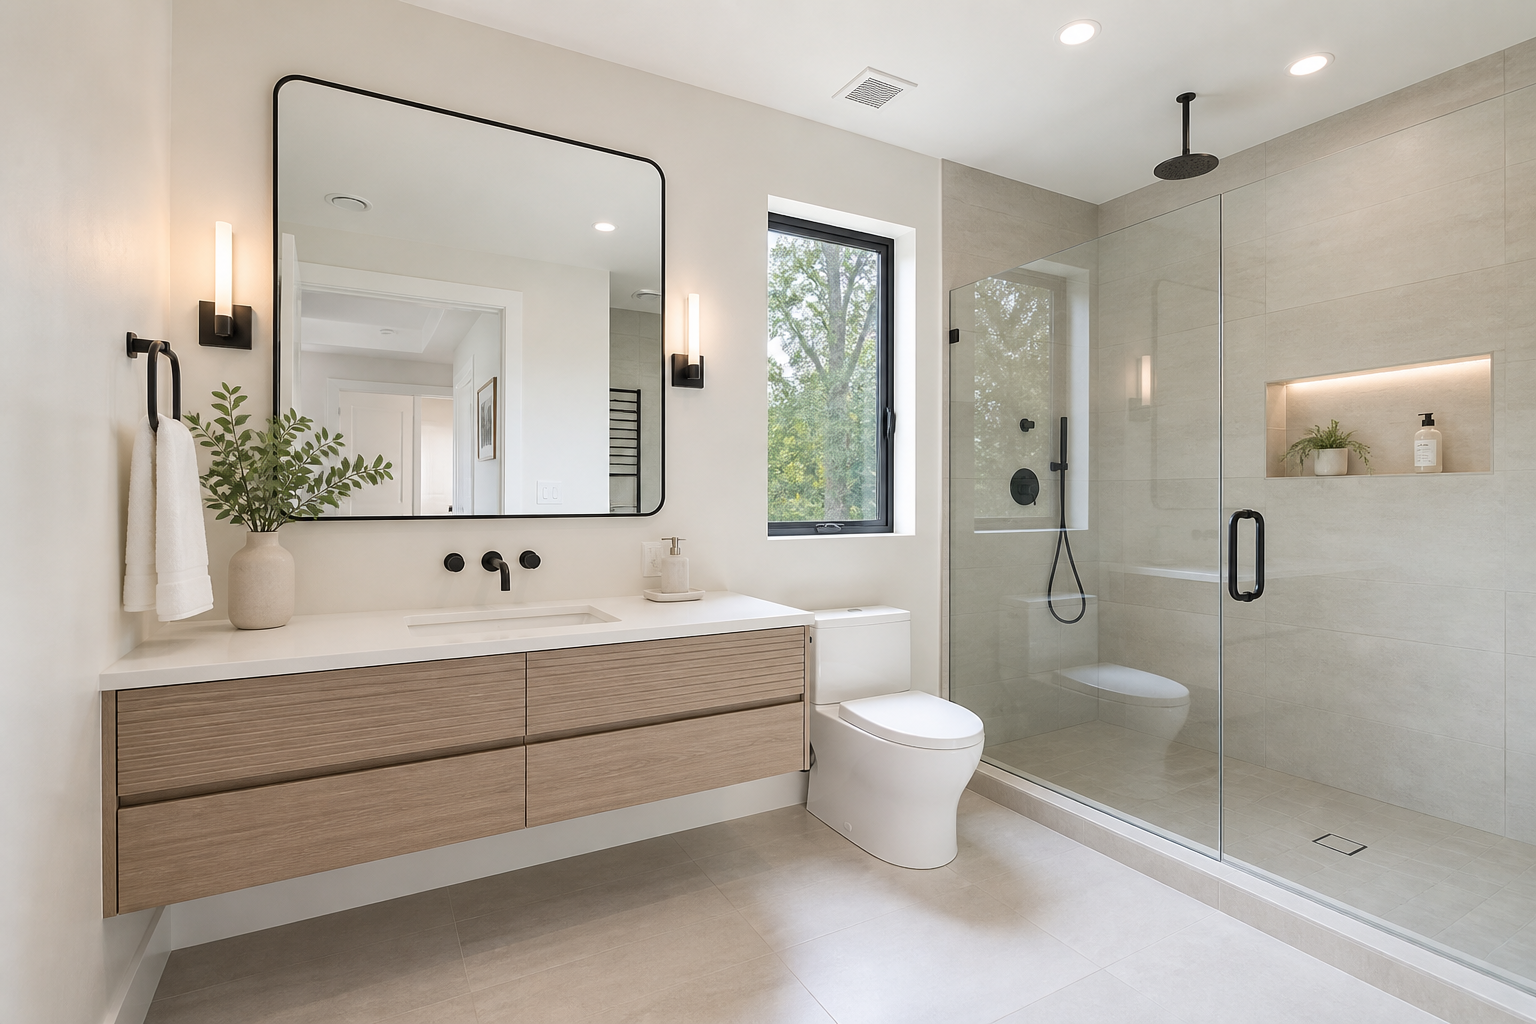
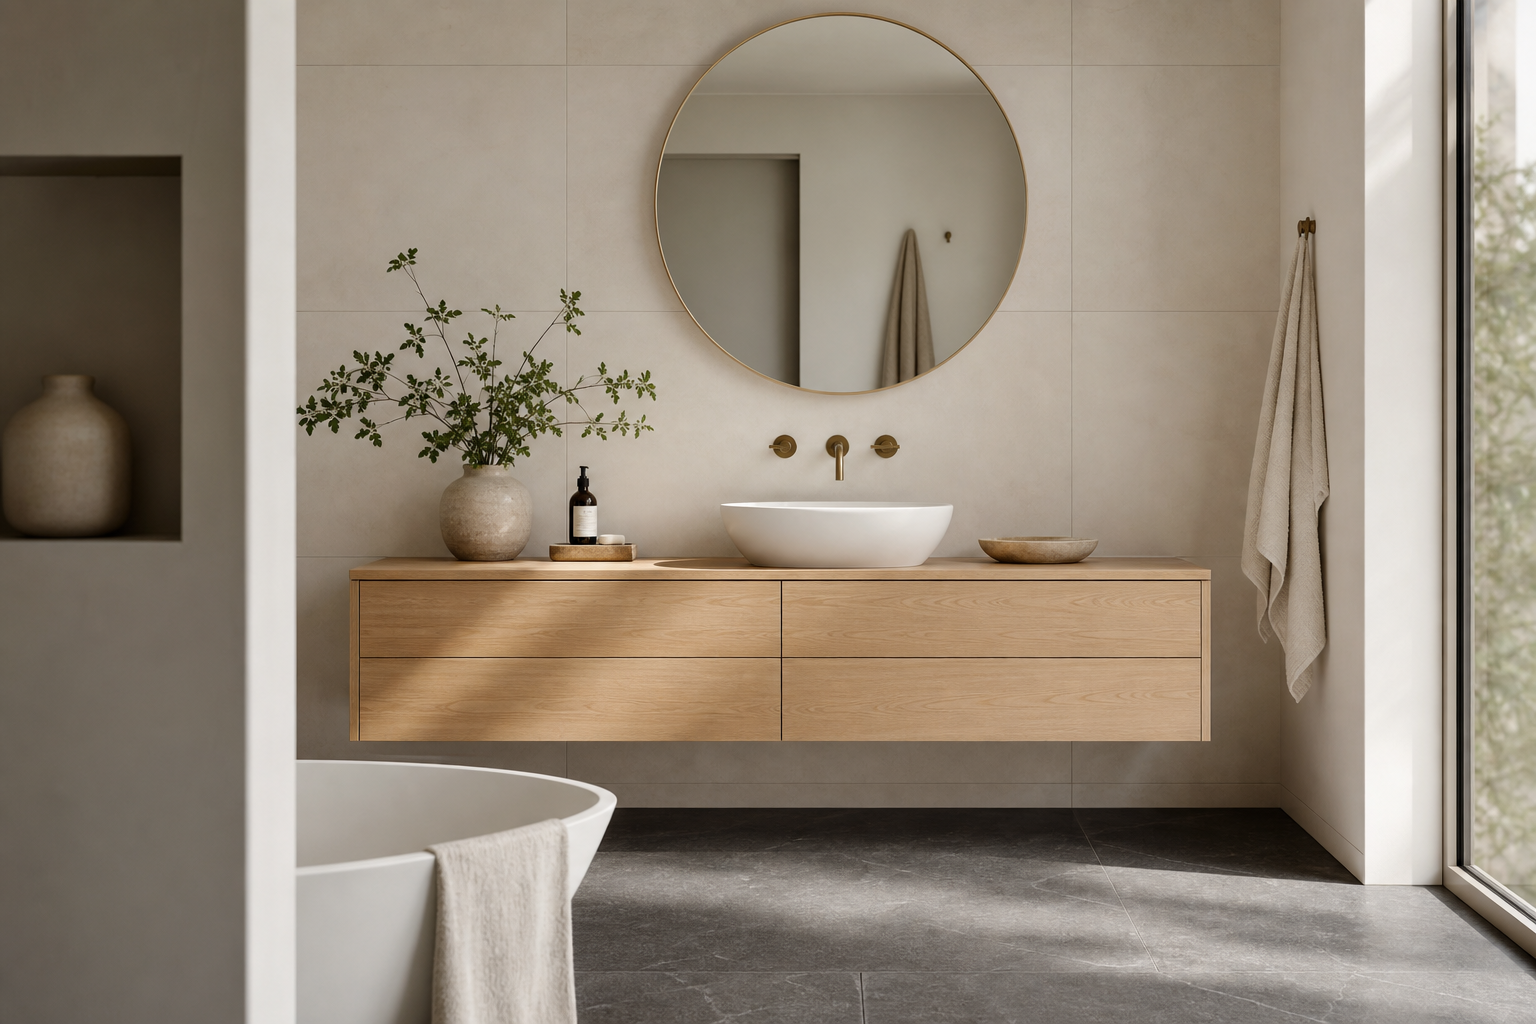
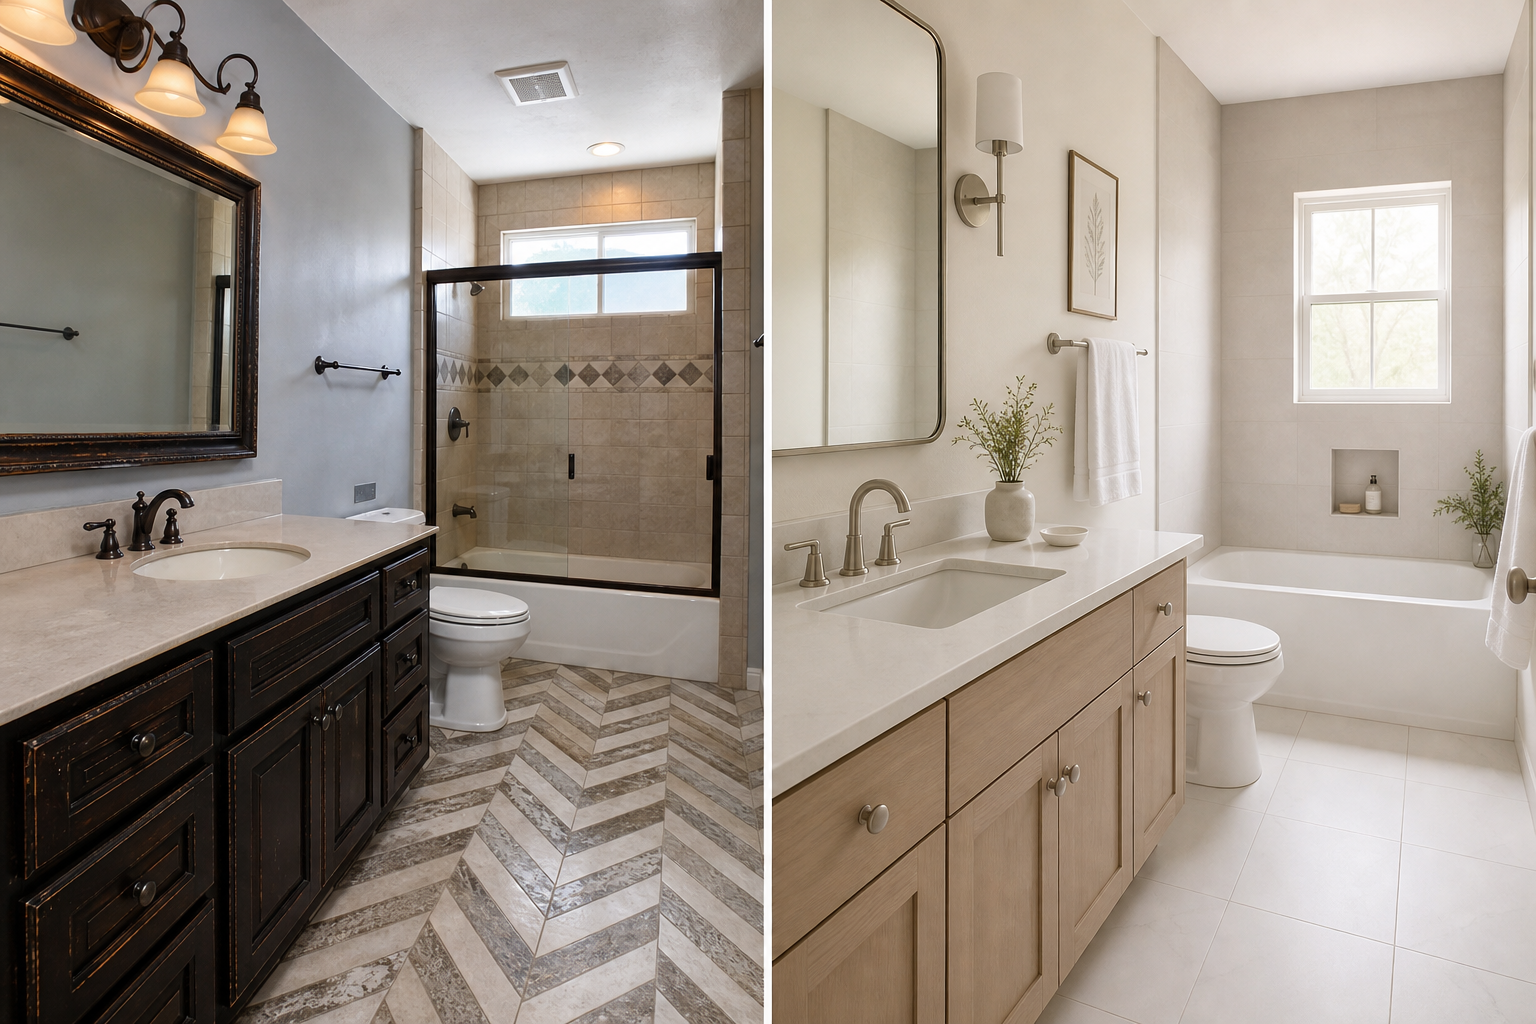
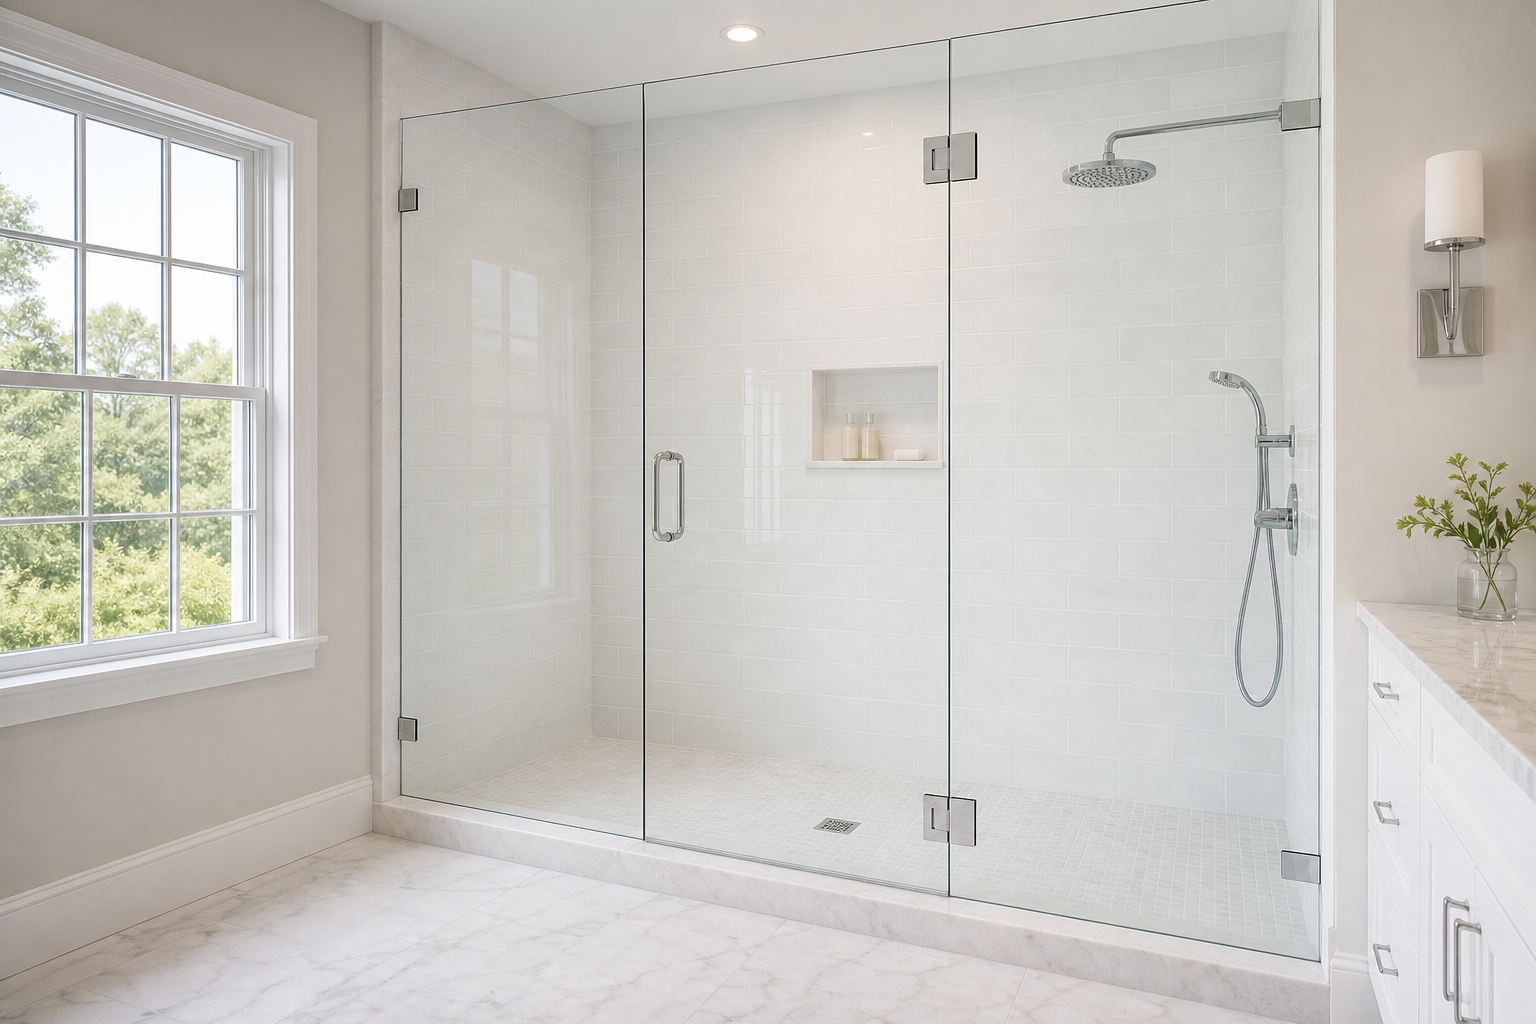
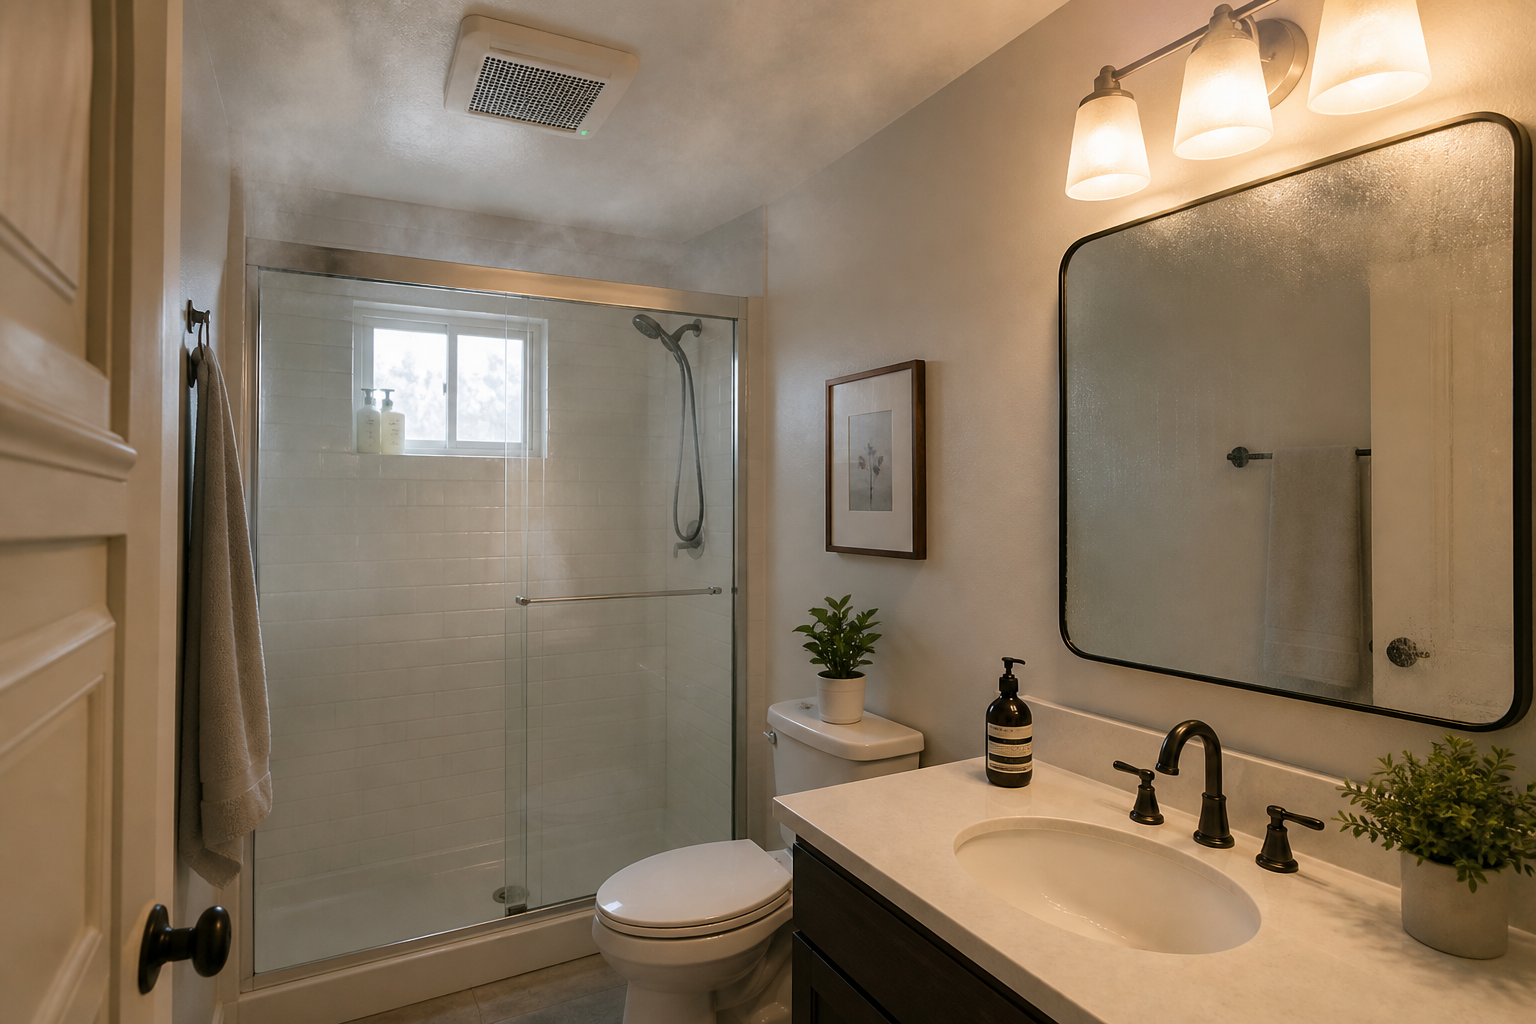
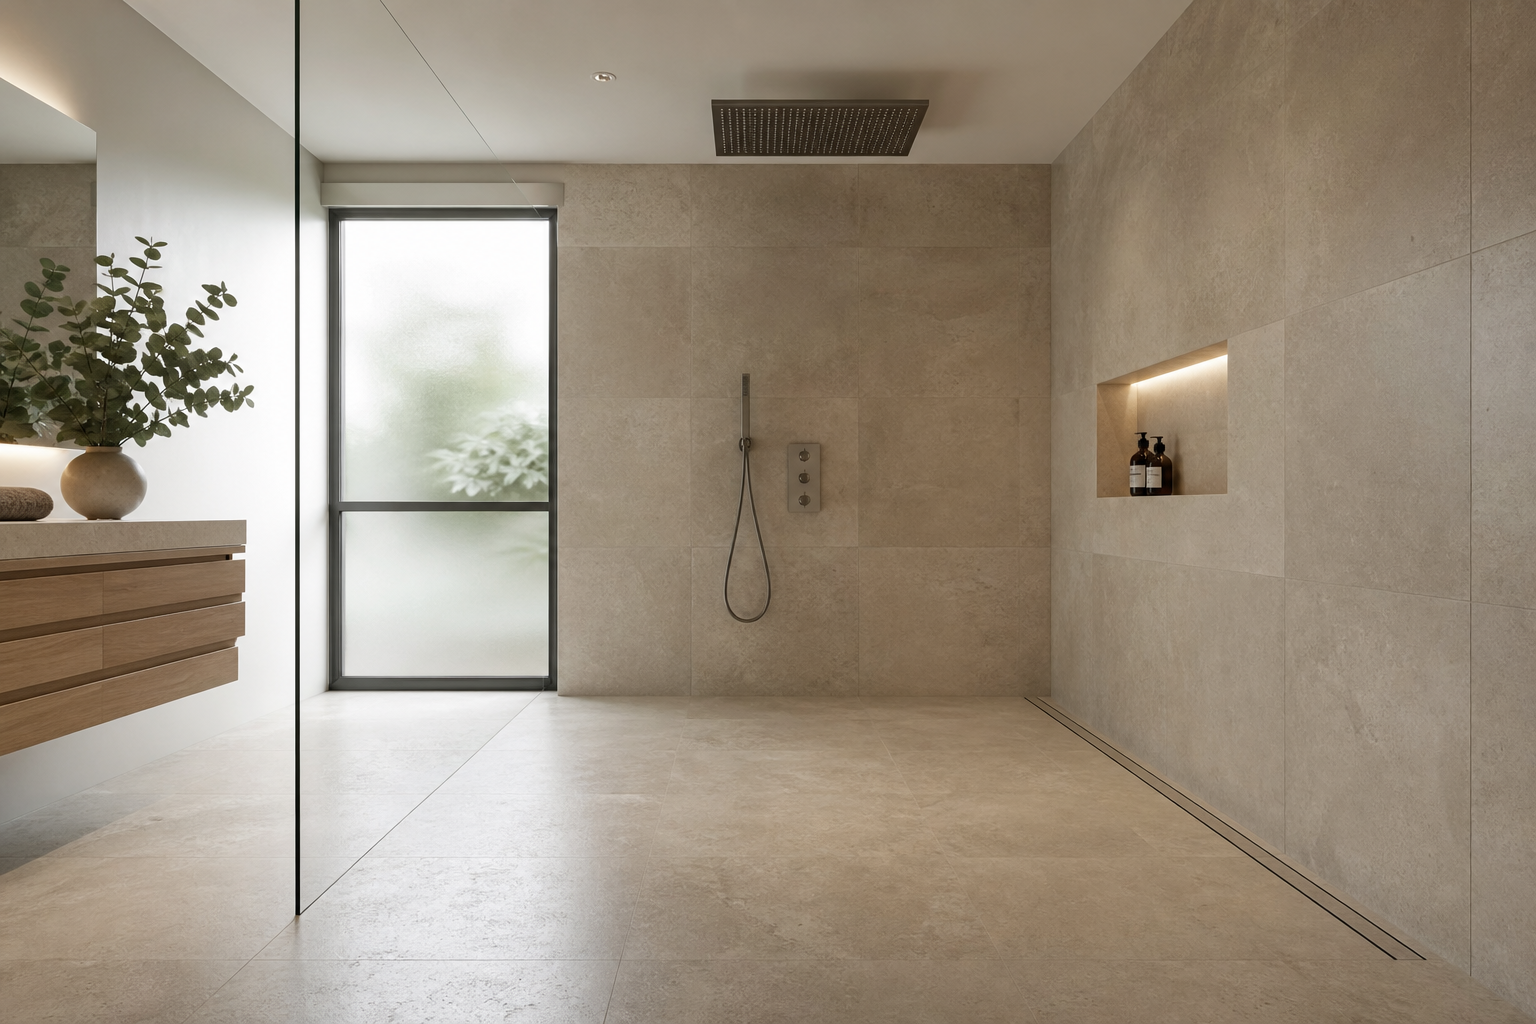
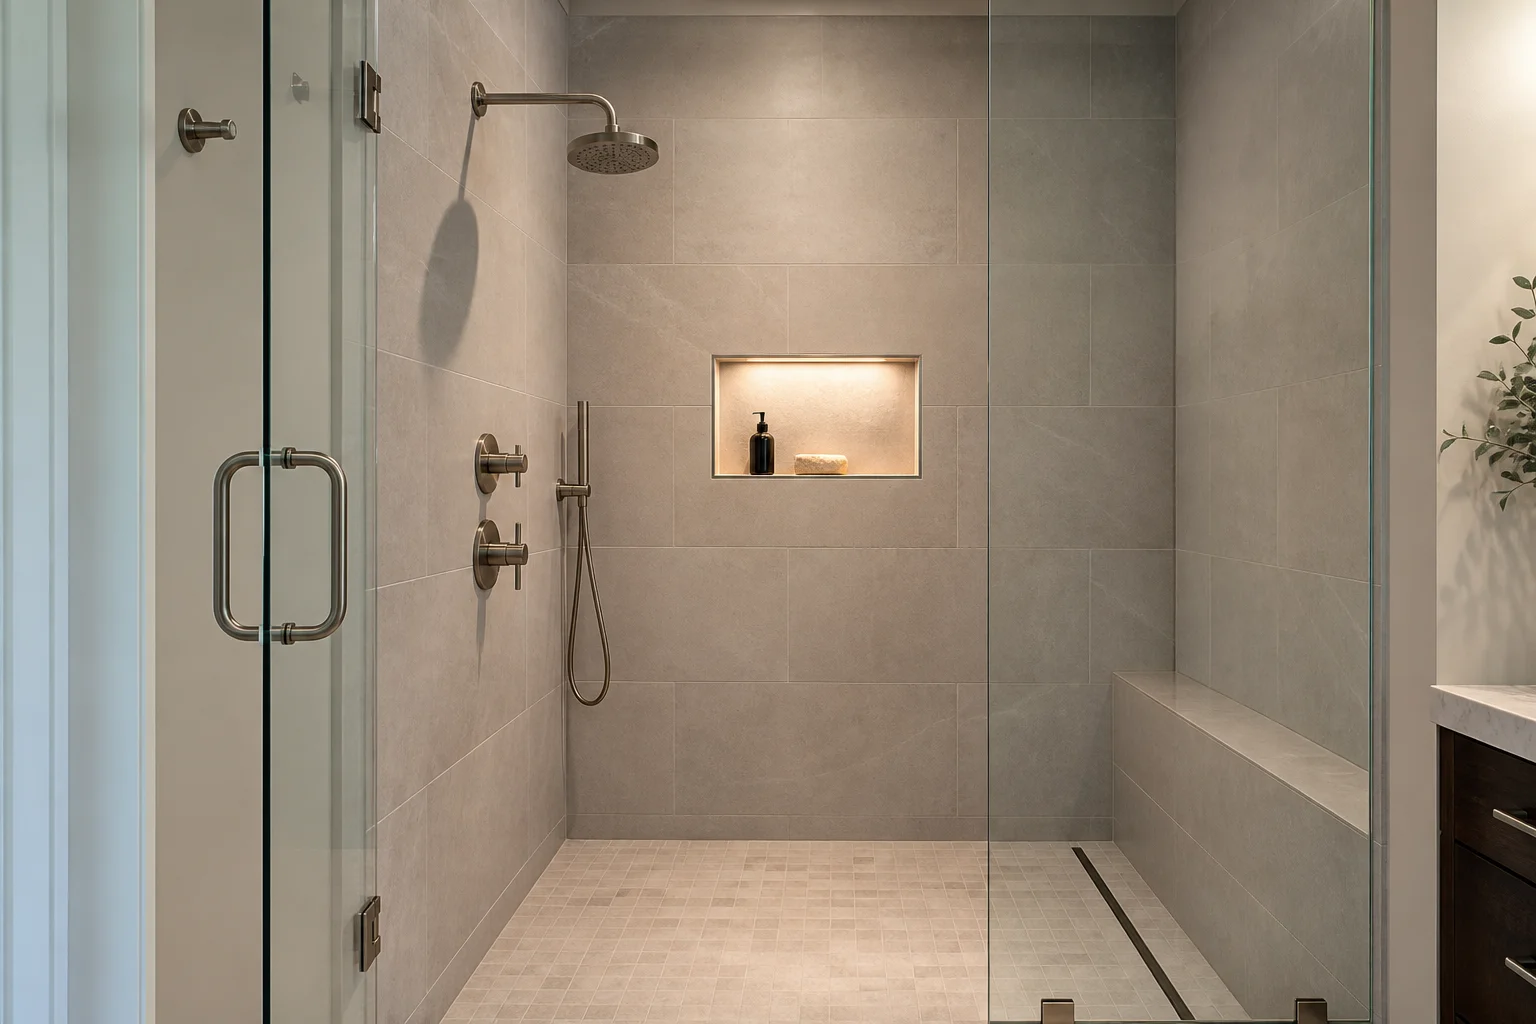
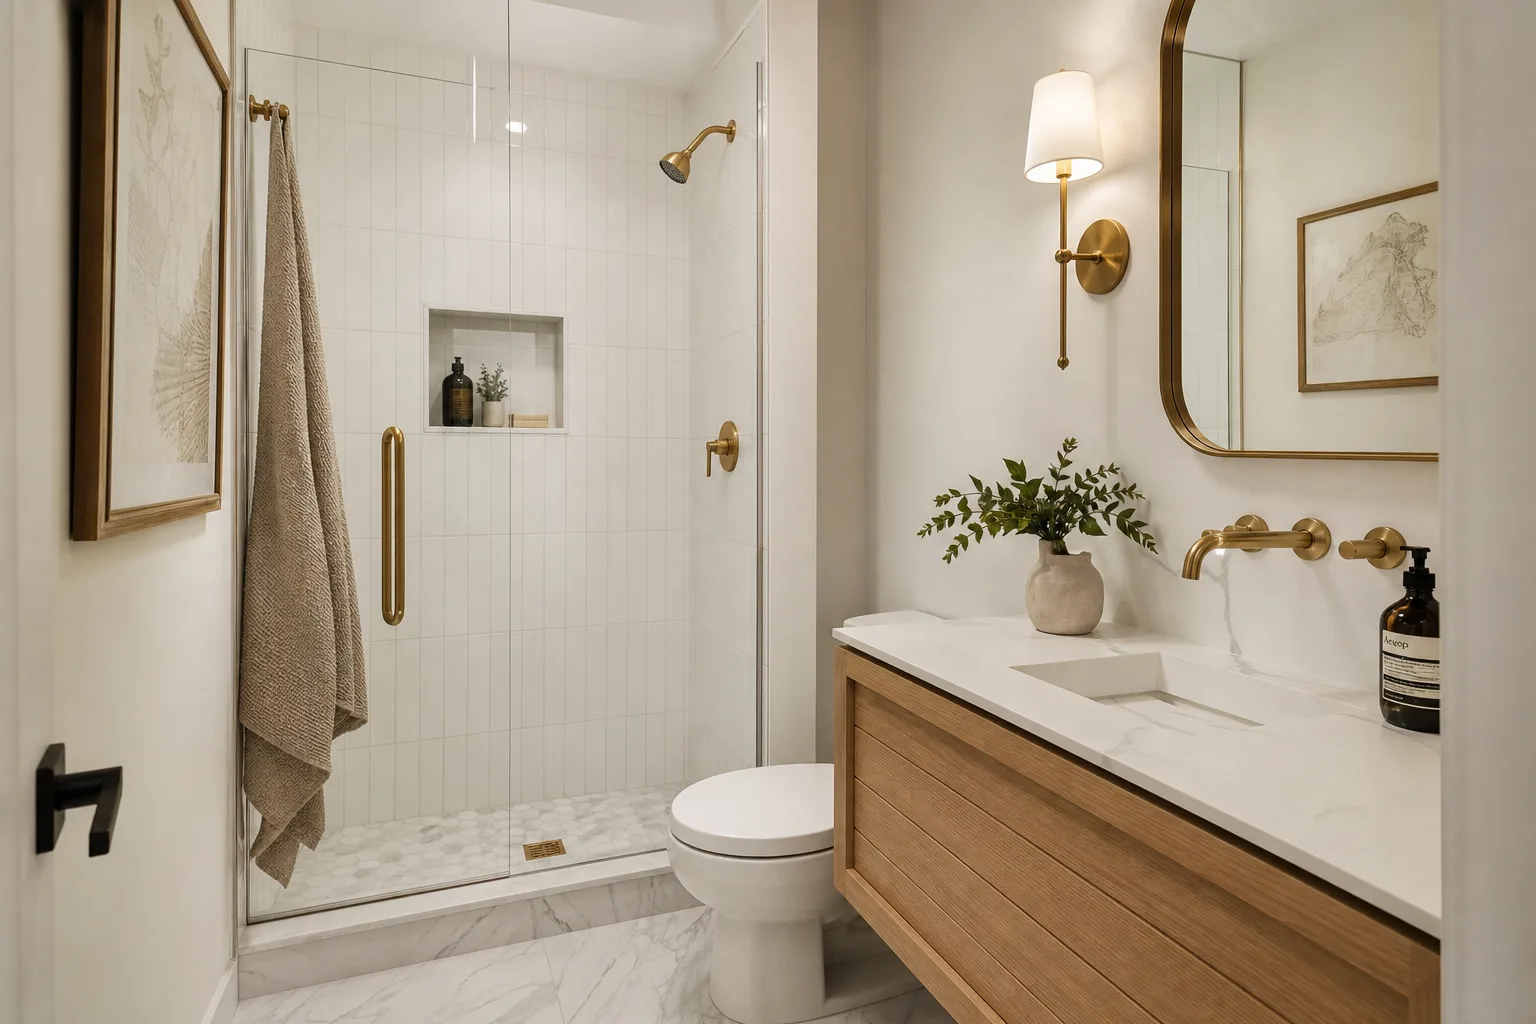
The conversation about curbless showers usually starts with aesthetics and ends there. The tile flows without interruption from the main floor into the shower. There is no curb to step over, nothing to stub a toe against, nothing to confine the wet zone visually. That continuity is clean, and it offers a genuine benefit for aging in place. What the conversation rarely includes is the structural and waterproofing work required to make the floor assembly behave correctly once the curb is gone.
A curbed shower is forgiving in a specific way: the curb contains standing water, provides a physical boundary for the waterproofing membrane, and lets the floor slope run in any direction that reaches the drain. Remove the curb and none of those things are automatic anymore. The floor must slope toward the drain without a physical barrier to stop water from migrating outward. The waterproofing must extend past the point where the tile ends. The transition between wet zone and dry zone must be detailed carefully enough that daily foot traffic does not crack it open and let water find the subfloor. Each of those requirements demands deliberate design, not just an absence of the curb.
The Floor Has to Go Somewhere
The International Residential Code requires a minimum slope of 1/4 inch per foot toward the drain in wet areas. That requirement does not become optional because you decided to skip the curb. What changes is where that slope lives in the floor assembly.
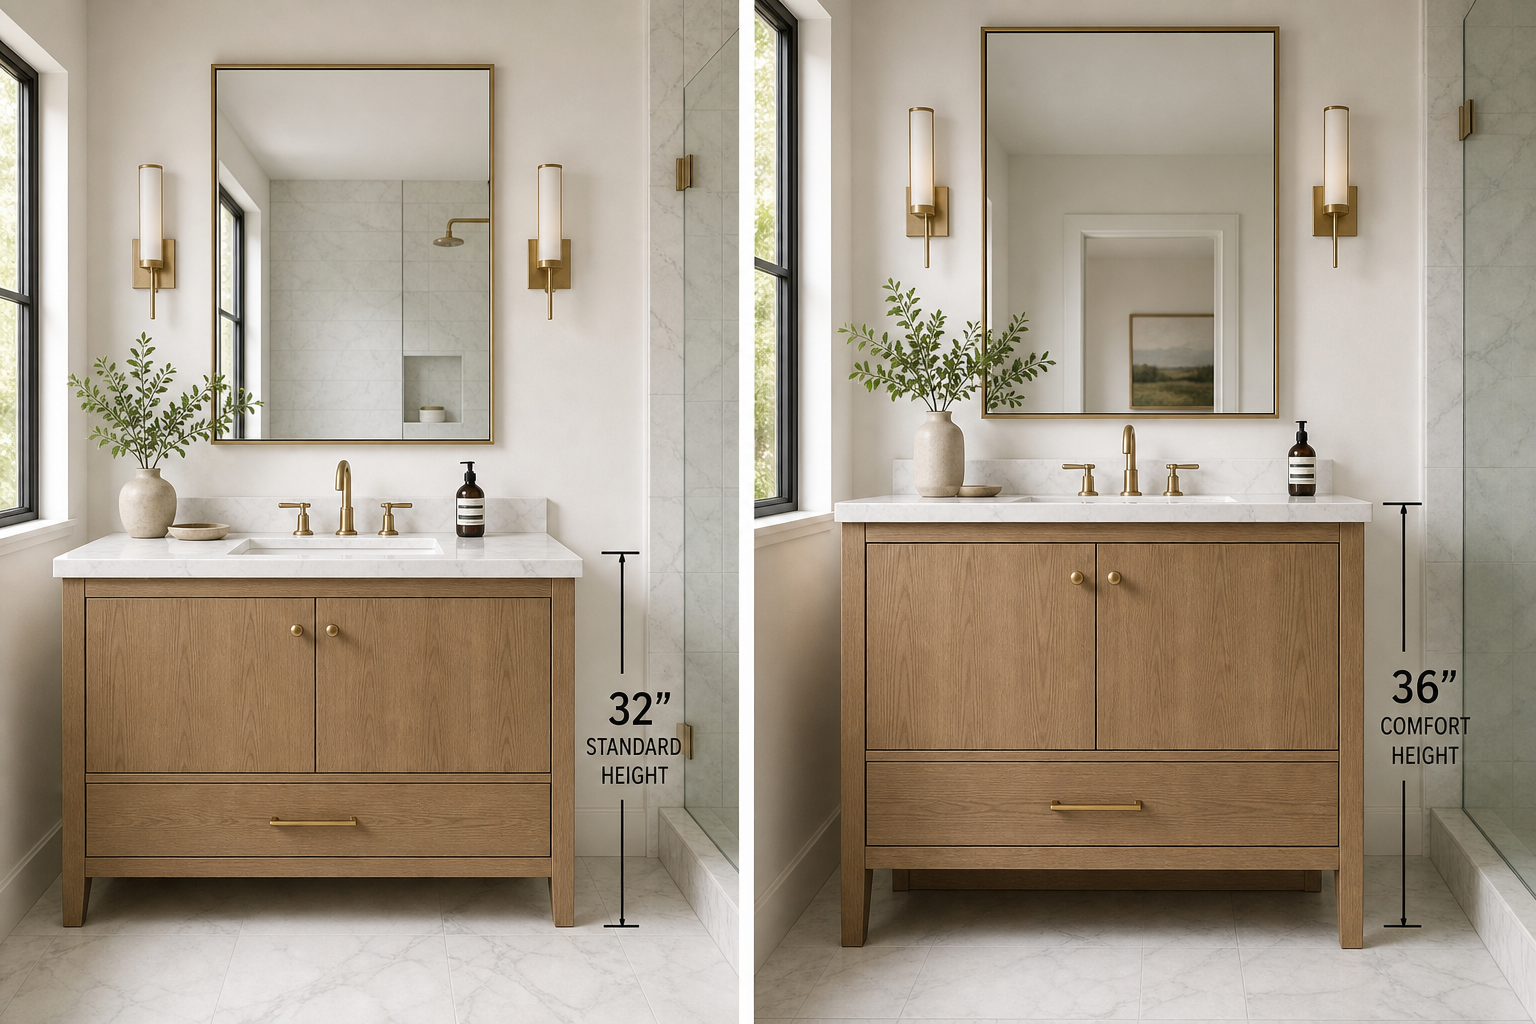
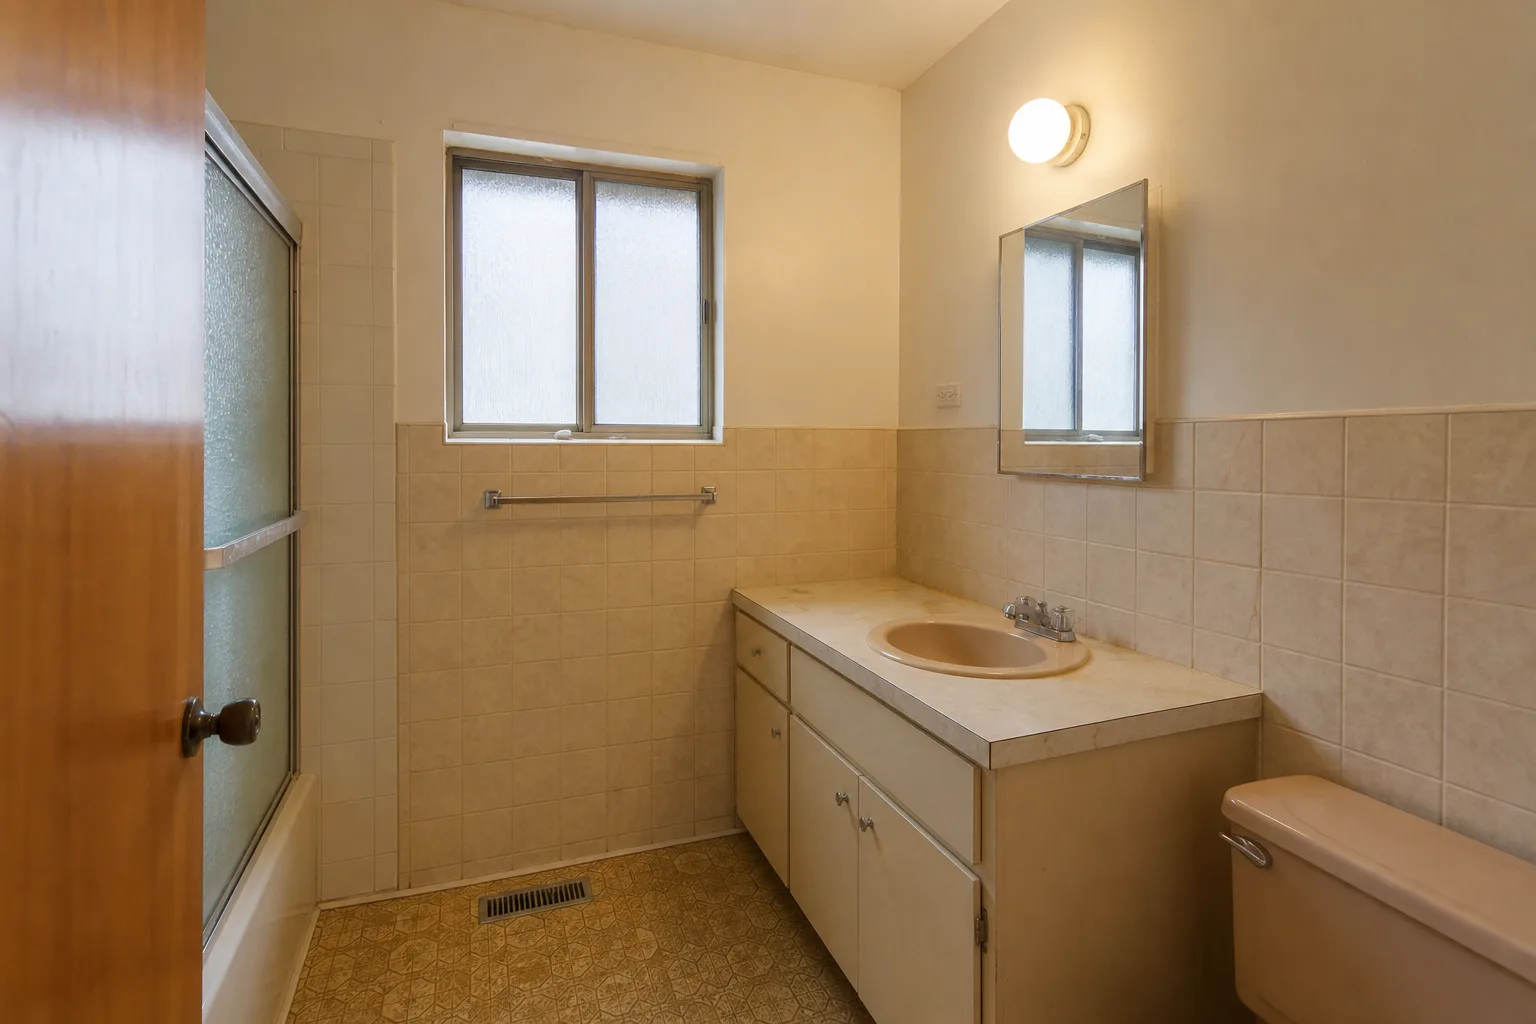
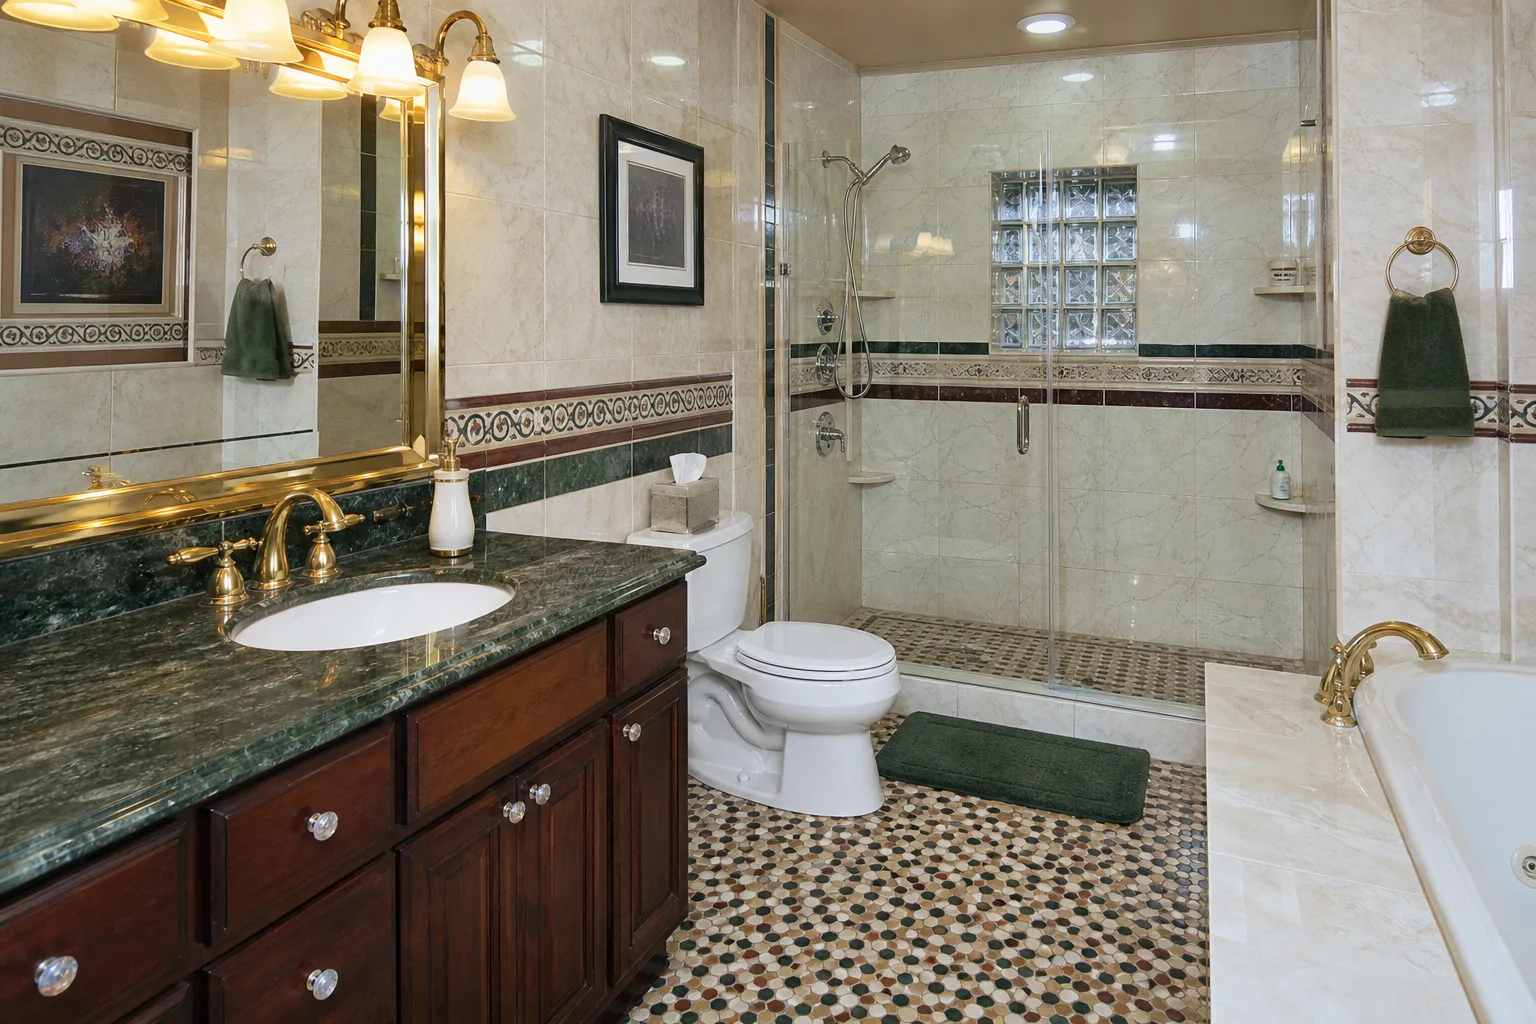
In a curbed shower, the mortar bed builds up from the subfloor level. The curb keeps the sloped floor contained and raises the finished shower surface slightly above the bathroom floor. Walk into almost any older tile shower with a curb and you will notice the small step up. That step is what makes the geometry work without modifying the floor structure beneath it. The curb is doing real structural work even as it does aesthetic work.
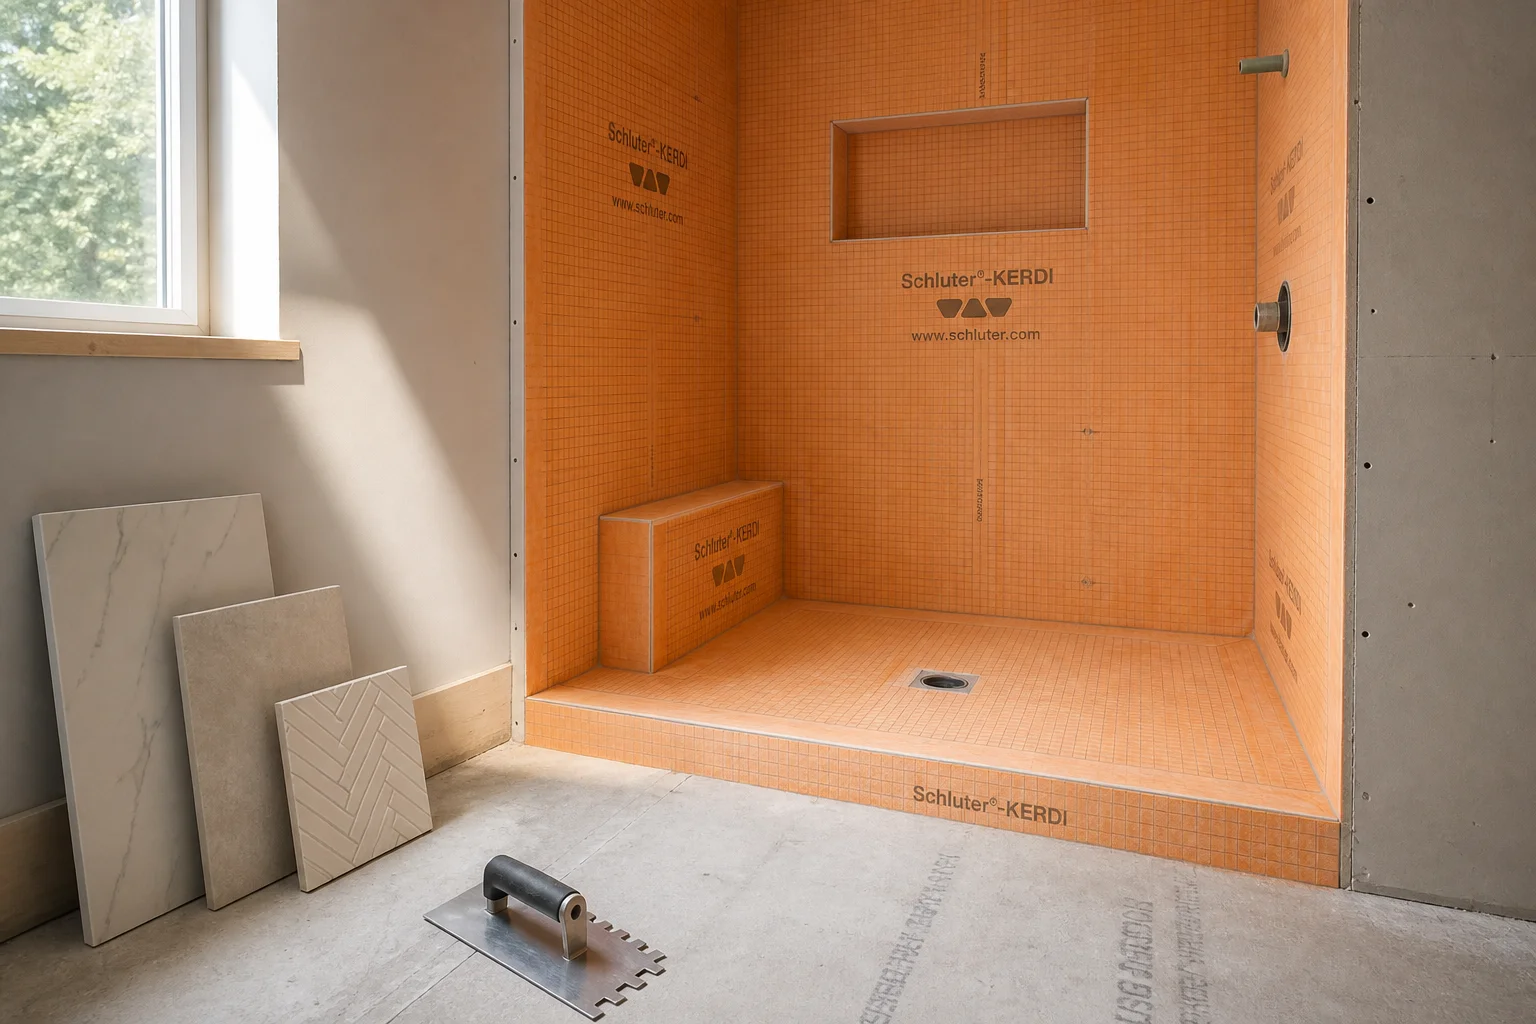
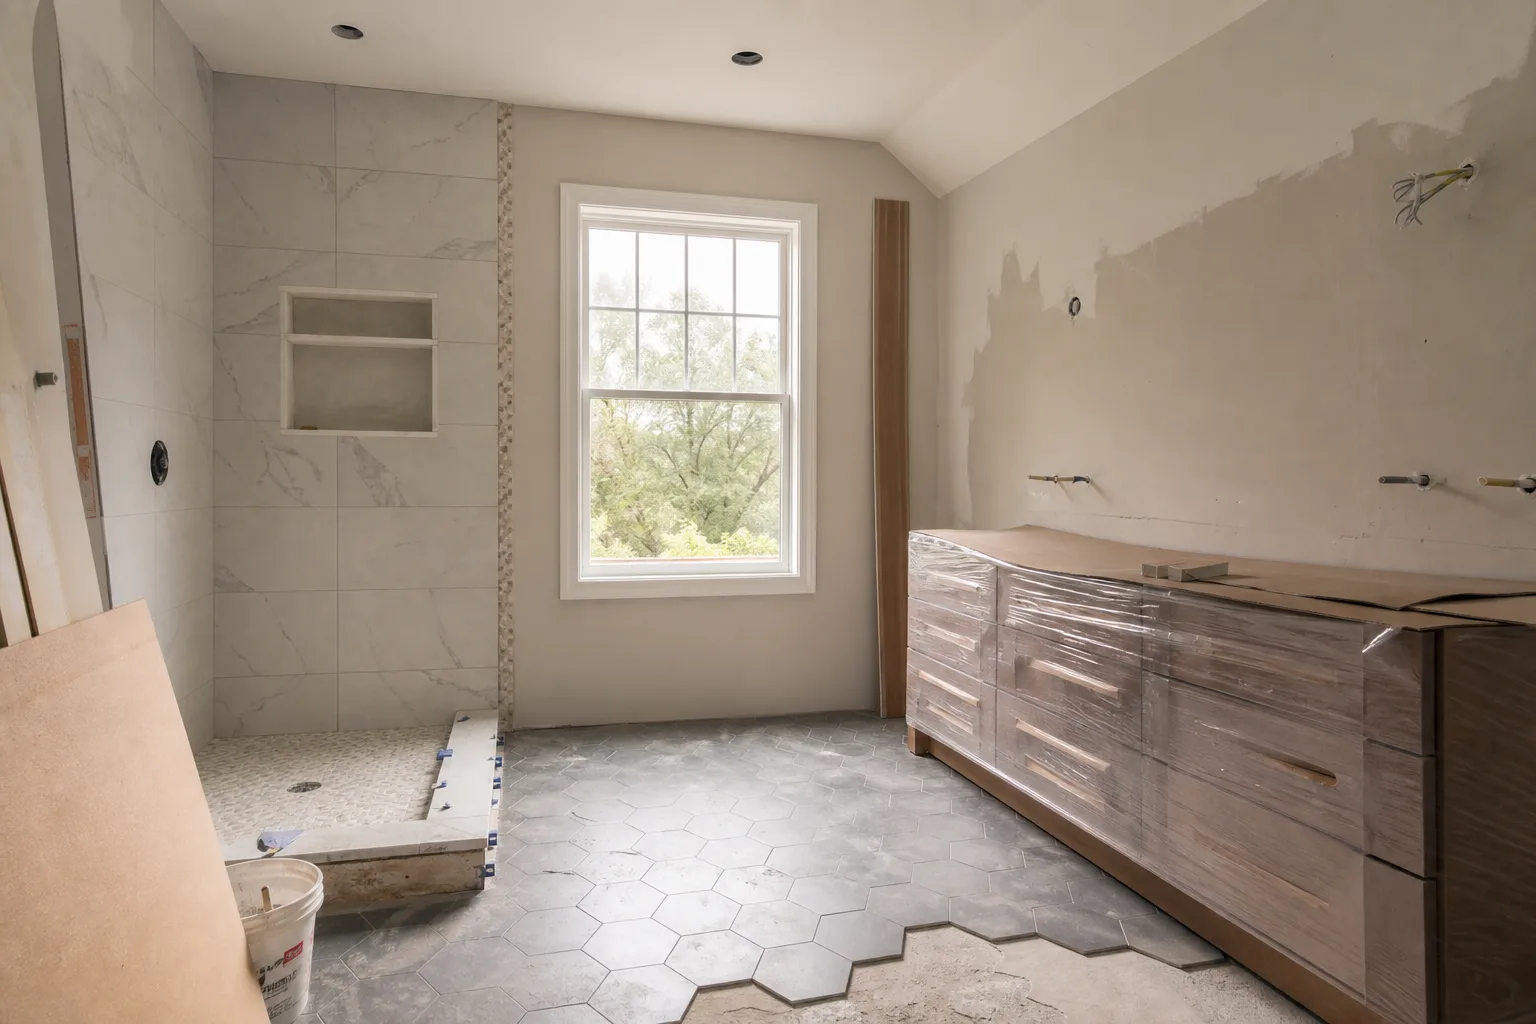
In a curbless shower, the finished shower tile has to end at the same elevation as the finished bathroom tile outside the shower. The sloped mortar bed, the drain assembly, and the waterproofing membrane all have to fit below the elevation of the surrounding floor, not above it. The space required to achieve that has to come from somewhere, and in a wood-framed home, it comes from the floor assembly itself.
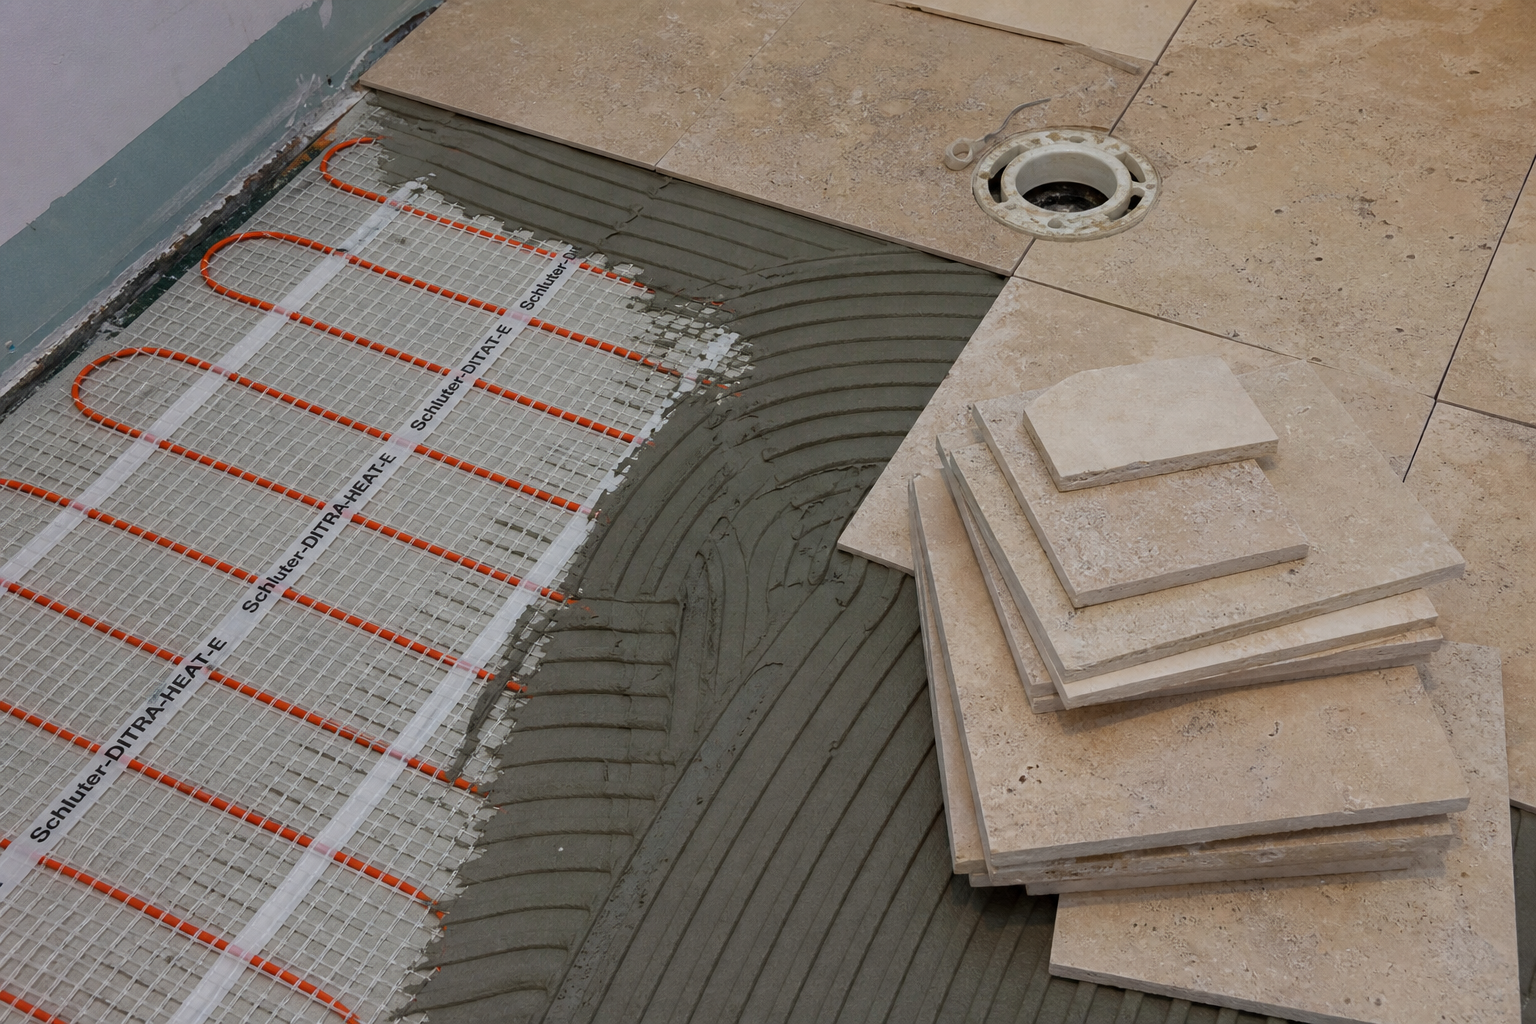
The standard approach is to drop the subfloor within the shower footprint. The existing subfloor is cut away between the joists. New blocking or sistered framing is installed at a lower elevation. A new section of subfloor is set at that lower level. The drain body is positioned so its top sits below the original subfloor plane. The slope then rises from the drain outward toward the shower boundary, where the finished tile level meets the bathroom floor in a flush transition.
Getting the math right requires measuring three things before committing to the detail: the thickness of the existing subfloor, the depth of the joist system, and the drain height of the specific drain body being specified. The SCI-BC accessible shower installation guide notes that most curbless conversions require the floor to be recessed 1-1/2 to 2 inches below the surrounding subfloor, and sometimes more for larger shower footprints. A standard-depth joist system may provide plenty of room for that recess. A shallow joist in a tight floor assembly may not, and the solution changes depending on what is actually there before anything is removed.
This is why the assessment has to precede the specification. A contractor who promises a curbless shower before looking at the floor assembly is promising something they have not yet verified is achievable at the required slope.
What Happens When the Joists Are Engineered Lumber
Many homes built in the last three decades use TJI floor joists rather than dimension lumber. TJIs perform well for span and load, but they respond differently to modification than solid lumber does, and the differences are not obvious from looking at the joist.
Weyerhaeuser, which manufactures TJI joists under the Trus Joist brand, has published technical guidance specifically for curbless shower installations over their product. The documentation identifies two concerns that are not intuitive. First, cutting away the composite subfloor interrupts the glued-and-nailed diaphragm action the joist relies on for deflection performance; the system assumes continuous composite action, and the shower recess eliminates that condition at the modified location. Second, the web of a TJI cannot be sistered the way a dimensional lumber joist can without first installing filler blocks flush to the top flange and following specific nailing patterns into those blocks. Nailing directly into the joist flange is not recommended and can reduce the capacity of the system.
Both concerns are manageable with correct detailing. They require a contractor who knows which questions to ask and has read the engineering guidance for the specific product in the floor. A contractor who has installed curbless showers successfully over solid-lumber joists many times may not have encountered the TJI-specific requirements and may not think to check. The finished floor looks the same either way. The difference is in what is underneath it and whether it was assembled correctly.
Weyerhaeuser's technical documentation for TJI curbless showers also emphasizes that any hole cut into the floor sheathing must meet code requirements for diaphragm hole reinforcement, and that the structural analysis for the modified section may require a designer of record when the loading conditions are unusual. These are considerations that never come up in a conversation about tile selection or fixture choice. They come up when someone with structural knowledge looks at the floor before the walls are opened.
Linear Drain at the Entry as an Alternative
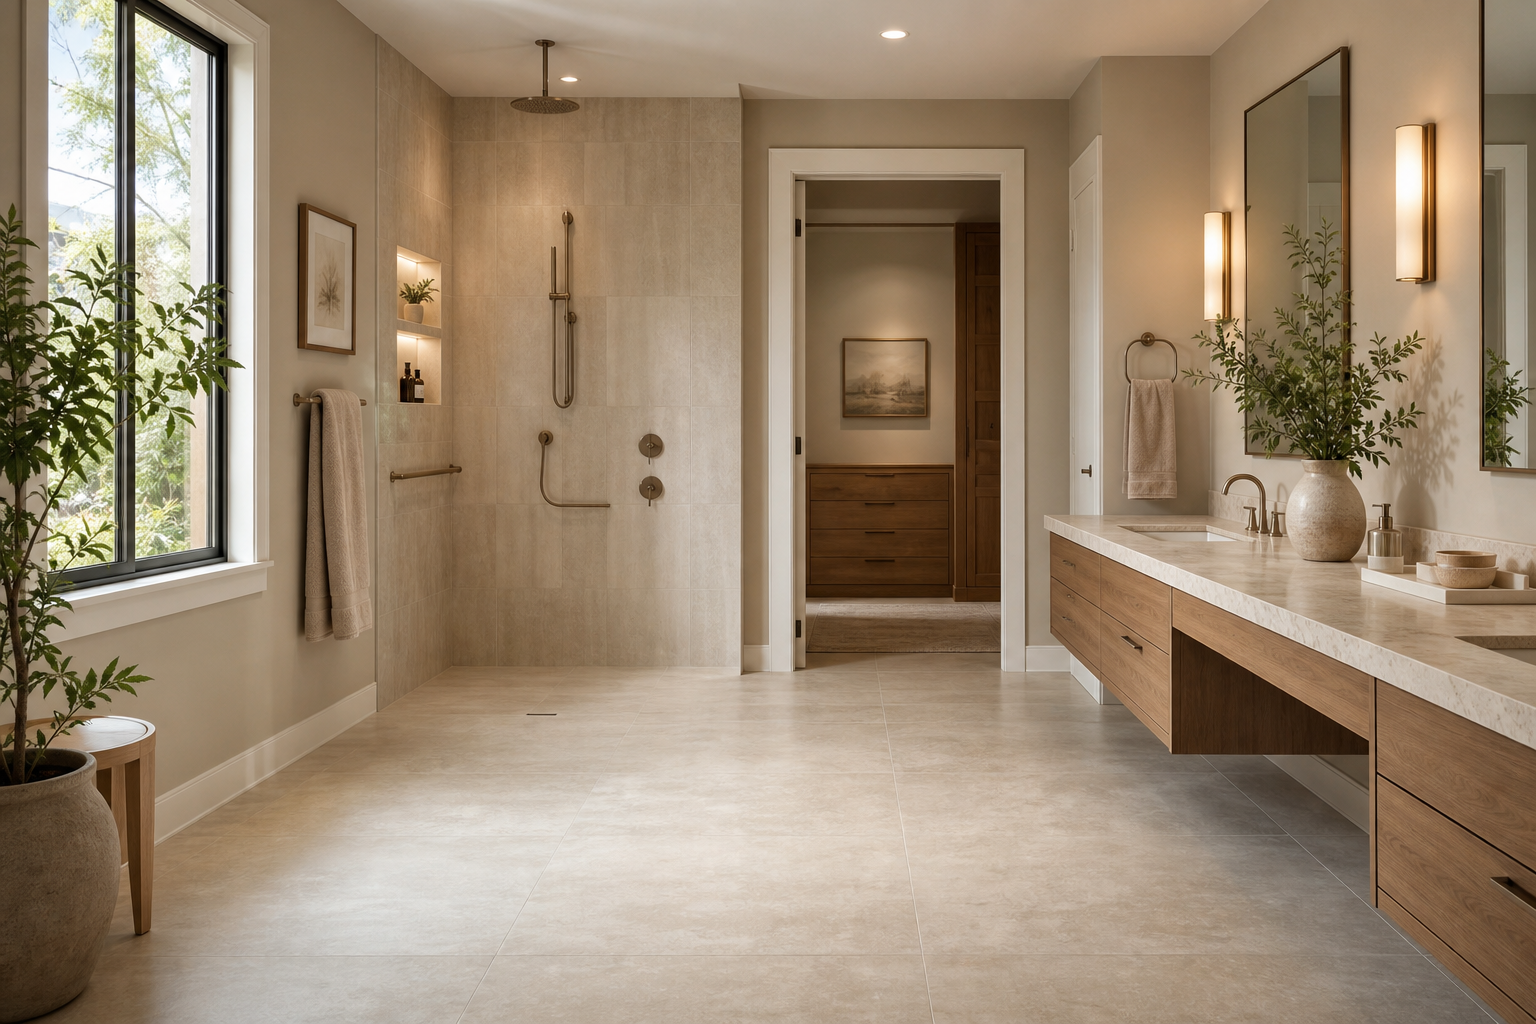
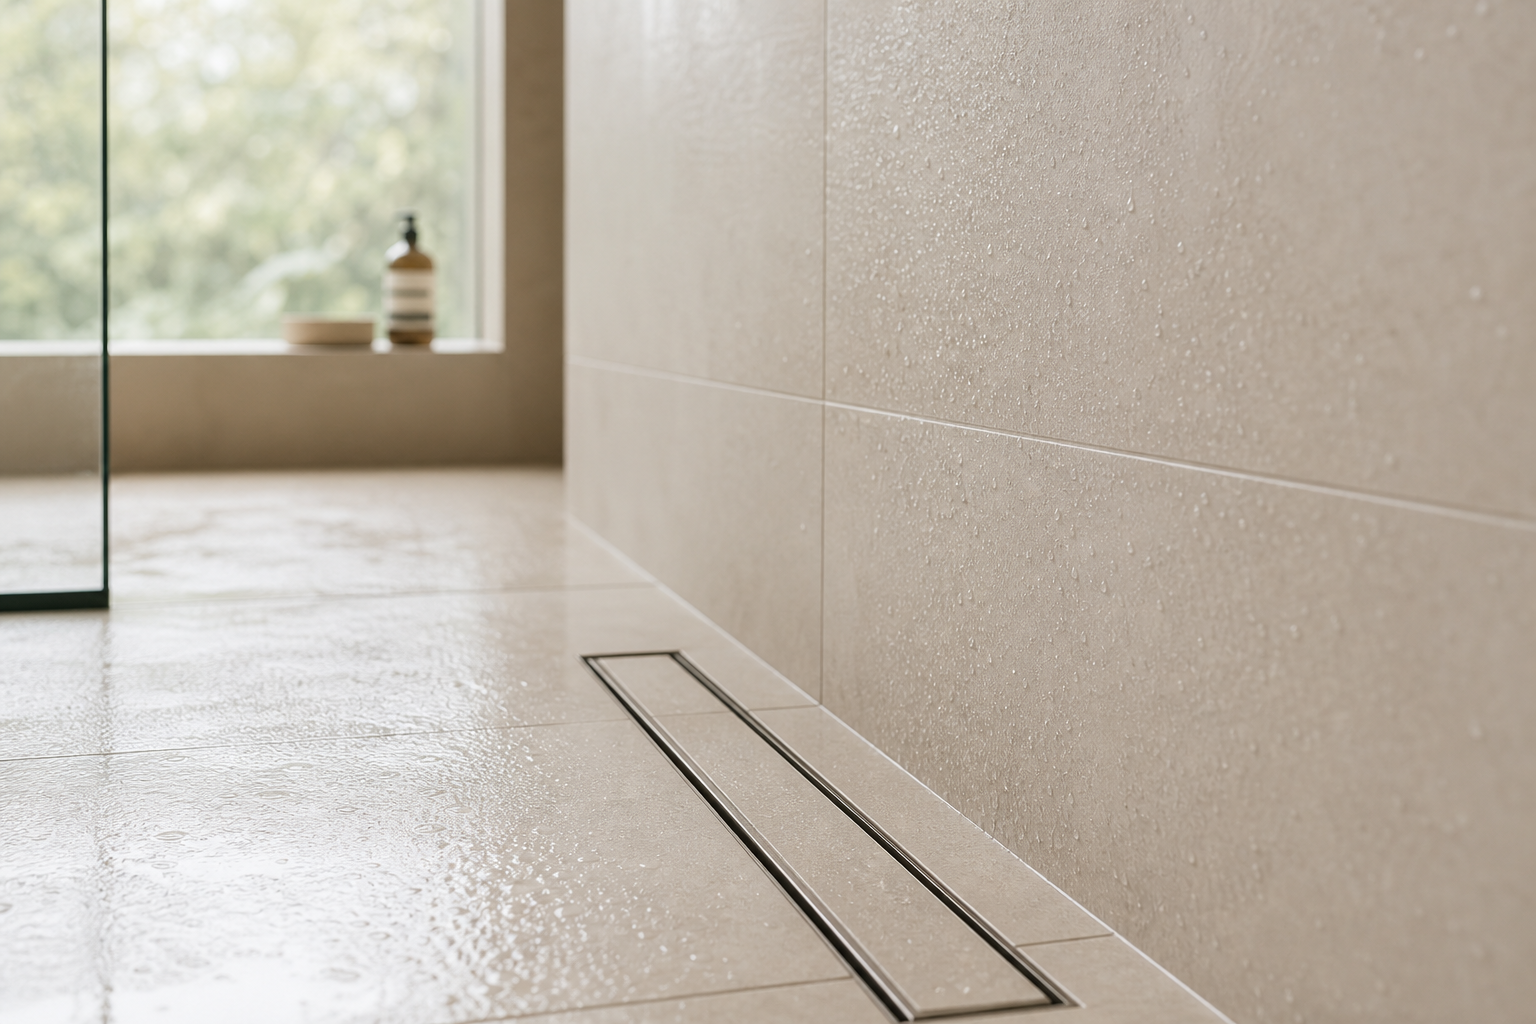
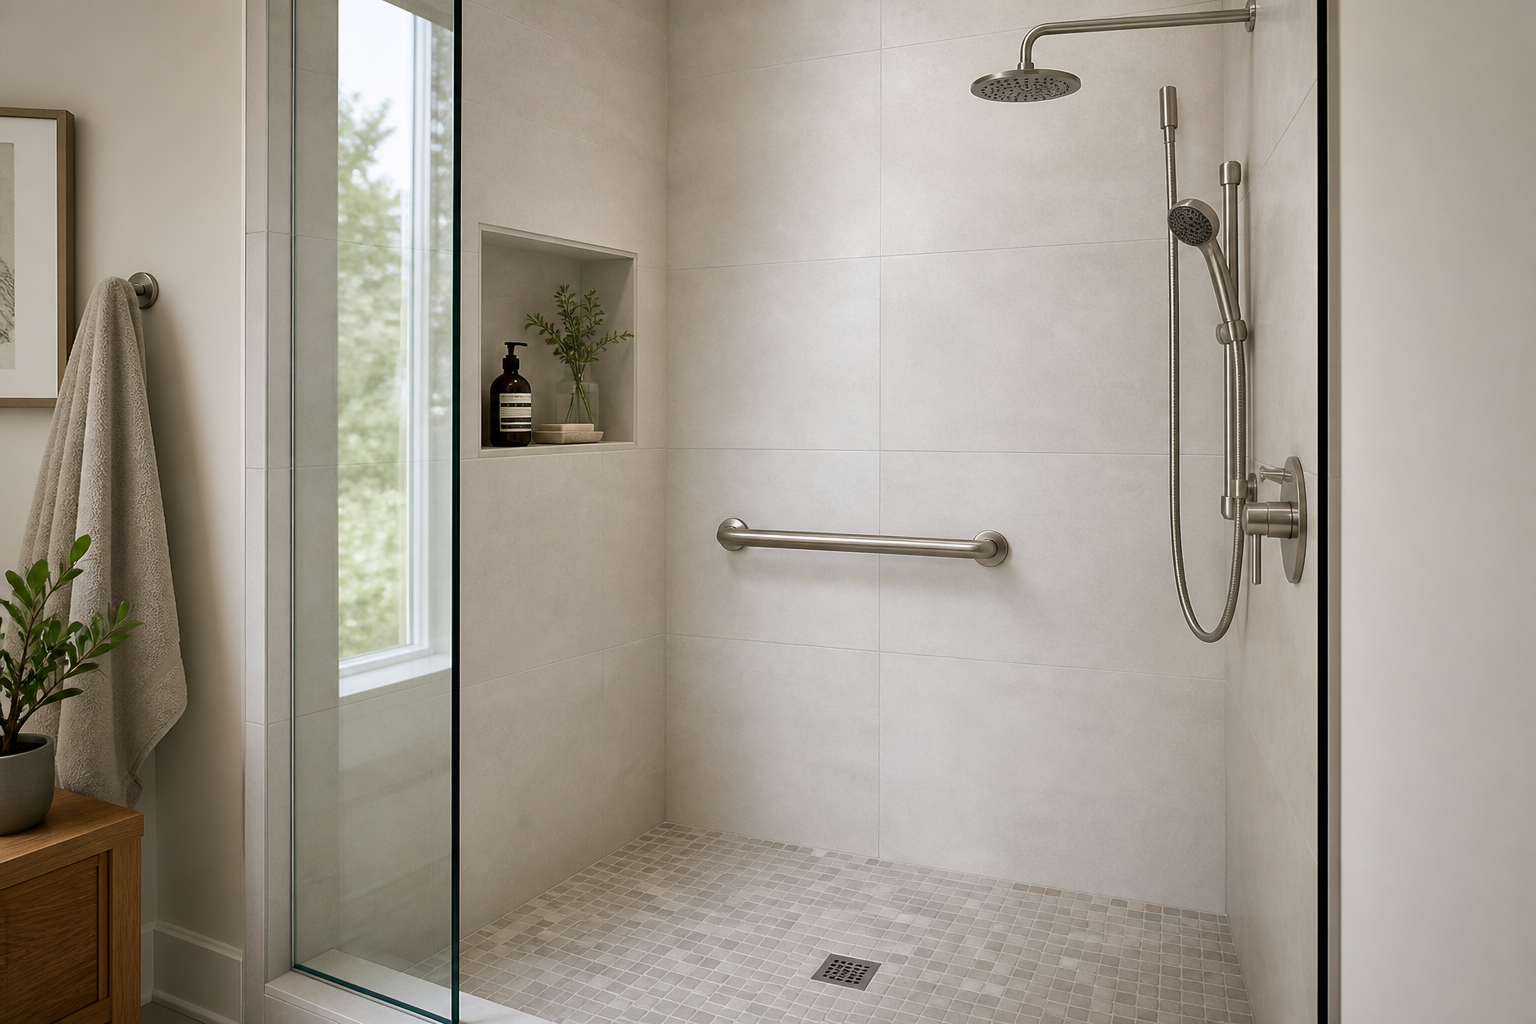
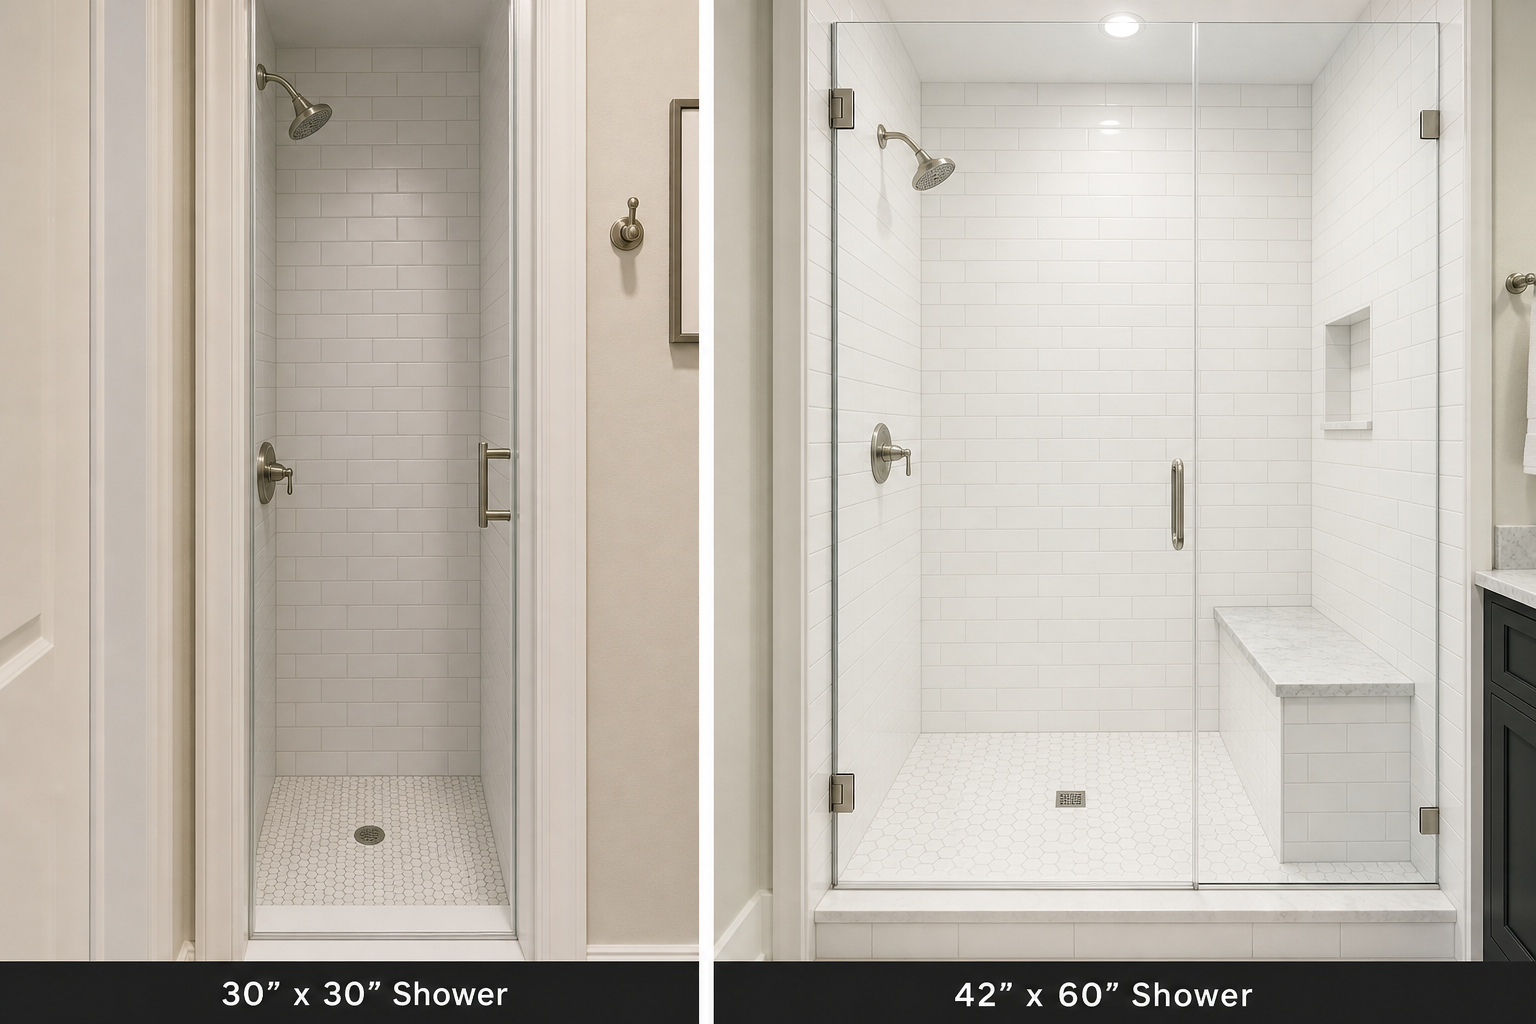
There is a valid alternative to dropping the structural floor that avoids most of the framing complexity: a linear drain positioned at the shower entry rather than centered in the shower or located near the back wall.
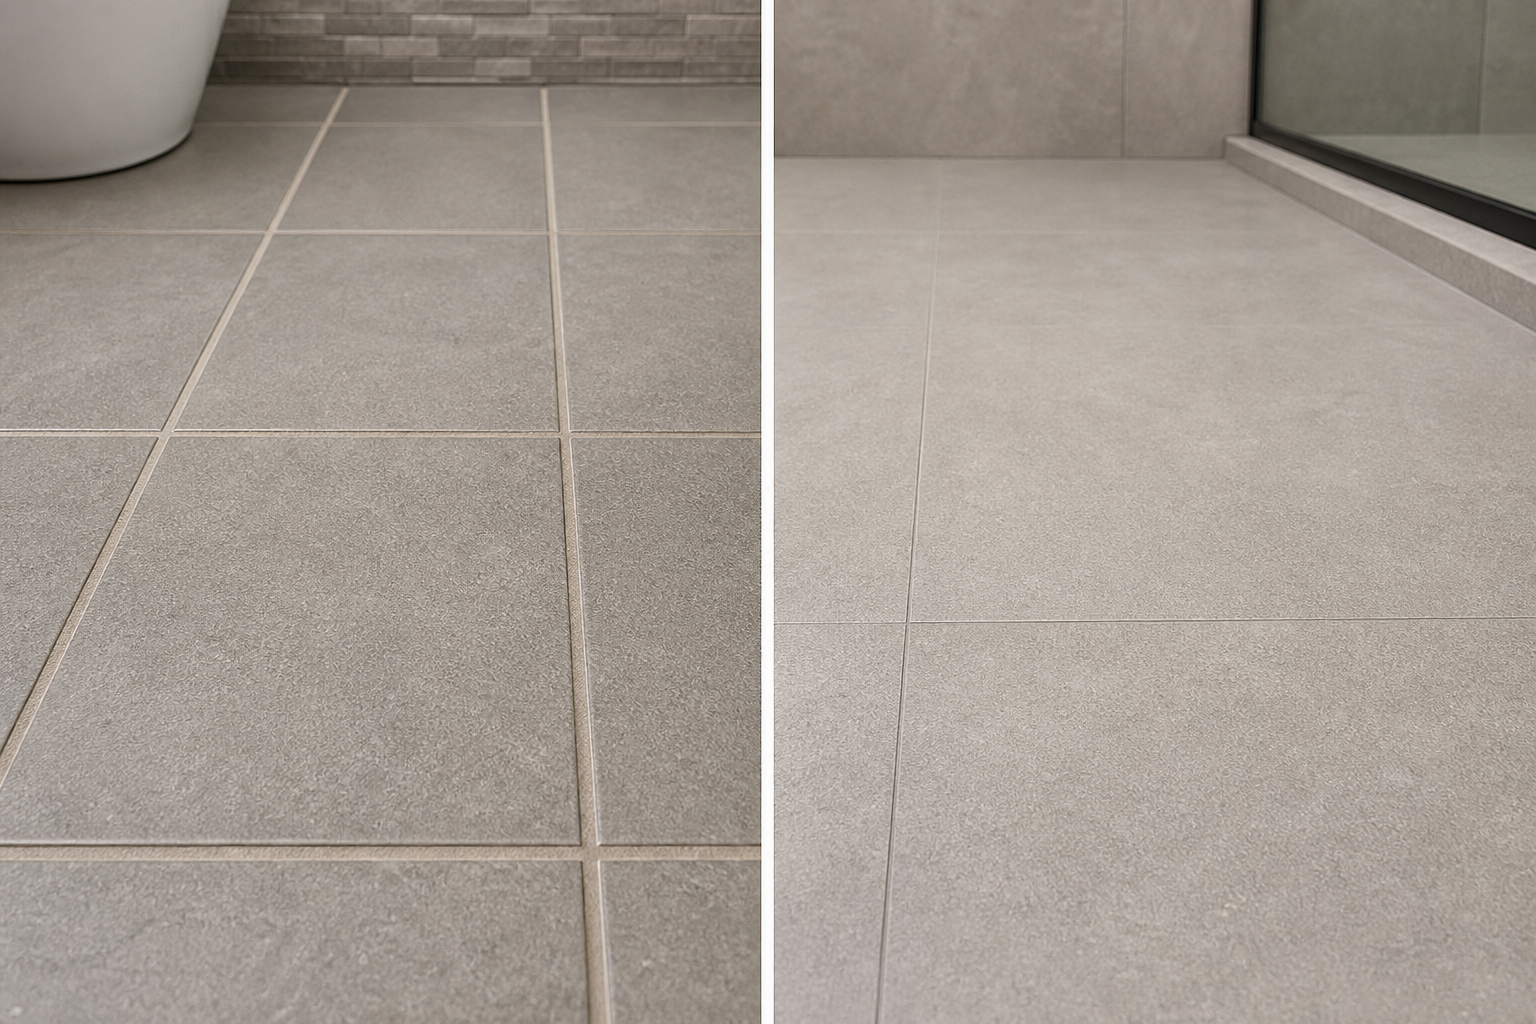
With a linear drain at the threshold, the shower floor slopes from back to front on a single plane. The slope starts at the back wall, runs downhill toward the entry, and reaches the drain before the wet zone meets the dry zone. This configuration avoids the need to drop the structural floor at all, because the entire shower floor can pitch on top of the existing subfloor, and then the drain sits at the transition point between the shower tile and the bathroom tile.
The appeal is significant: no structural modification, simpler framing inspection, lower construction cost in most cases. The trade-off is spatial. The drain is visible at the entry rather than centered or positioned near the back wall. The slope runs front to back rather than from all four sides toward a centered point. Some clients prefer the look of a linear drain at the entry. Others find it less elegant than a point drain at center. Whether that matters depends on the design.
The JLC Online curbless shower retrofit guide identifies the linear drain at entrance as a viable structural workaround specifically because it eliminates the need for supplemental framing. For projects where the floor structure is complicated or where the joist depth makes the recess difficult to achieve, it is worth presenting as an option before the structural modification becomes the only path forward.
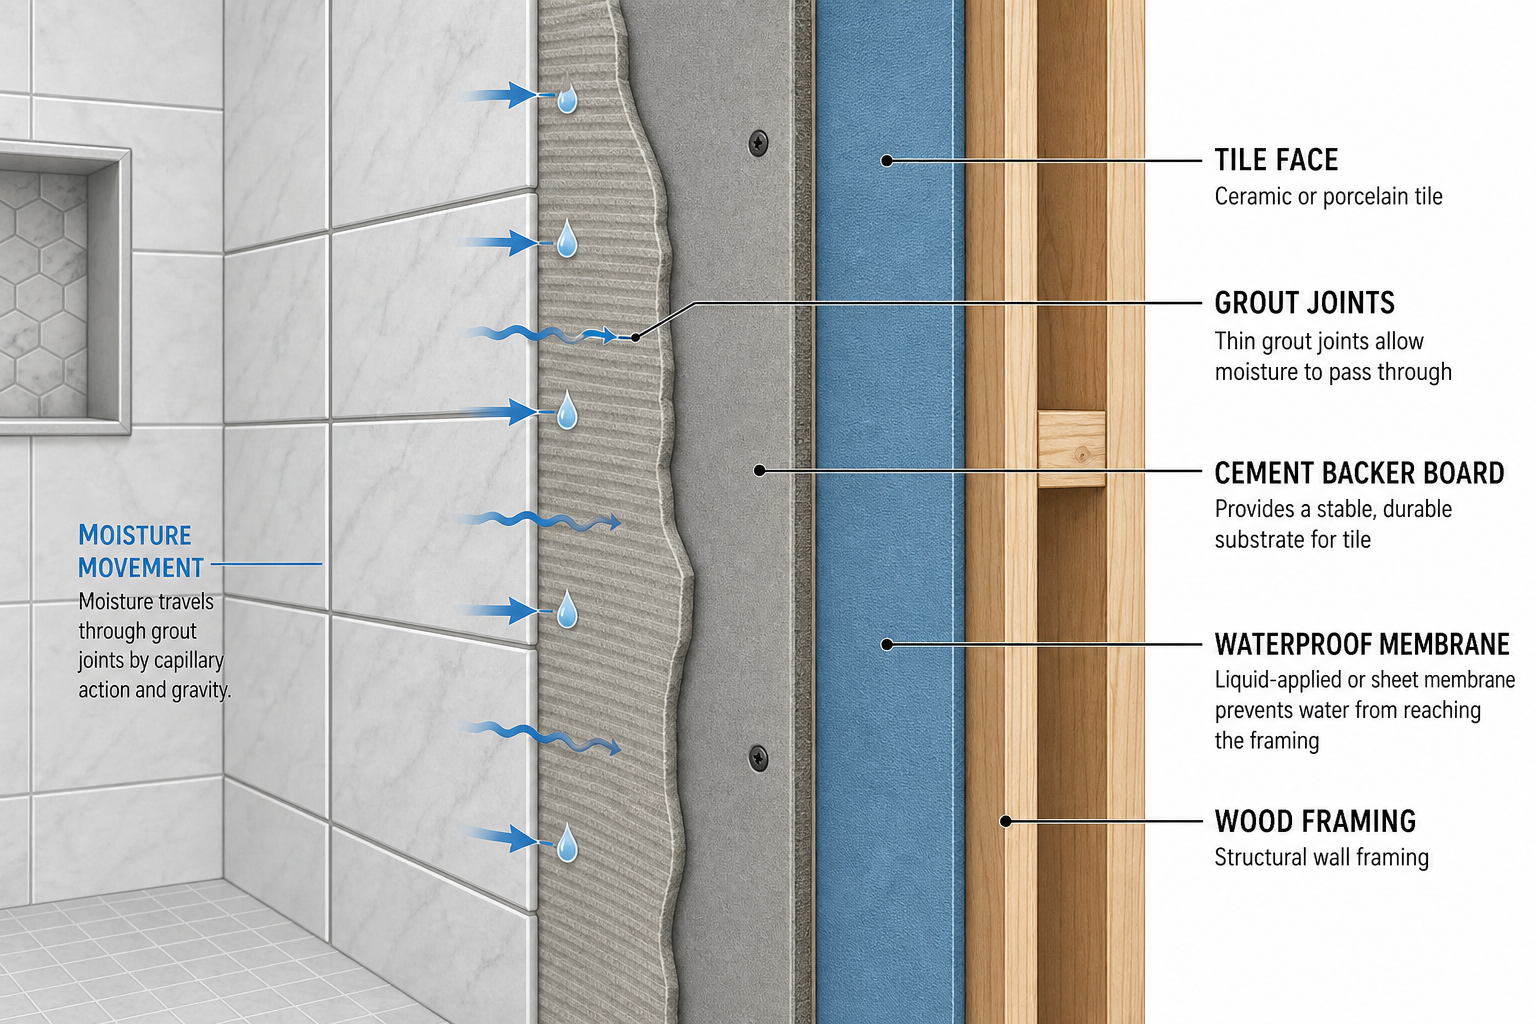
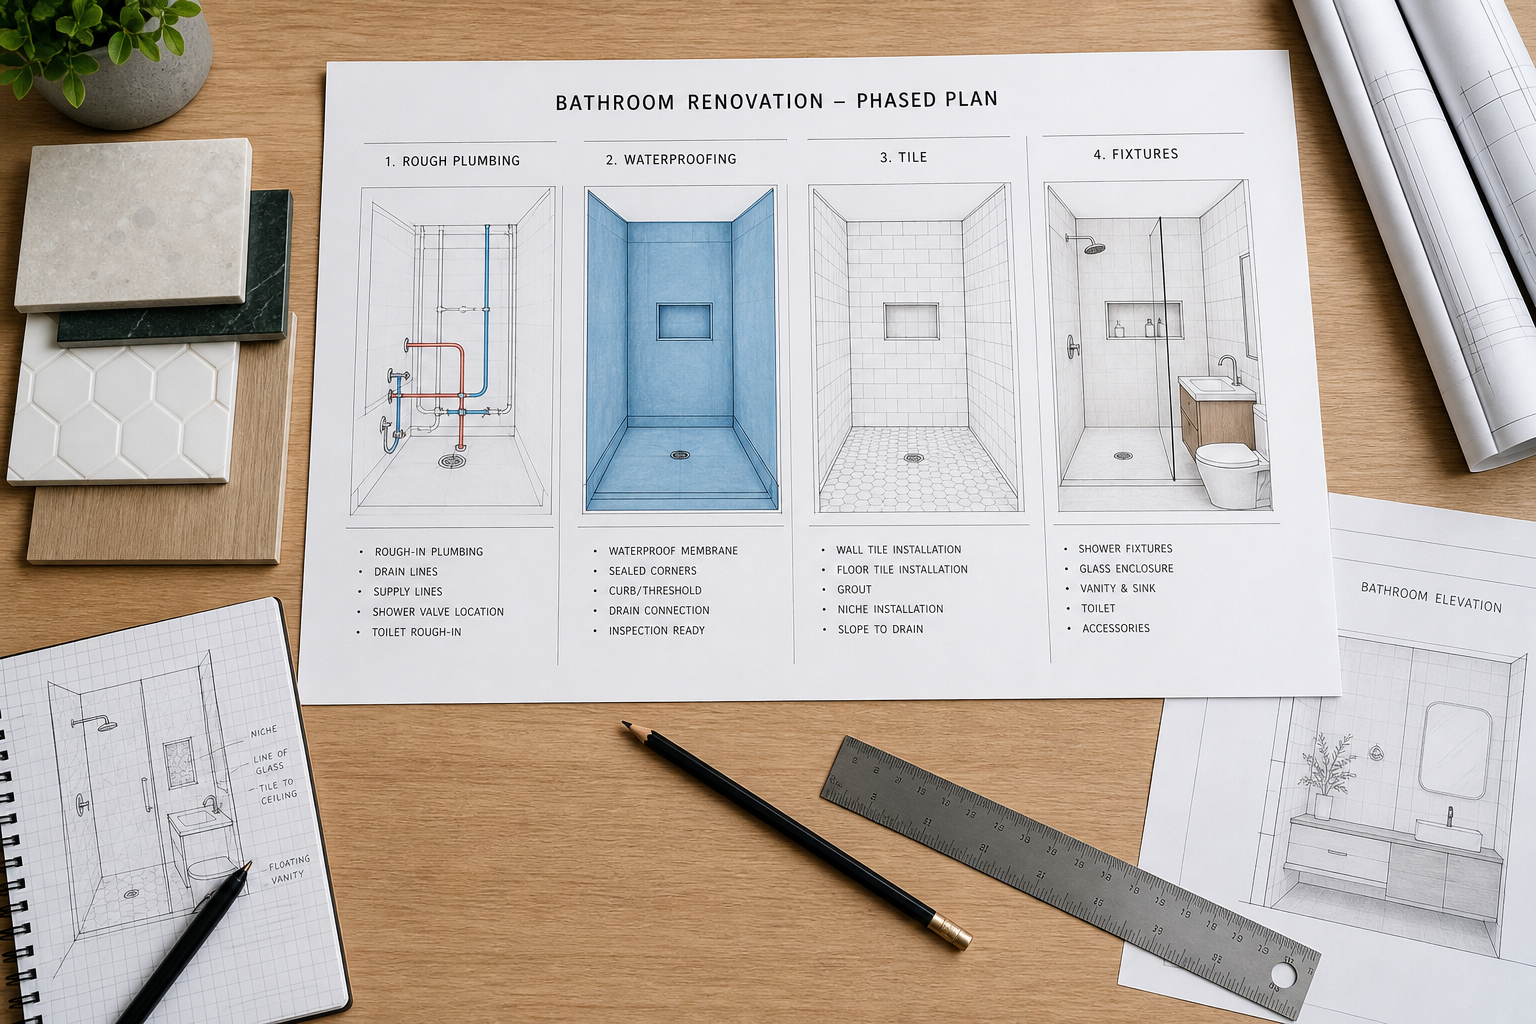
Waterproofing Must Follow the Water, Not the Tile Line
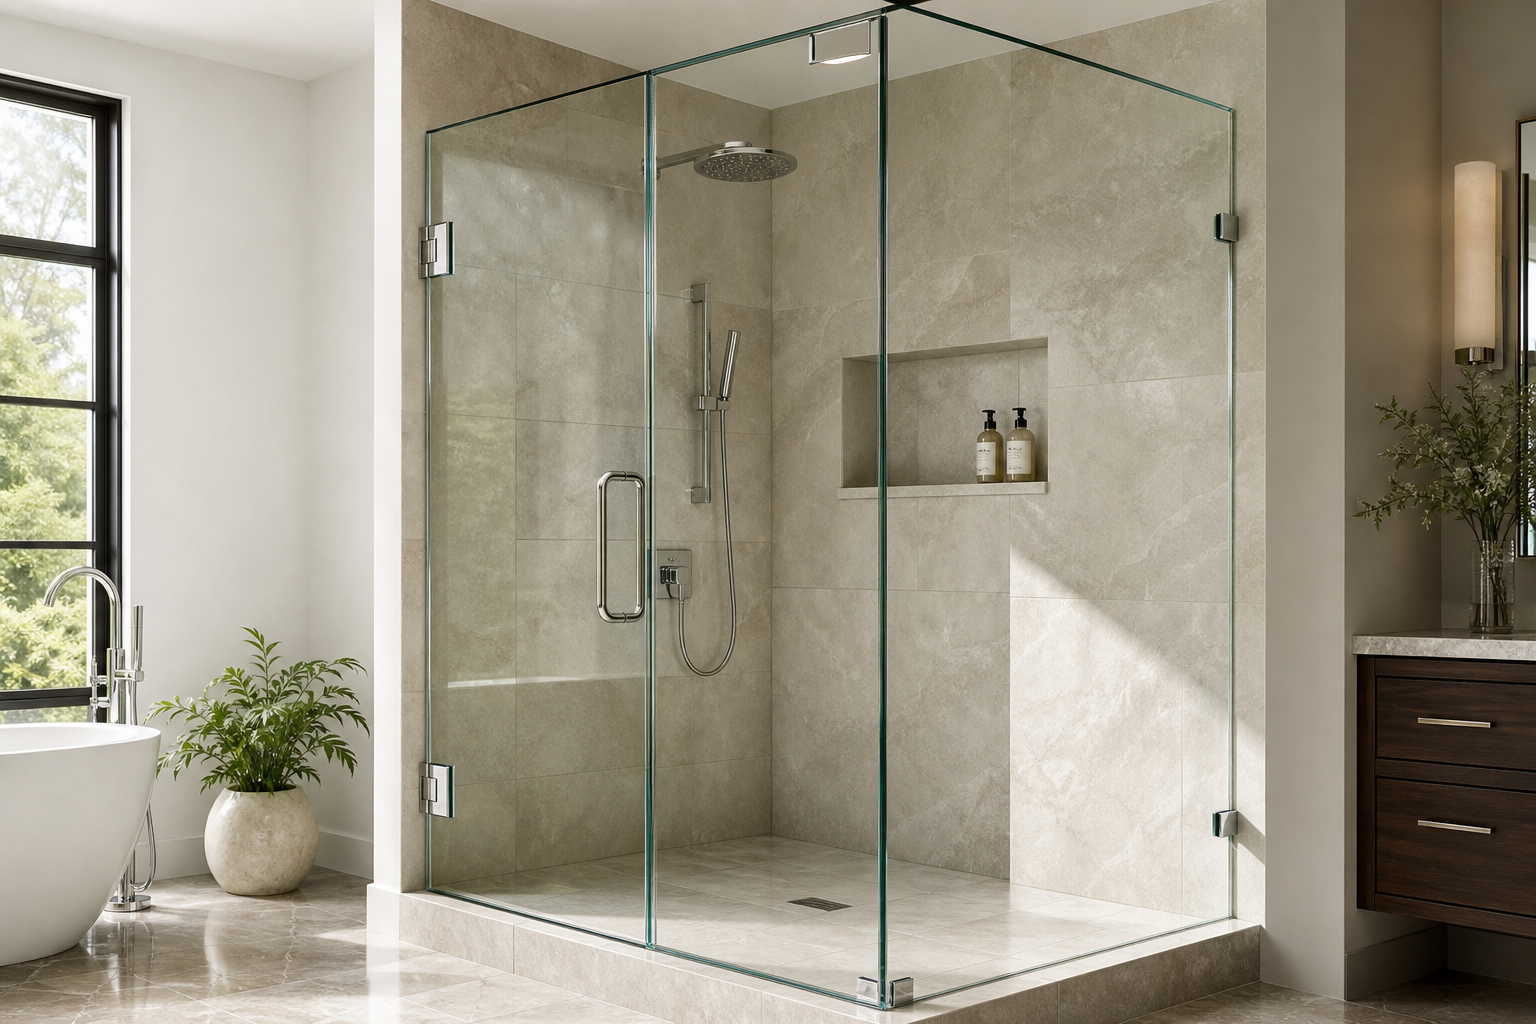
A curbed shower gives the waterproofing membrane a natural stopping point. The membrane runs up the face of the curb, across its top, and terminates there. Water that reaches the dry side of the curb arrived there over the top of a physical barrier. The barrier is doing work that nothing in a curbless shower does.
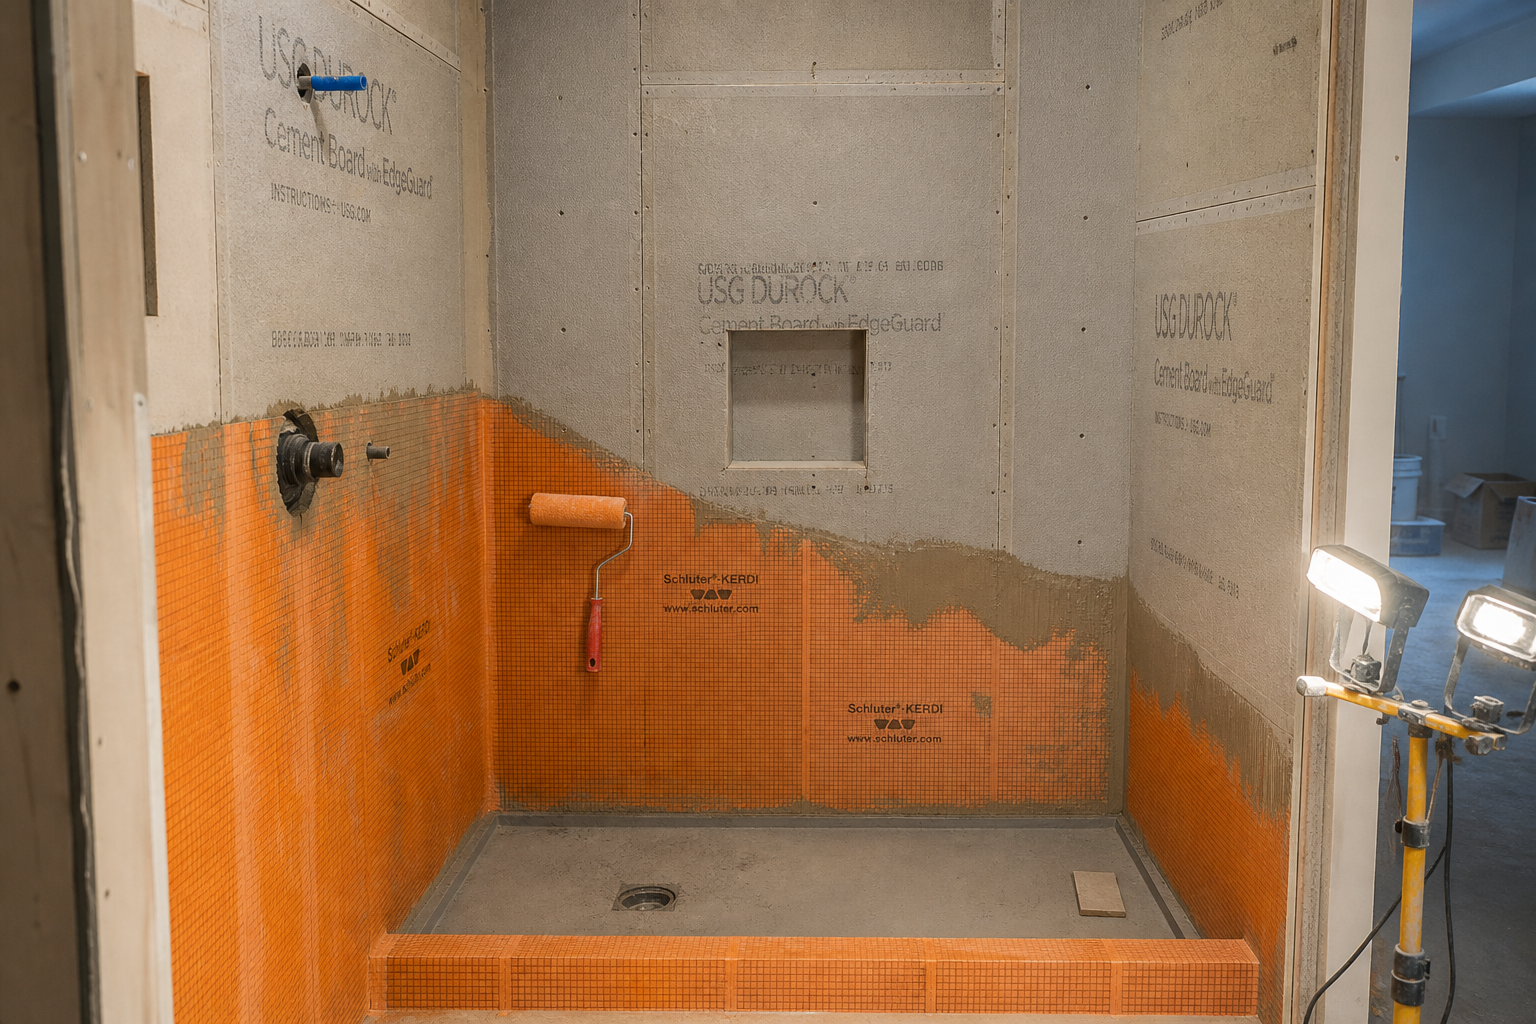
A curbless shower has no such boundary. Water that splashes beyond the tile line during a shower is not stopped by anything structural. It lands on the main bathroom floor and from there finds whatever path gravity provides. The membrane has to accommodate that reality by extending past the formal wet zone boundary.
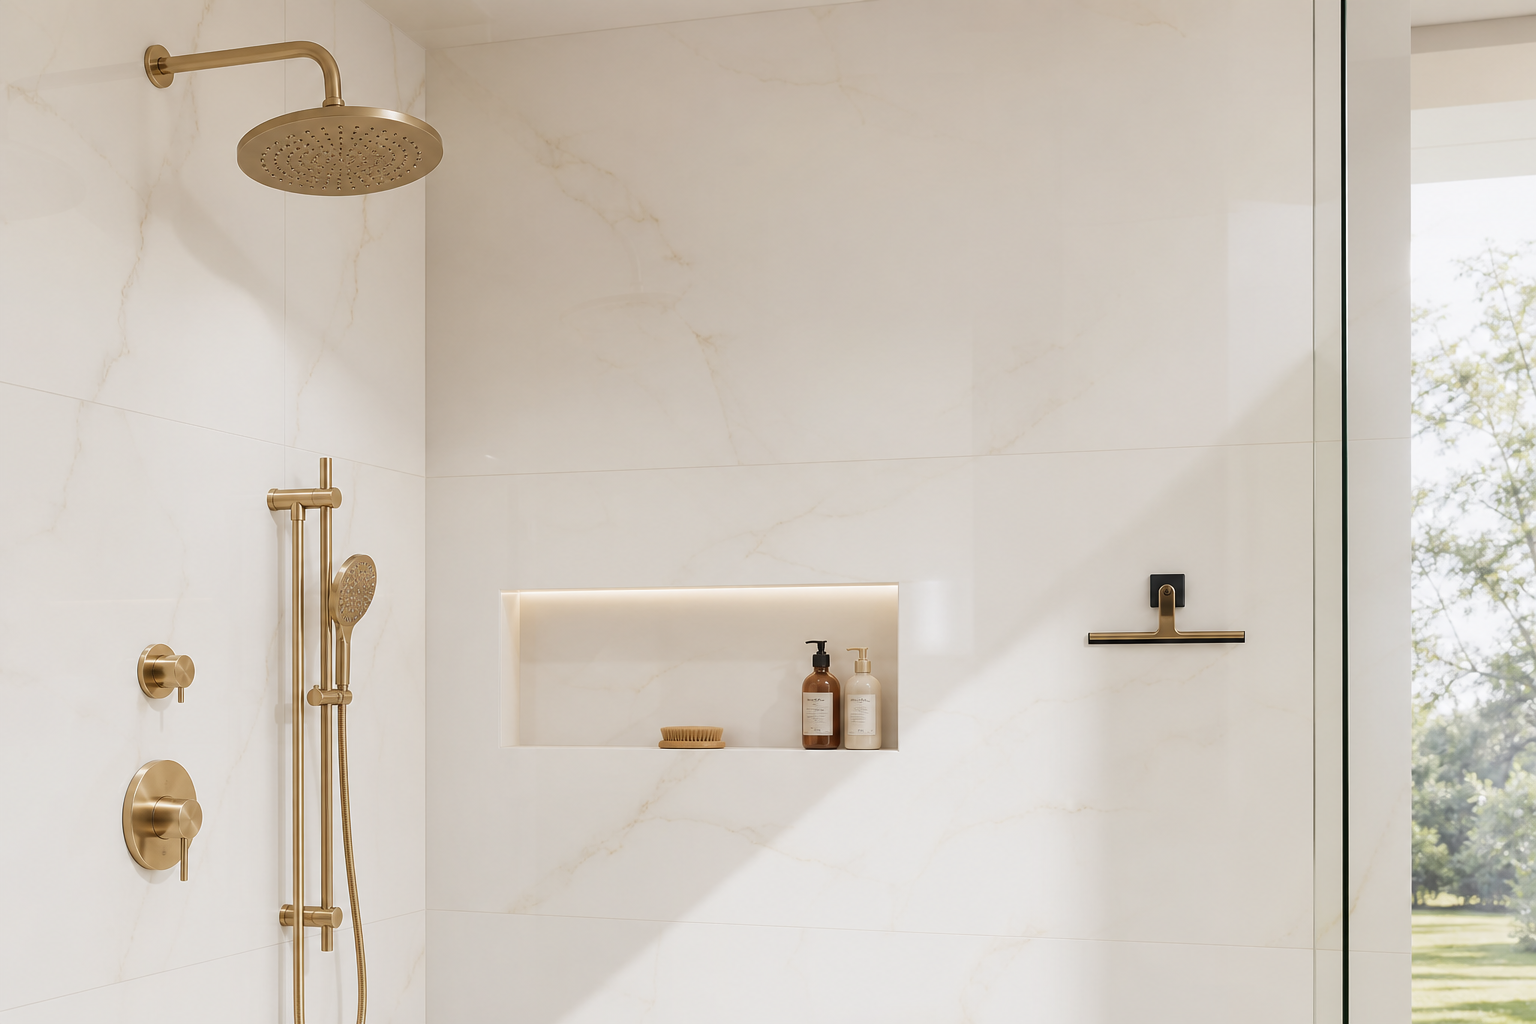
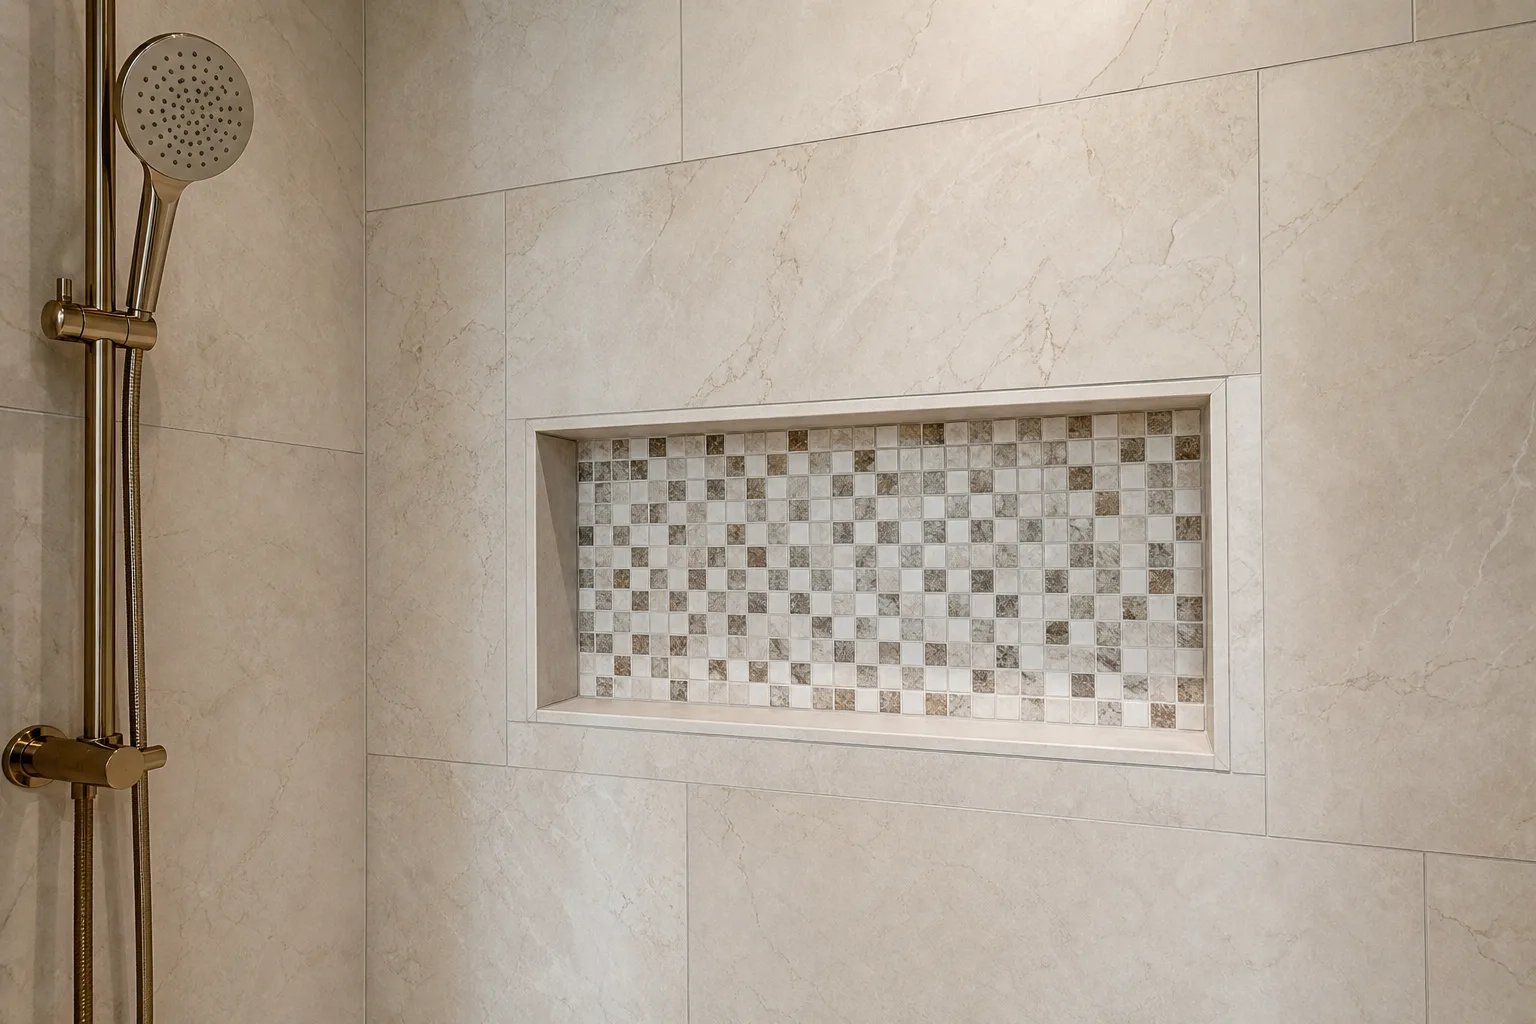
The SCI-BC guide specifies that the waterproof membrane should extend into the floor area adjacent to the shower, not terminate at its edge. How far it extends depends on the design: the angle of the showerhead, whether there is a glass panel or half-wall to contain spray, the distance from the showerhead to the open threshold. A walk-in shower with no glass panel and a rain head positioned near the entry needs a wider protected zone than a shower with a full glass enclosure and a fixed showerhead at the rear wall.
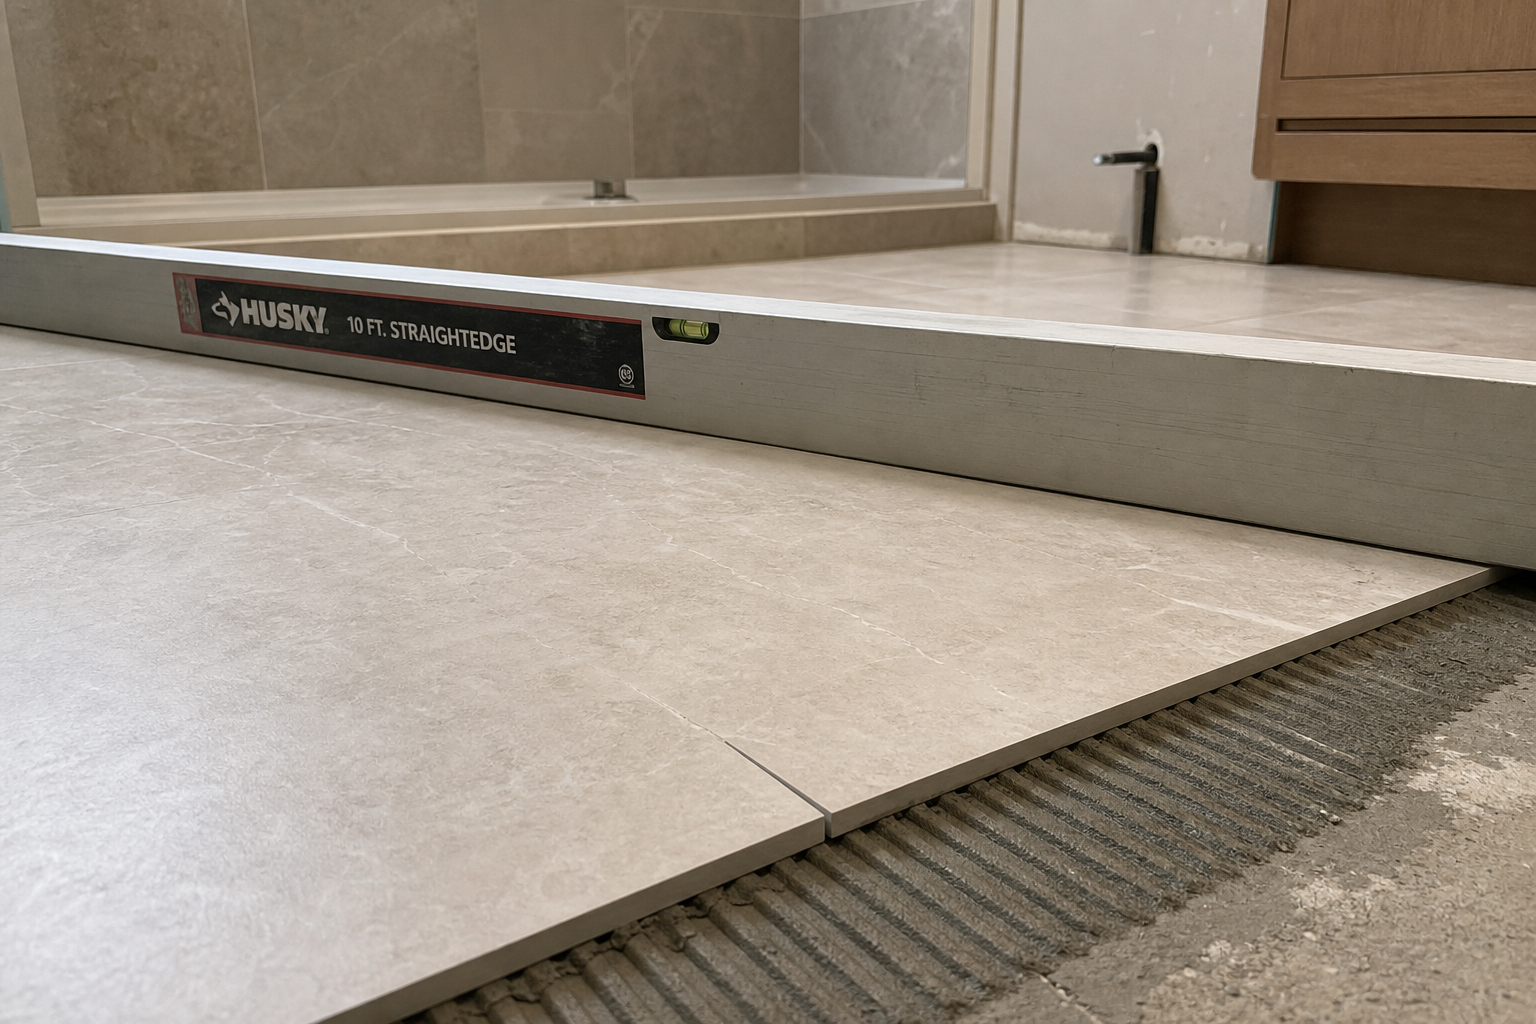
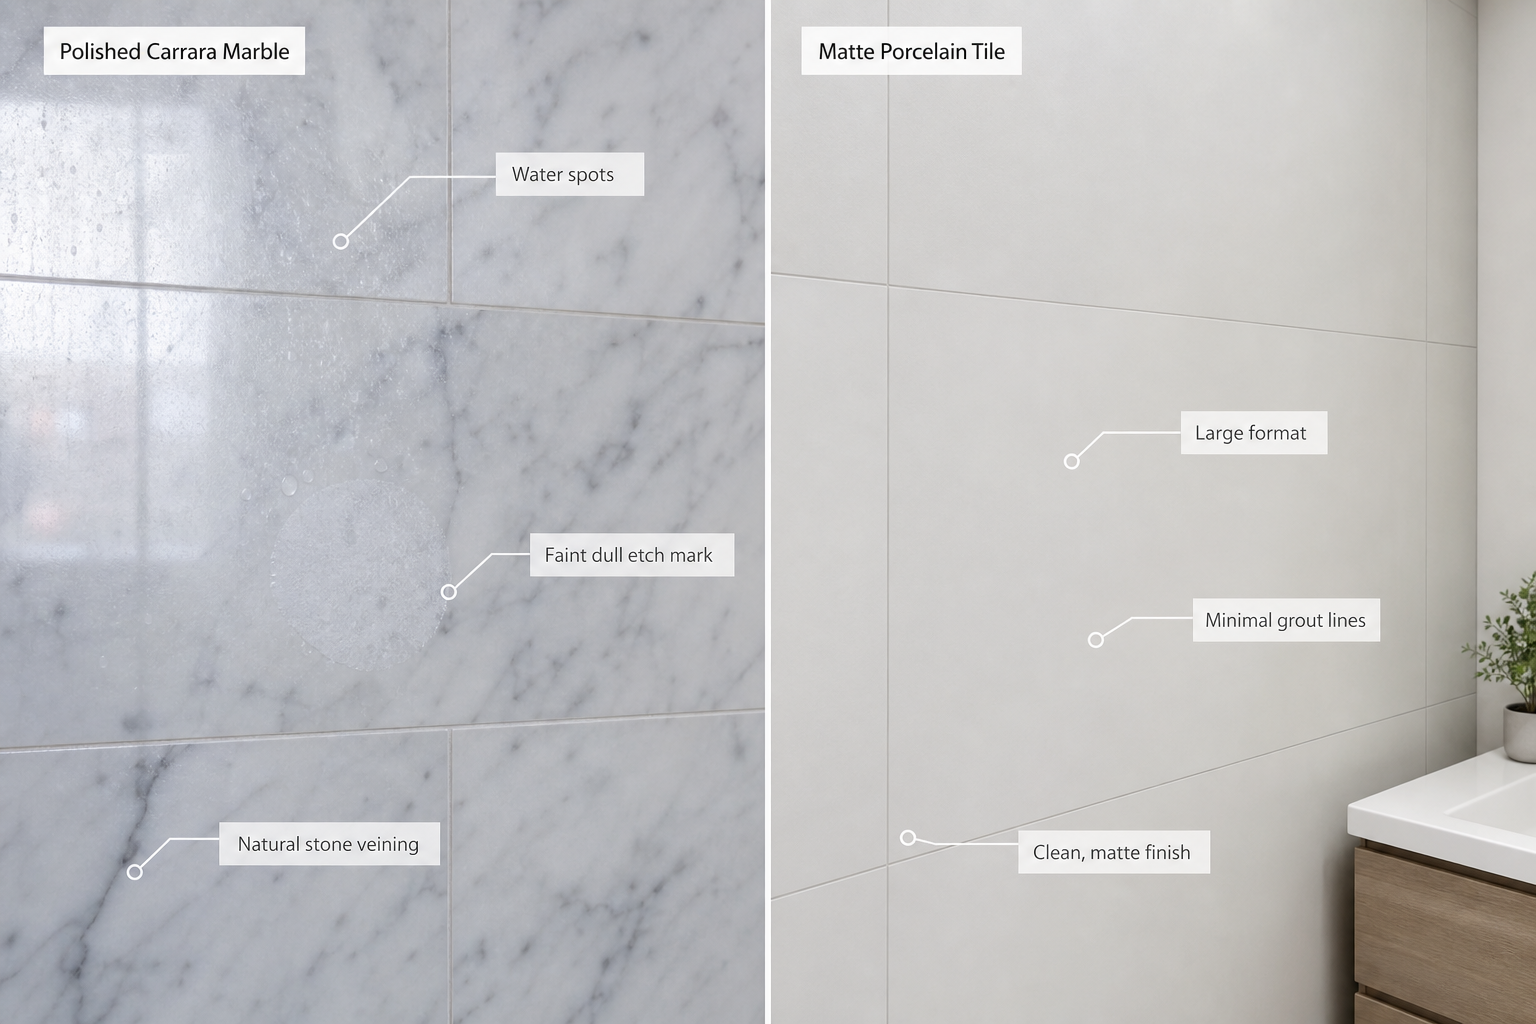
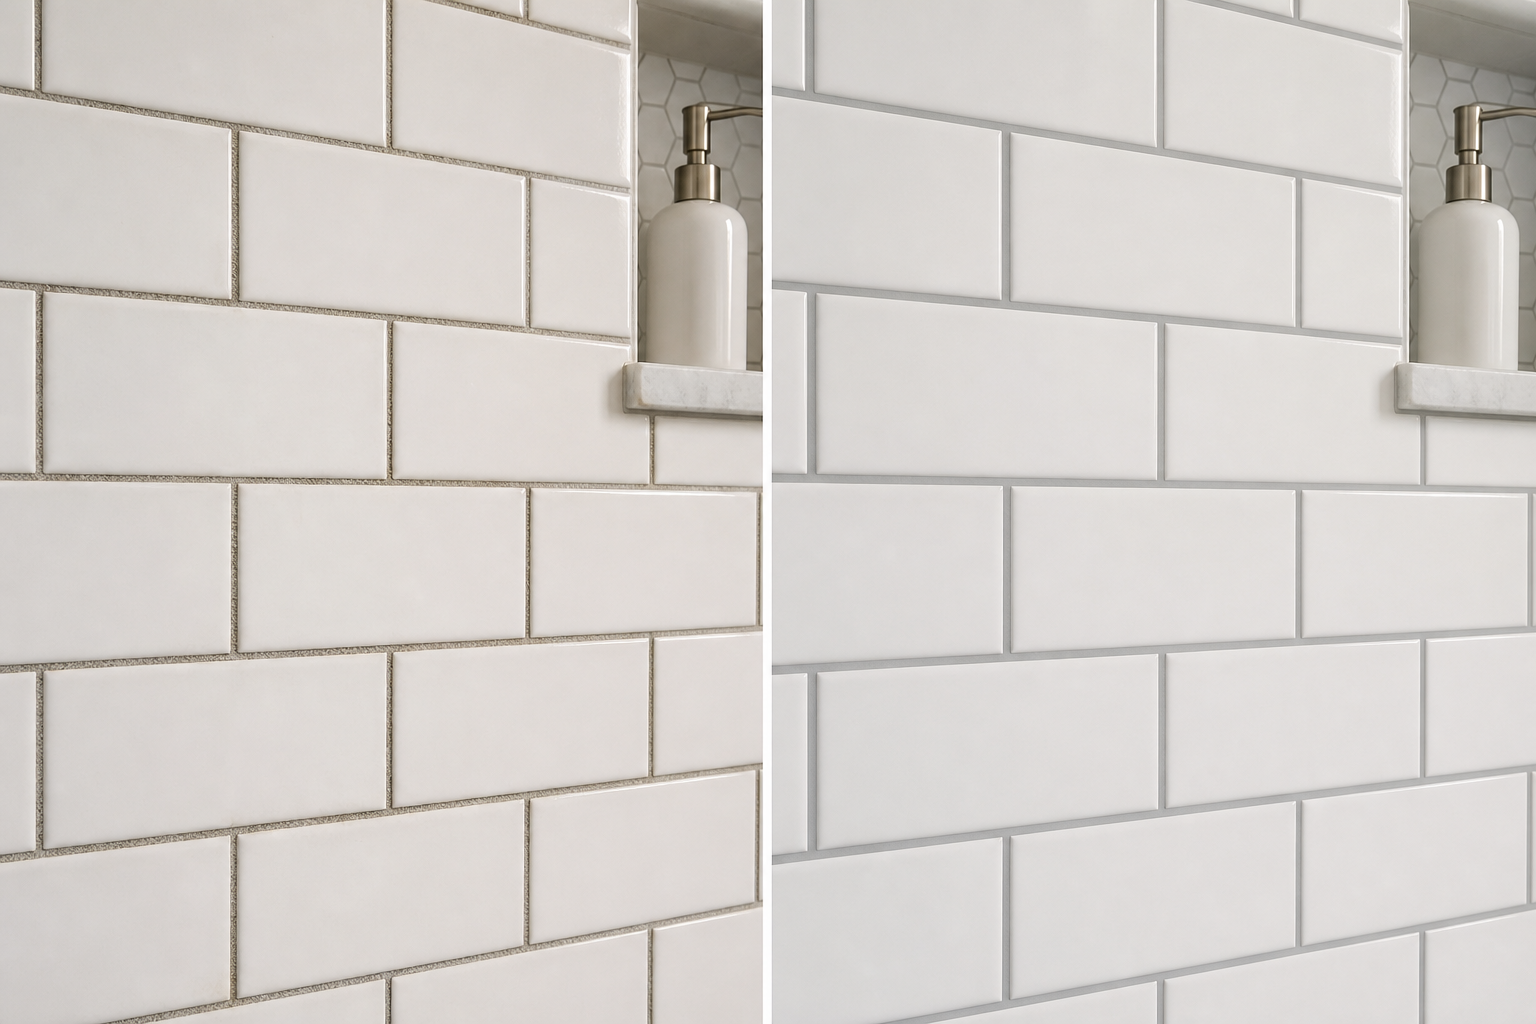
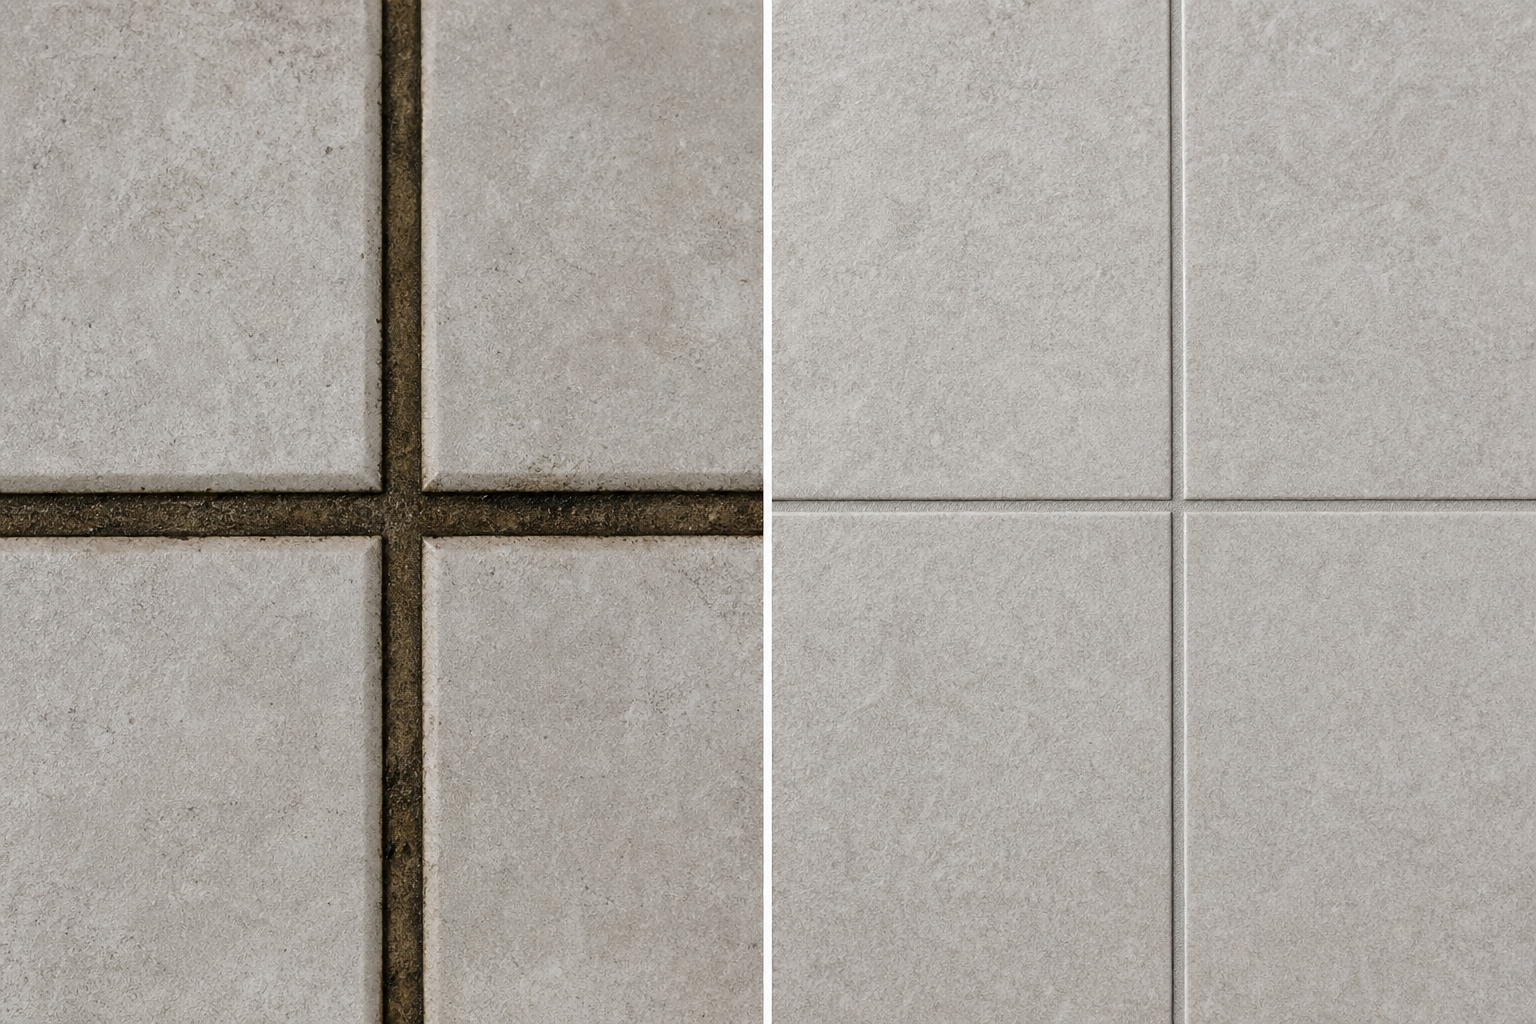
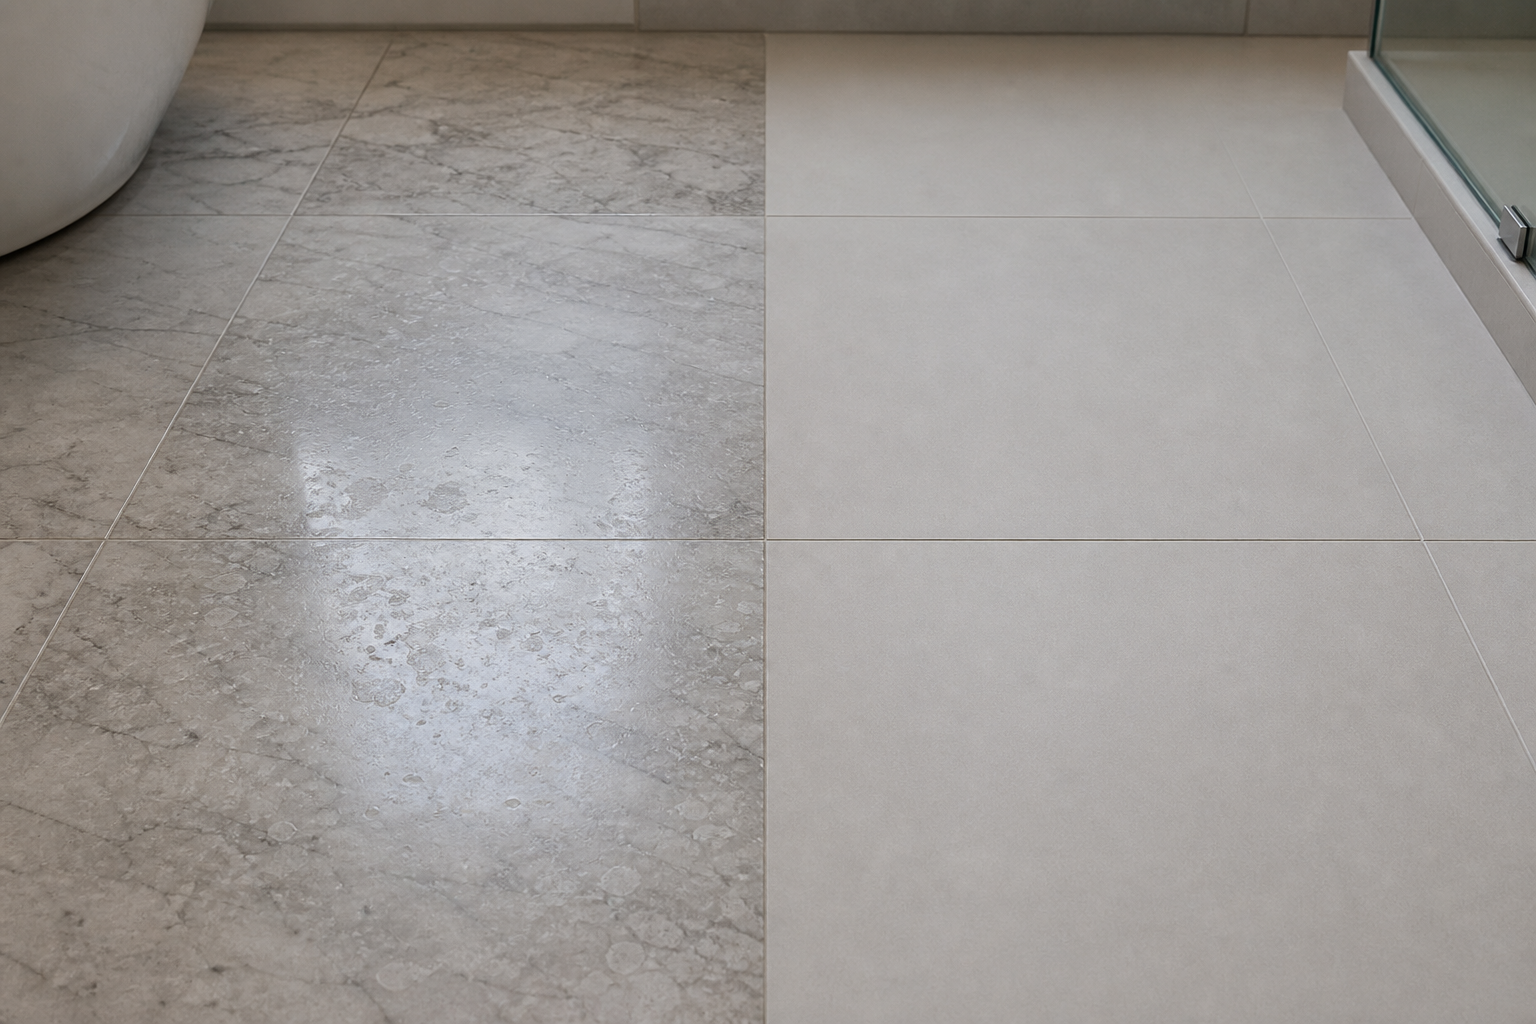
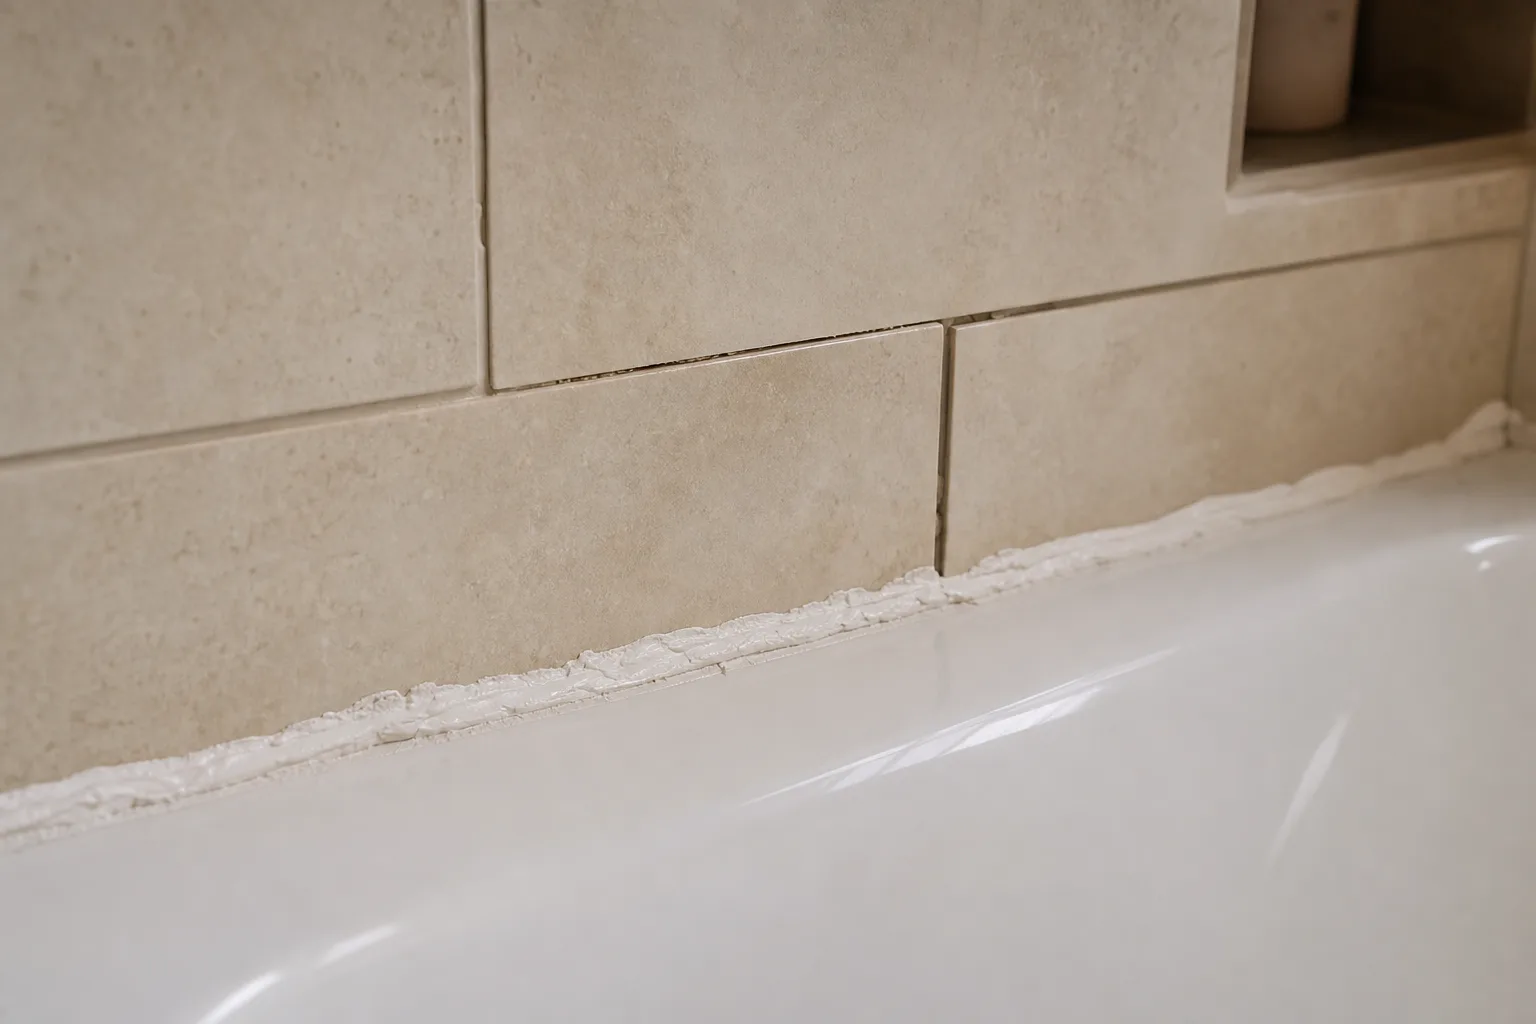
That extended membrane creates a secondary challenge at the transition joint. Where the sloped shower floor meets the flat bathroom floor, there is a change of plane. The Tile Council of North America's EJ171 detail requires that changes of plane in tile assemblies be filled with compressible elastomeric sealant rather than rigid grout, for a reason that applies with particular force here: the floor assembly and the shower assembly move at different rates under temperature and humidity cycling, and rigid grout at a flexible joint will eventually crack.
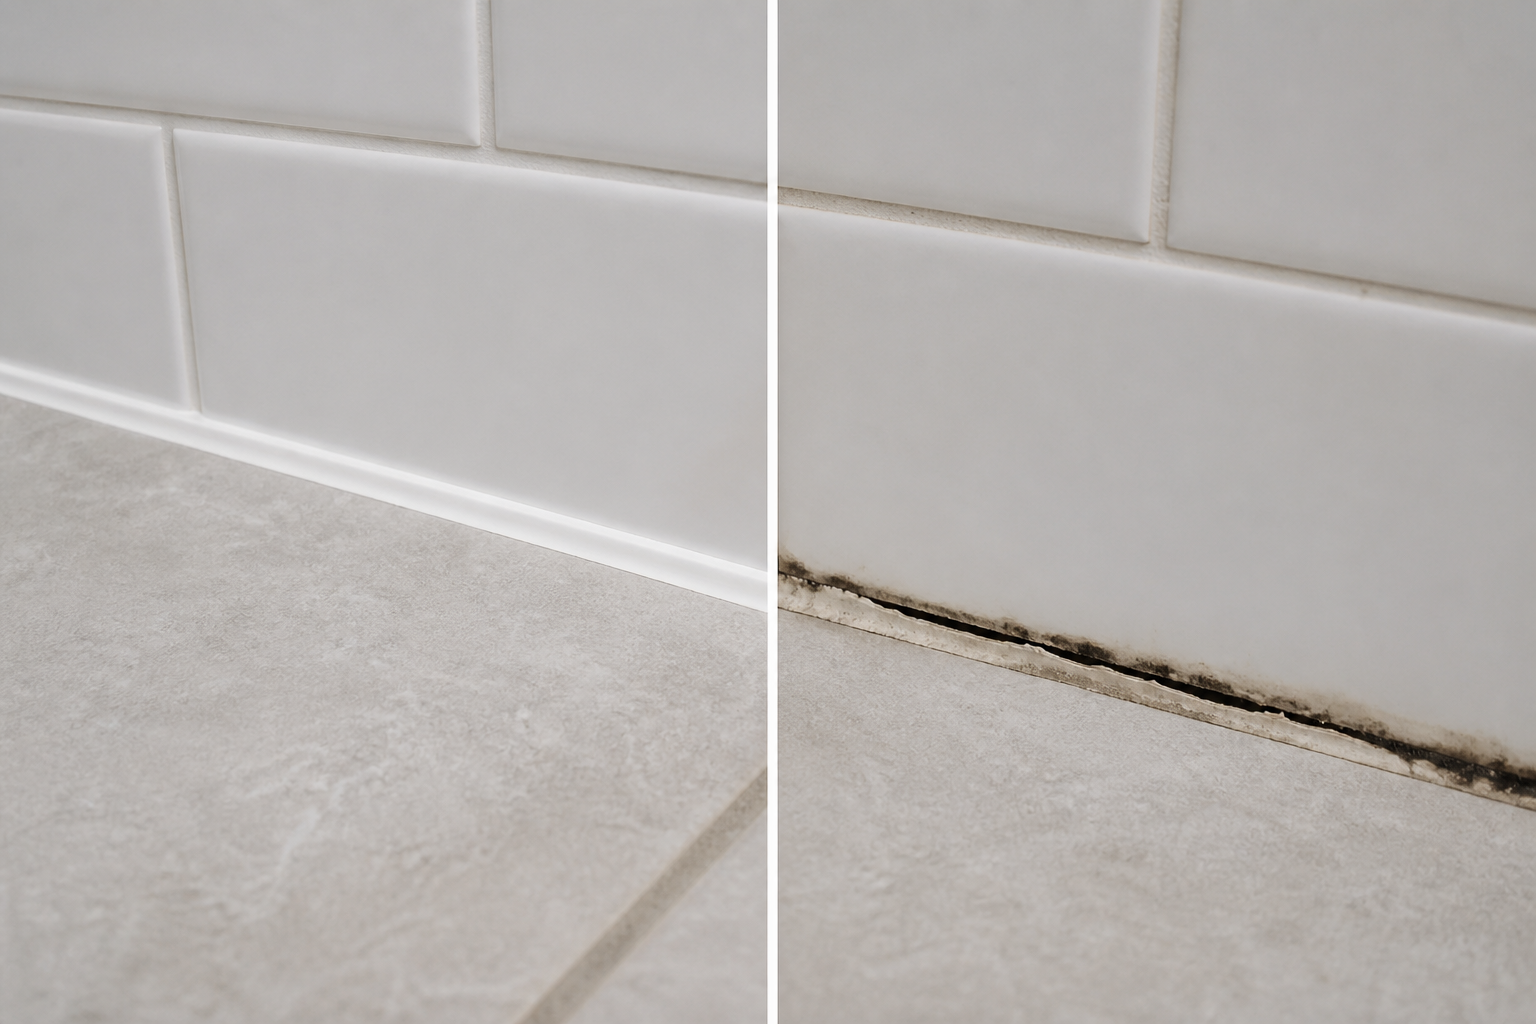
In a curbless shower, that transition joint sits on the main travel path through the bathroom. It is the most-trafficked location in the entire assembly and the one where water from the shower is most likely to land during use. A cracked grout joint at the transition is a direct pathway from the wet bathroom surface down to the subfloor below, at a location that sees water regularly and that nobody inspects. It is the worst possible location for a joint that was specified incorrectly.
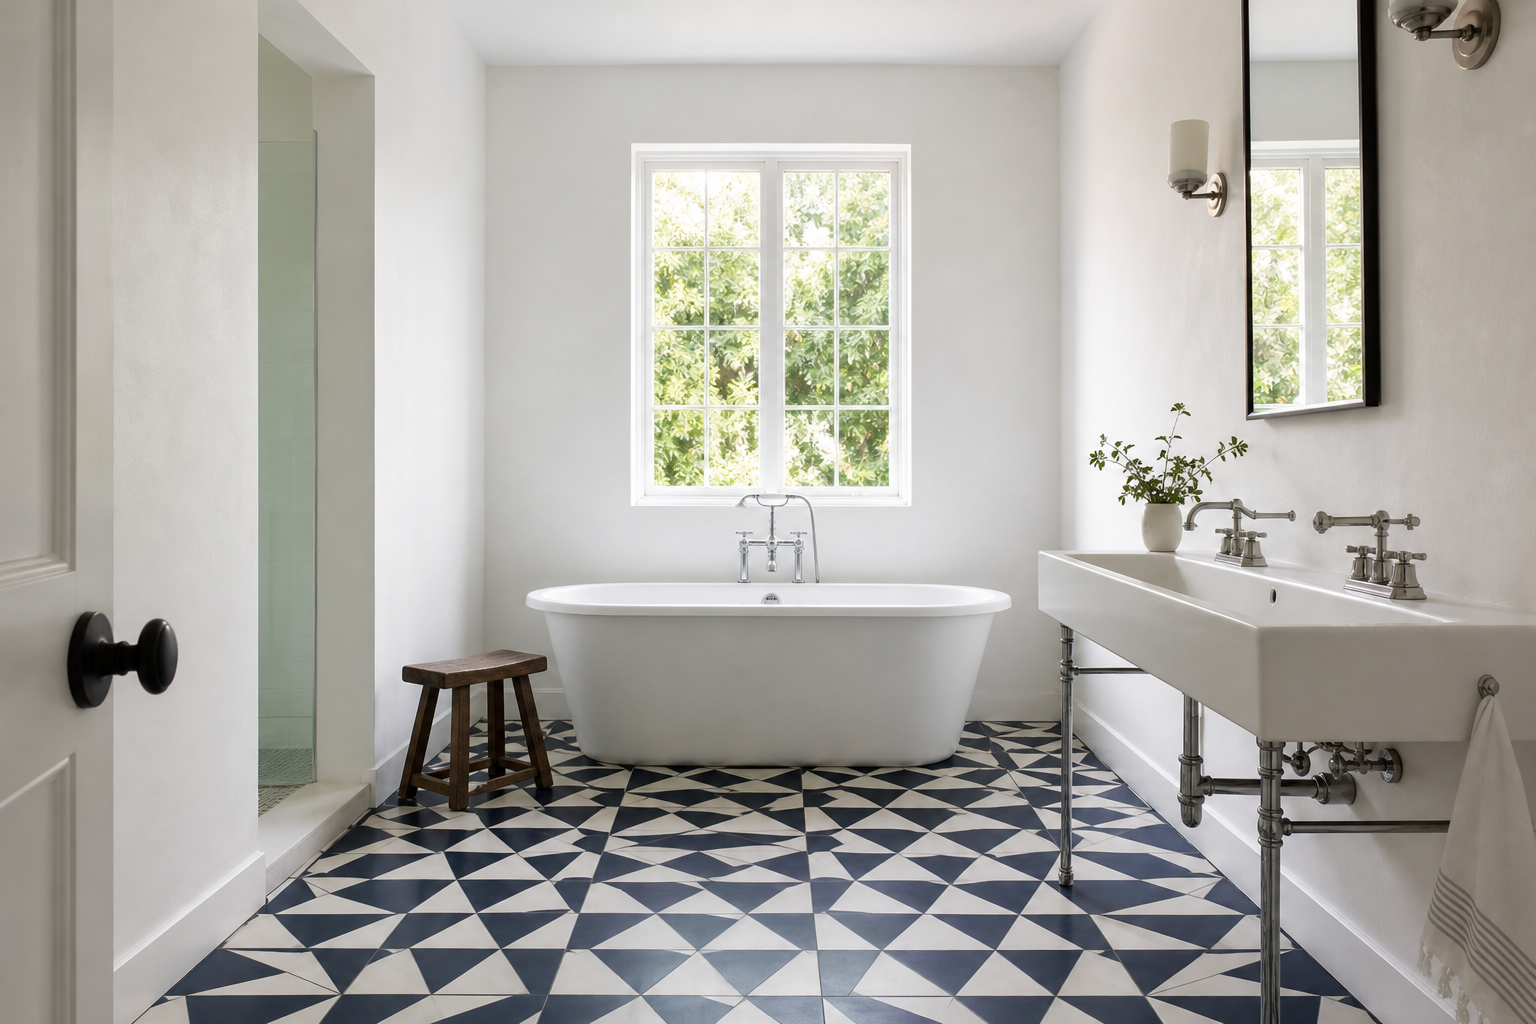
When the joint is done correctly, it is barely visible: a thin sealant line at floor level that reads as intentional and allows the assembly to breathe. When it is grouted, it looks fine on the day of installation and eventually fails in a way that is both predictable and invisible until it is structural.
The Failure Mode Nobody Sees Coming
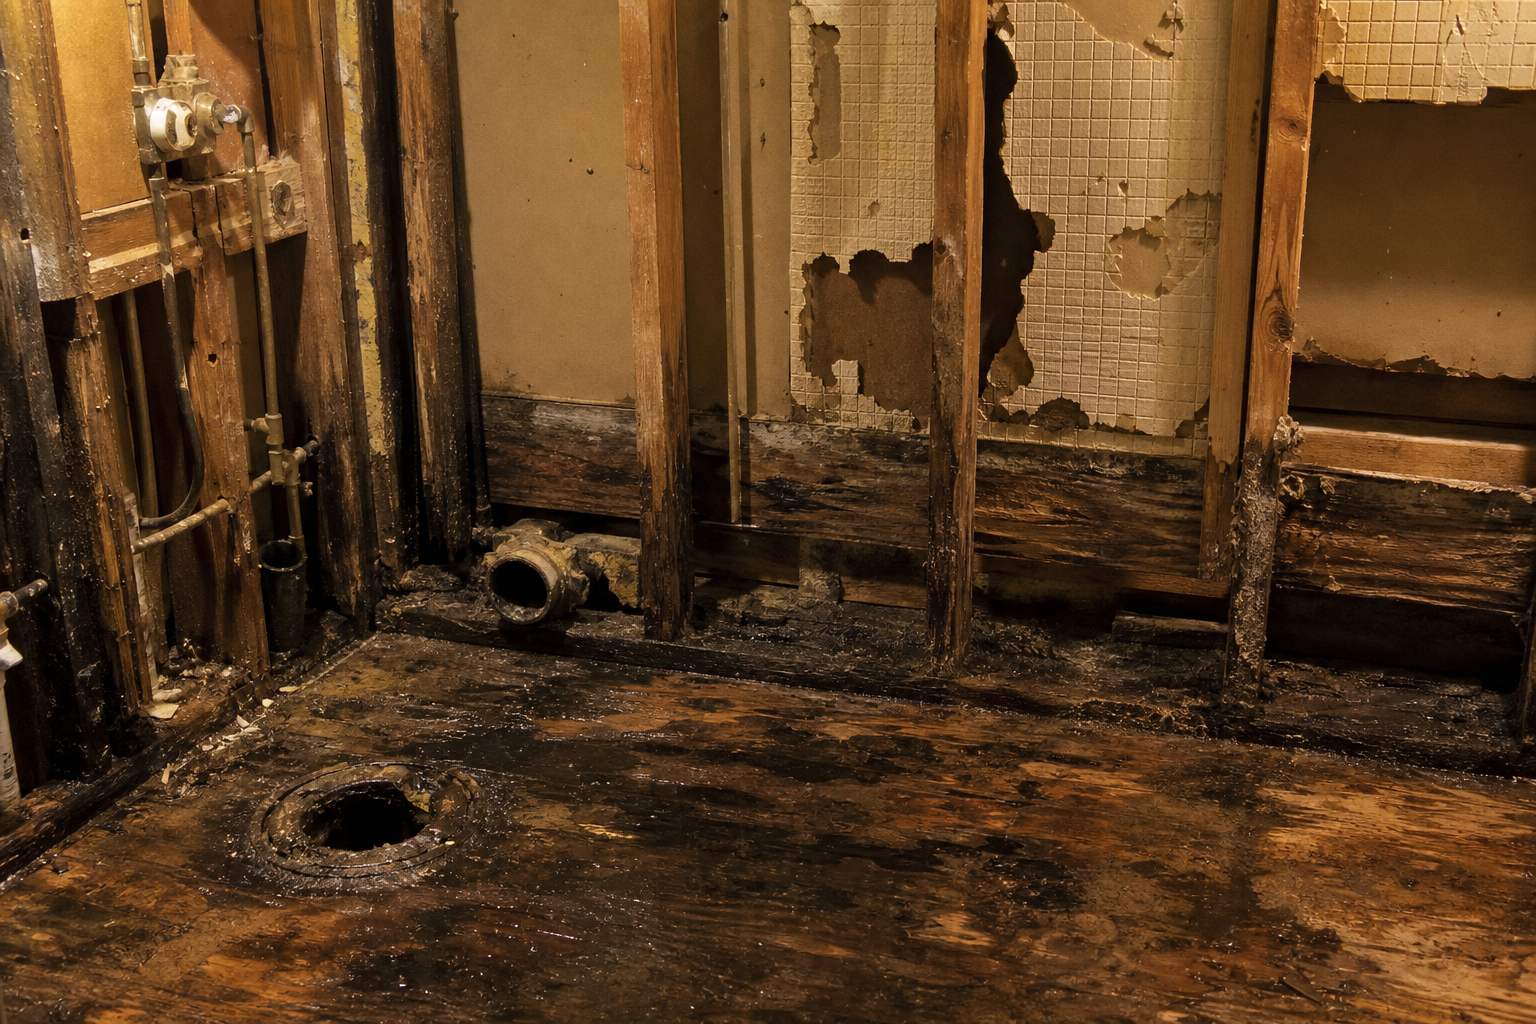
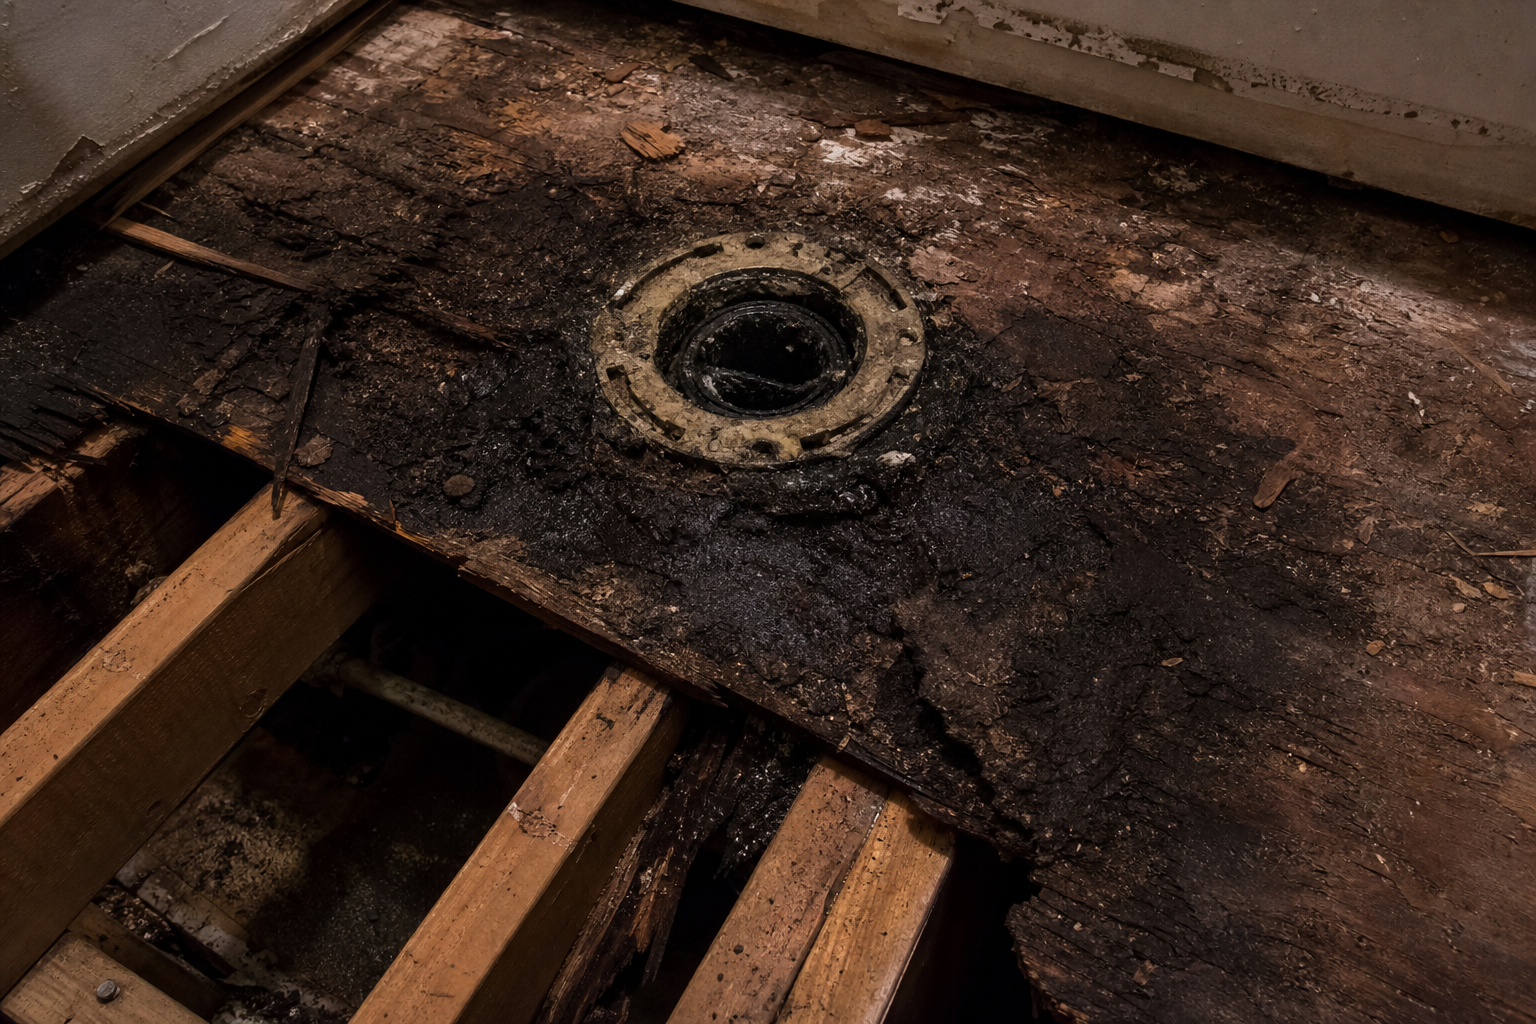
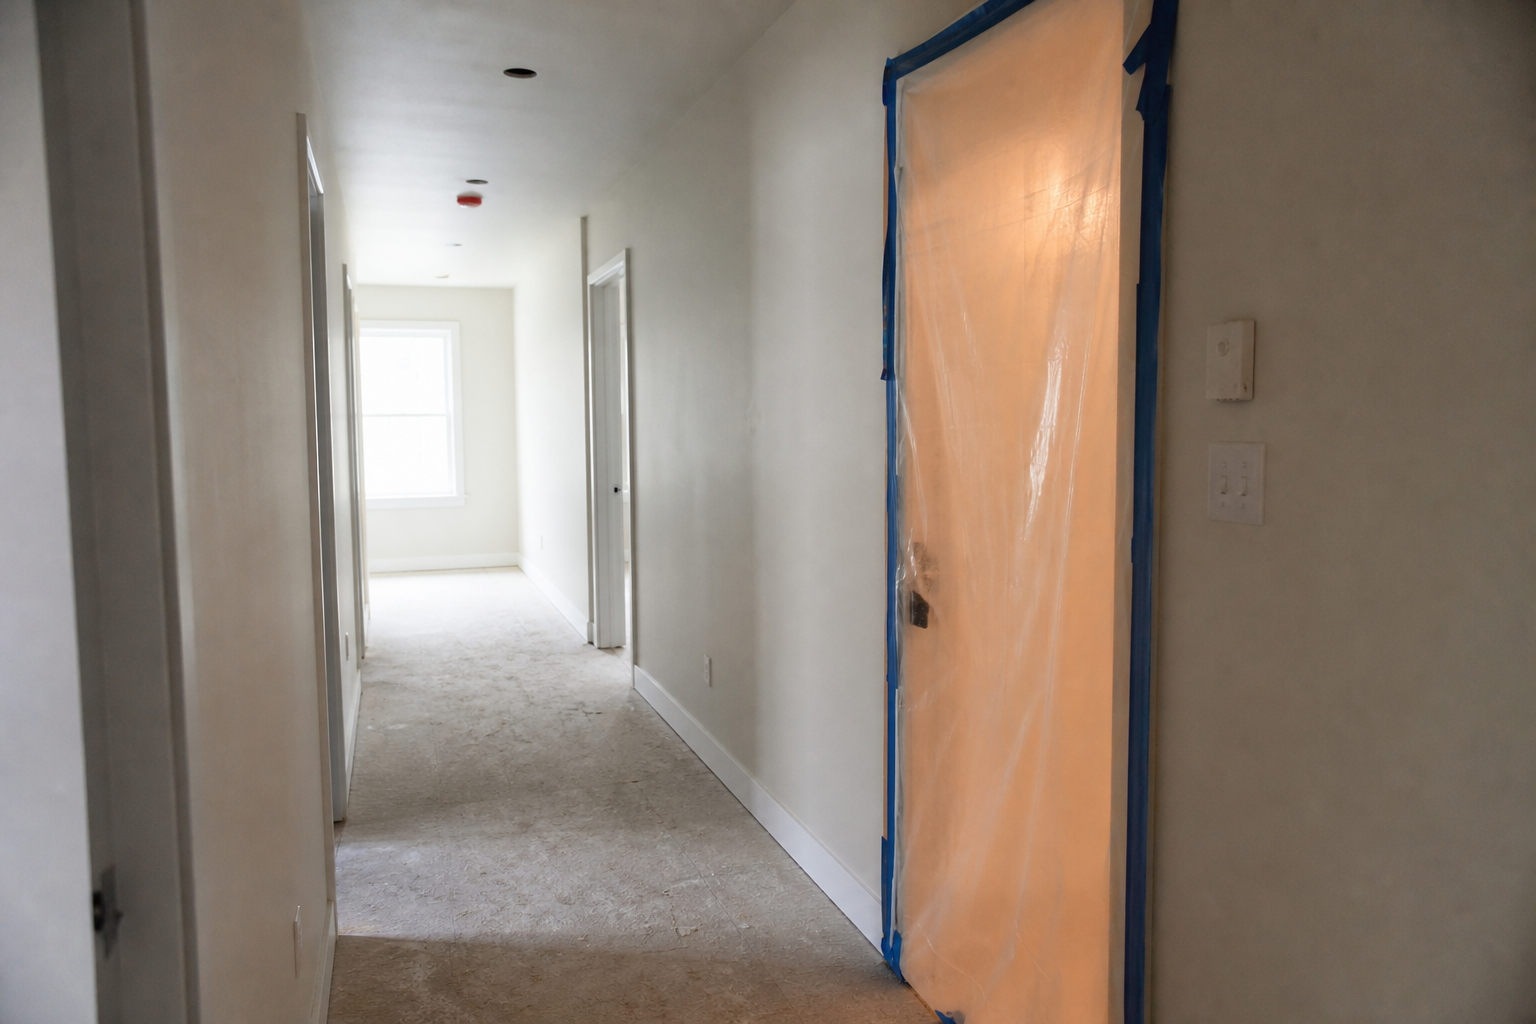
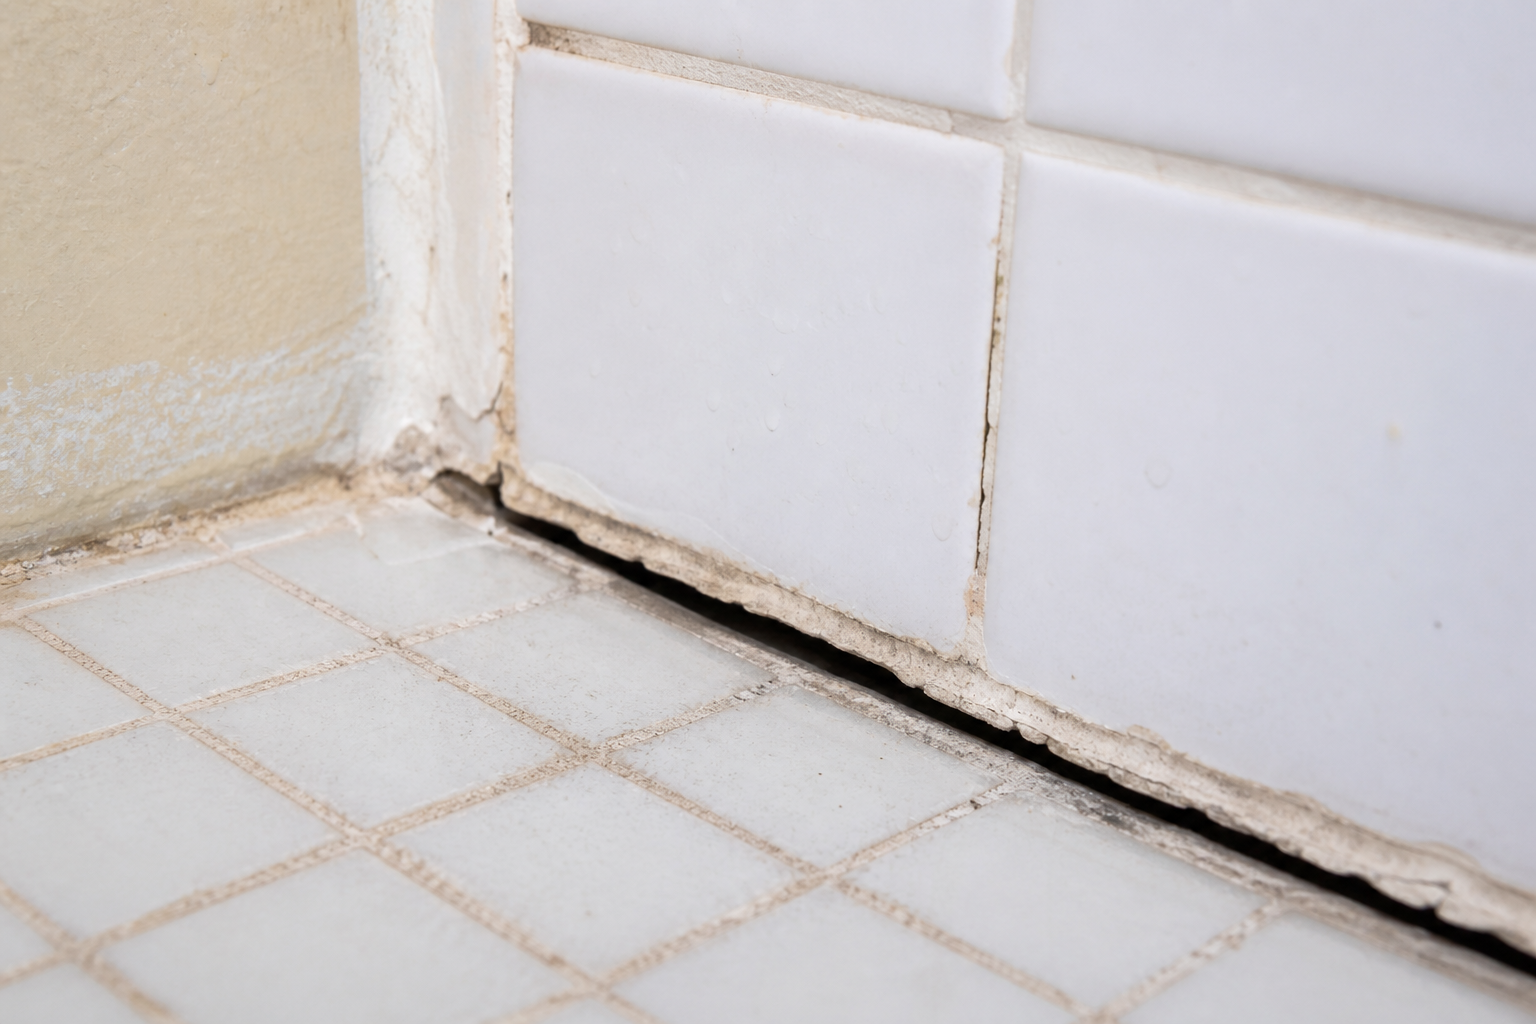
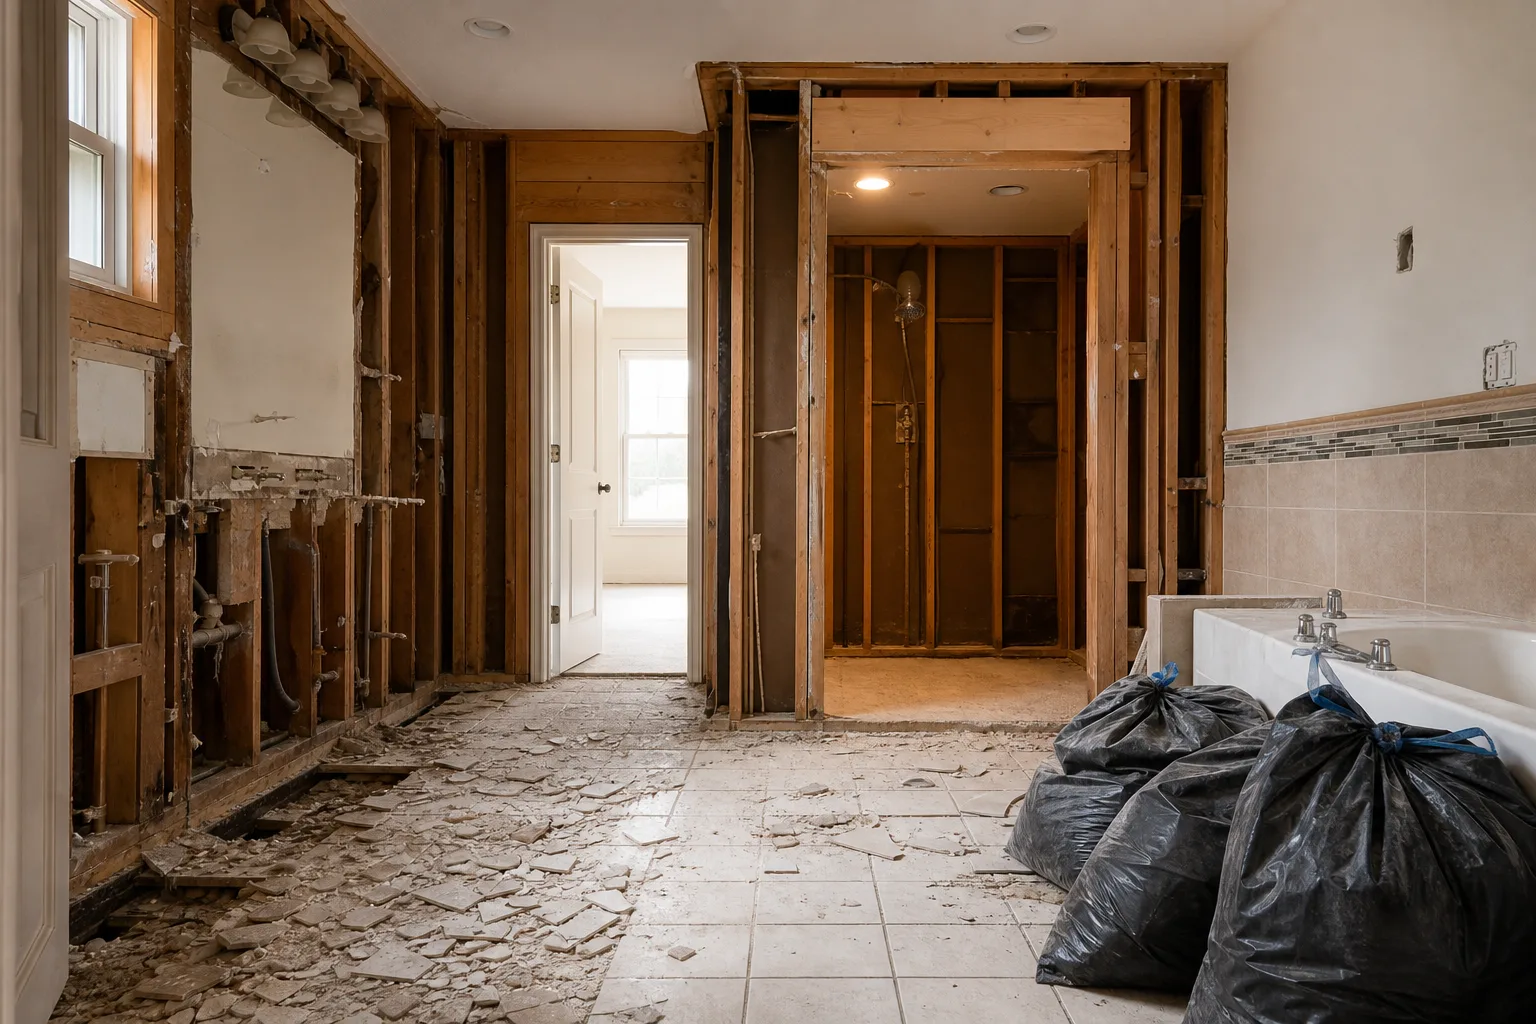
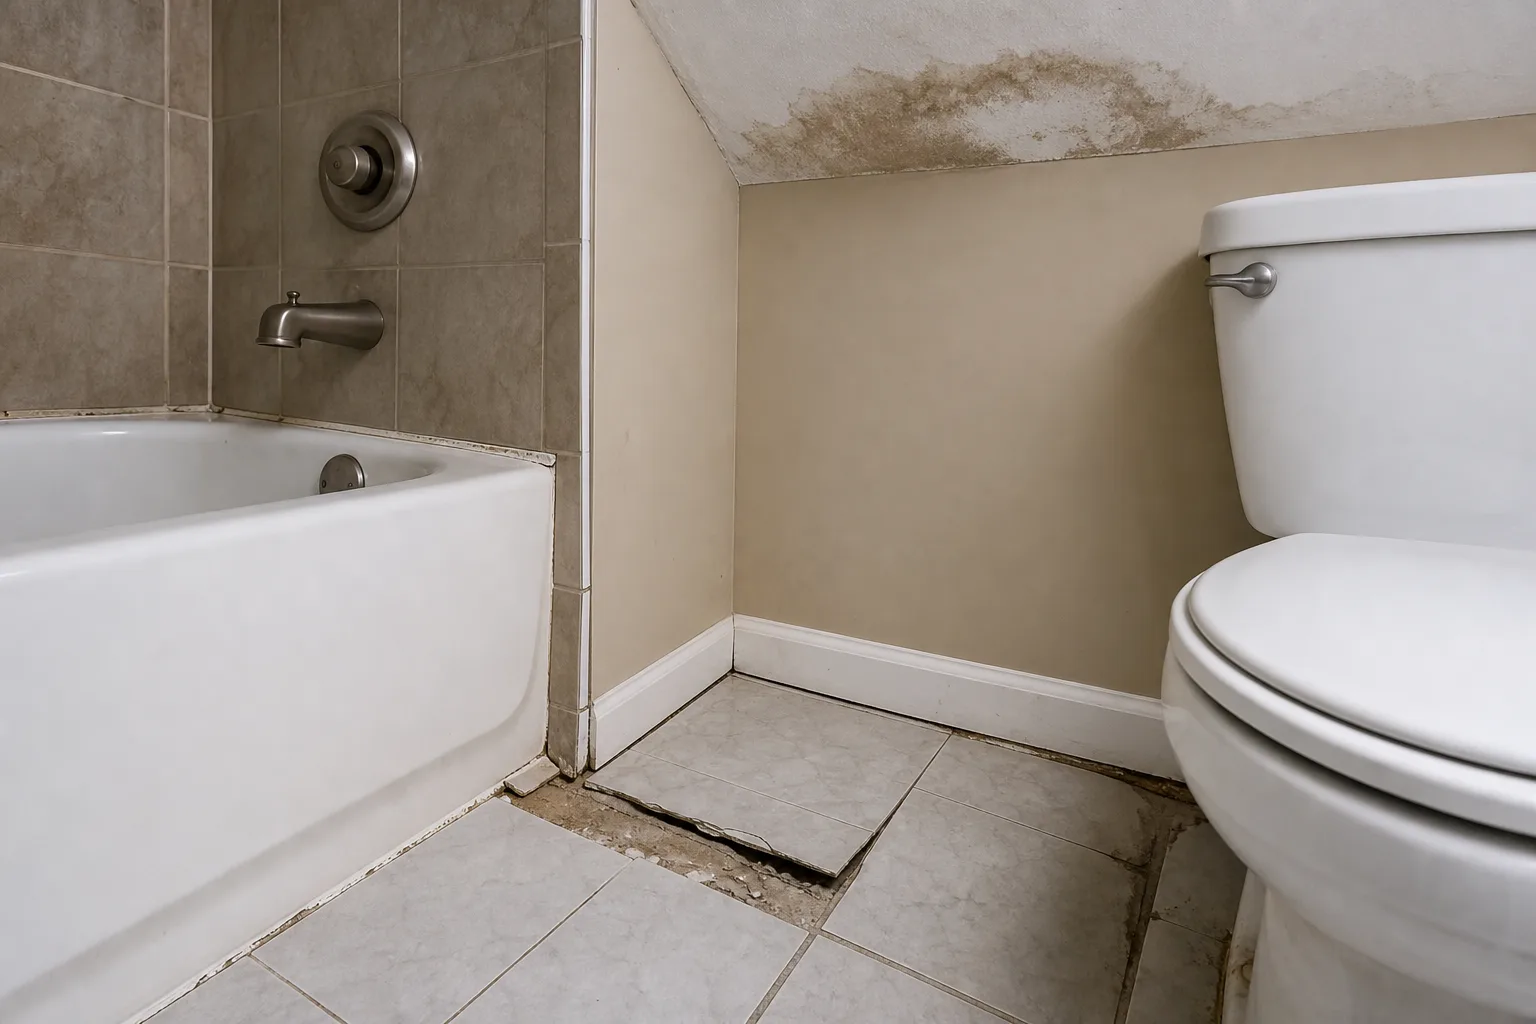
The failure mode for a curbless shower built with insufficient waterproofing or an incorrect transition joint is not dramatic. Water does not appear across the hall. The bathroom does not flood. What happens is slow saturation of the subfloor at the transition zone, at the location where the membrane terminated too early or where the joint was grouted rather than caulked.
The plywood in that location absorbs moisture in small amounts over time. The first signals are easy to miss: a slight softness underfoot near the threshold, a faint odor in the crawl space below, a transition joint that keeps cracking and getting repatched without any obvious cause. By the time those signs are noticeable, the damage in the subfloor has typically been building for years, and the repair requires opening the floor assembly to assess how far the saturation extends before reestablishing the waterproofing.
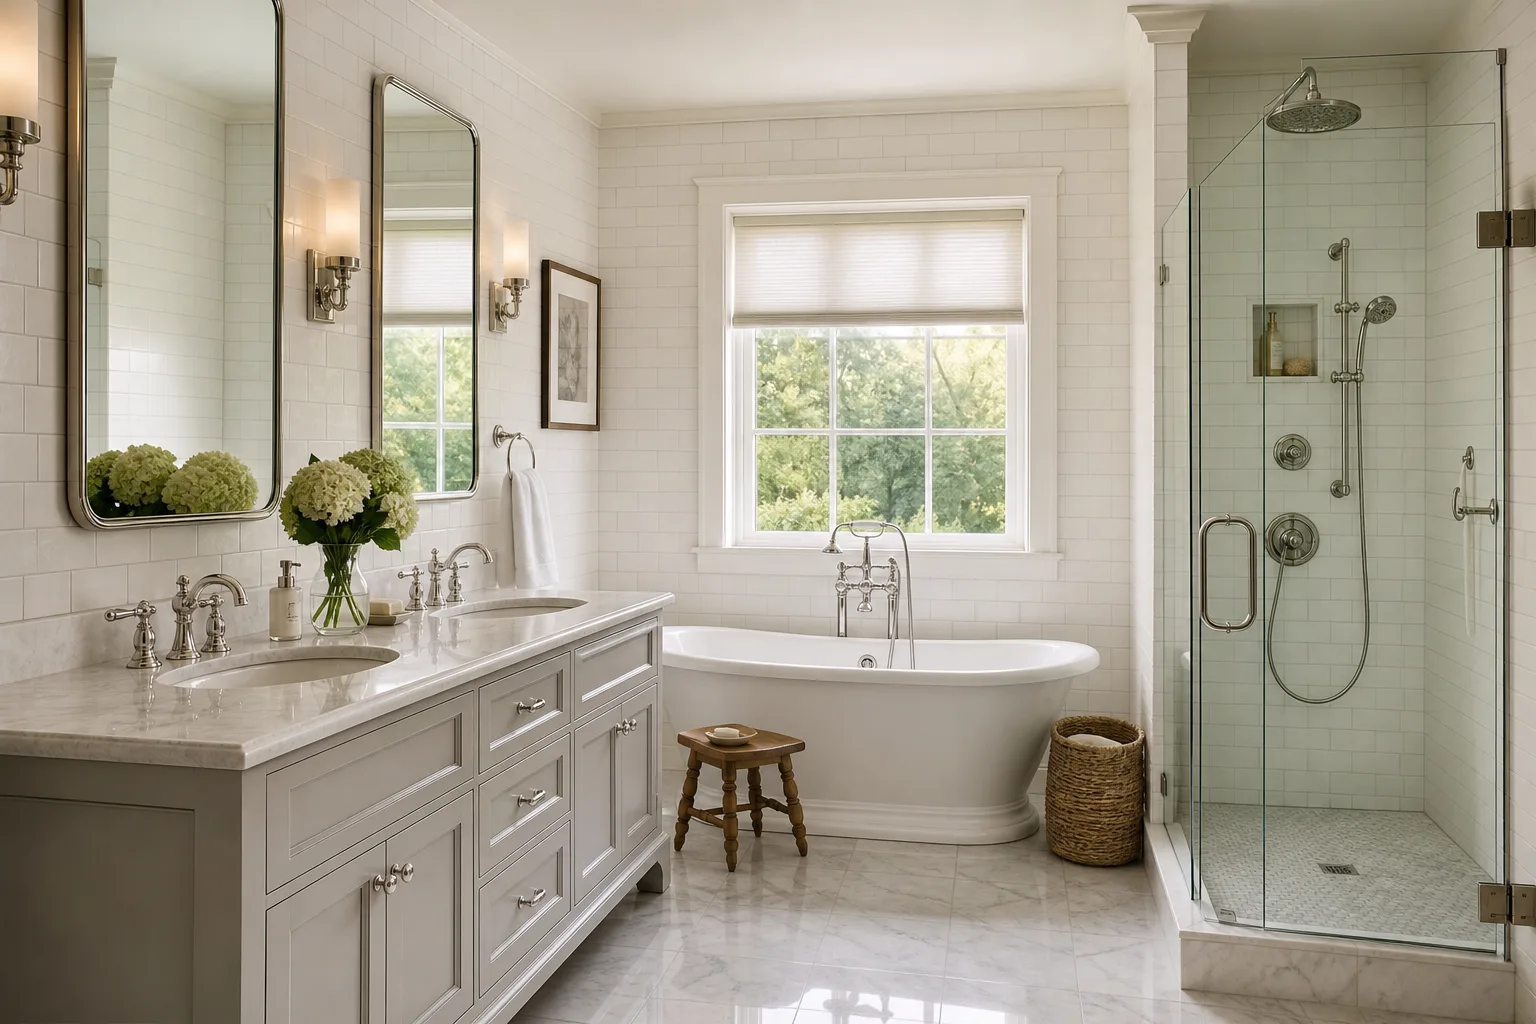
This is the scenario the contractor who sells curbless showers on aesthetics alone does not describe. The aesthetics are real. The continuous tile is genuinely more elegant than stepping over a curb. The accessibility benefit for older users or people with mobility considerations is documented and meaningful. None of those things make the structural assessment optional, the slope math optional, or the waterproofing extension optional. They are preconditions for the detail to work the way it looks like it will work.
We evaluate the floor structure before specifying any curbless shower. Depending on joist depth and finish floor thickness, the solution is different for every project, and we explain the required modification before a client commits to the detail.