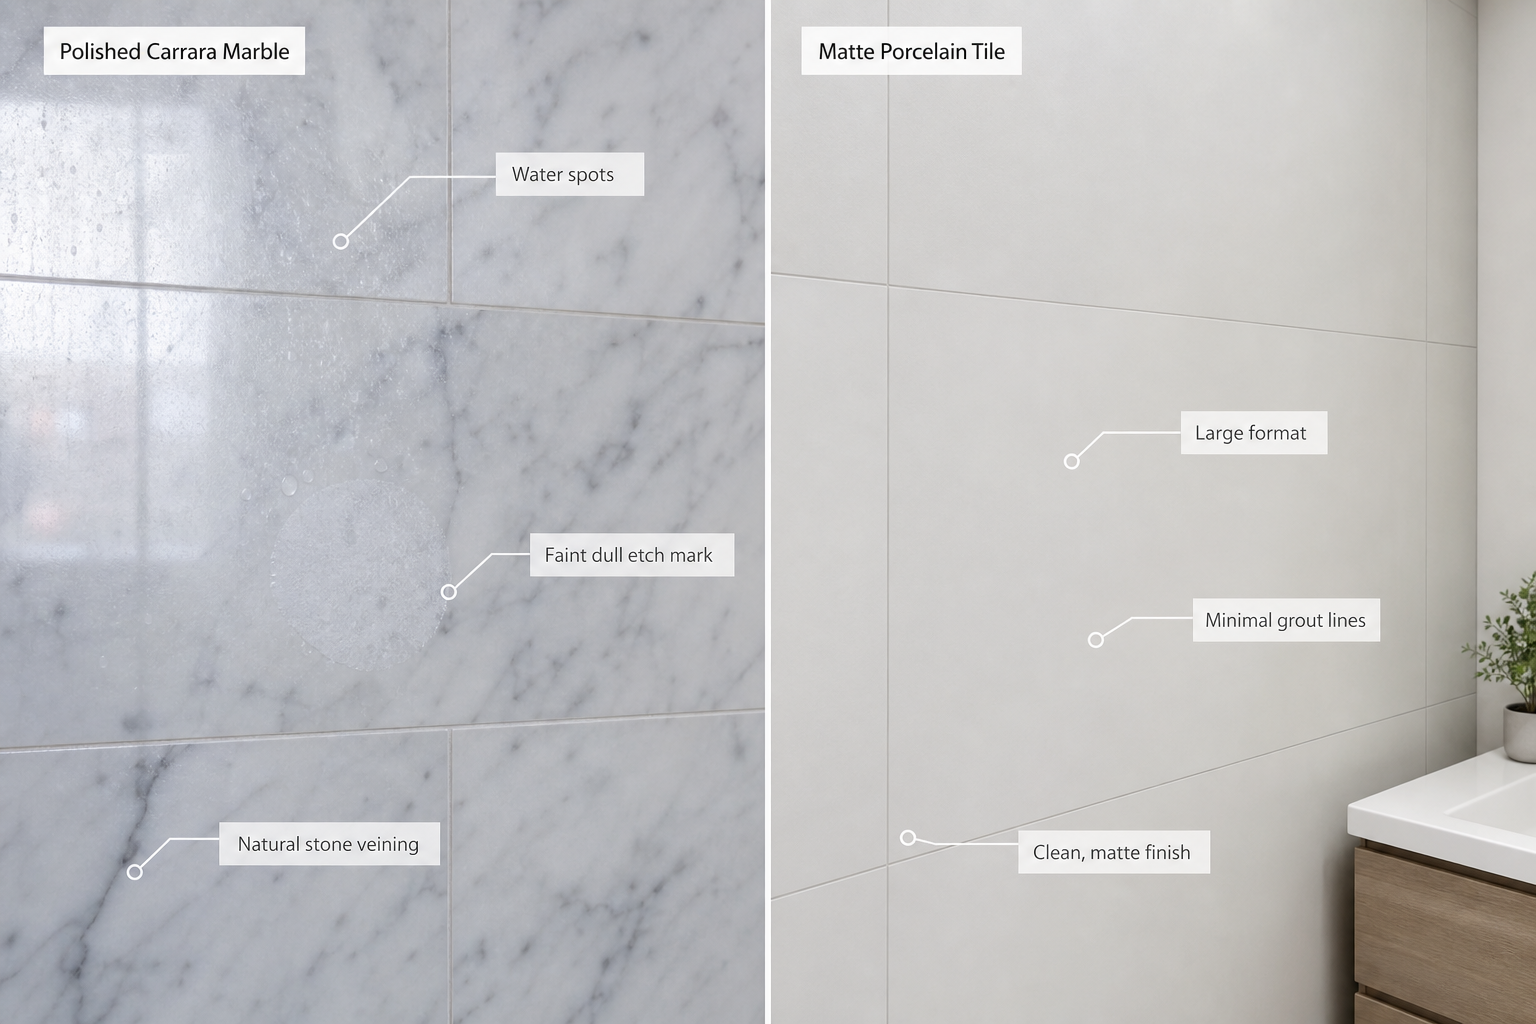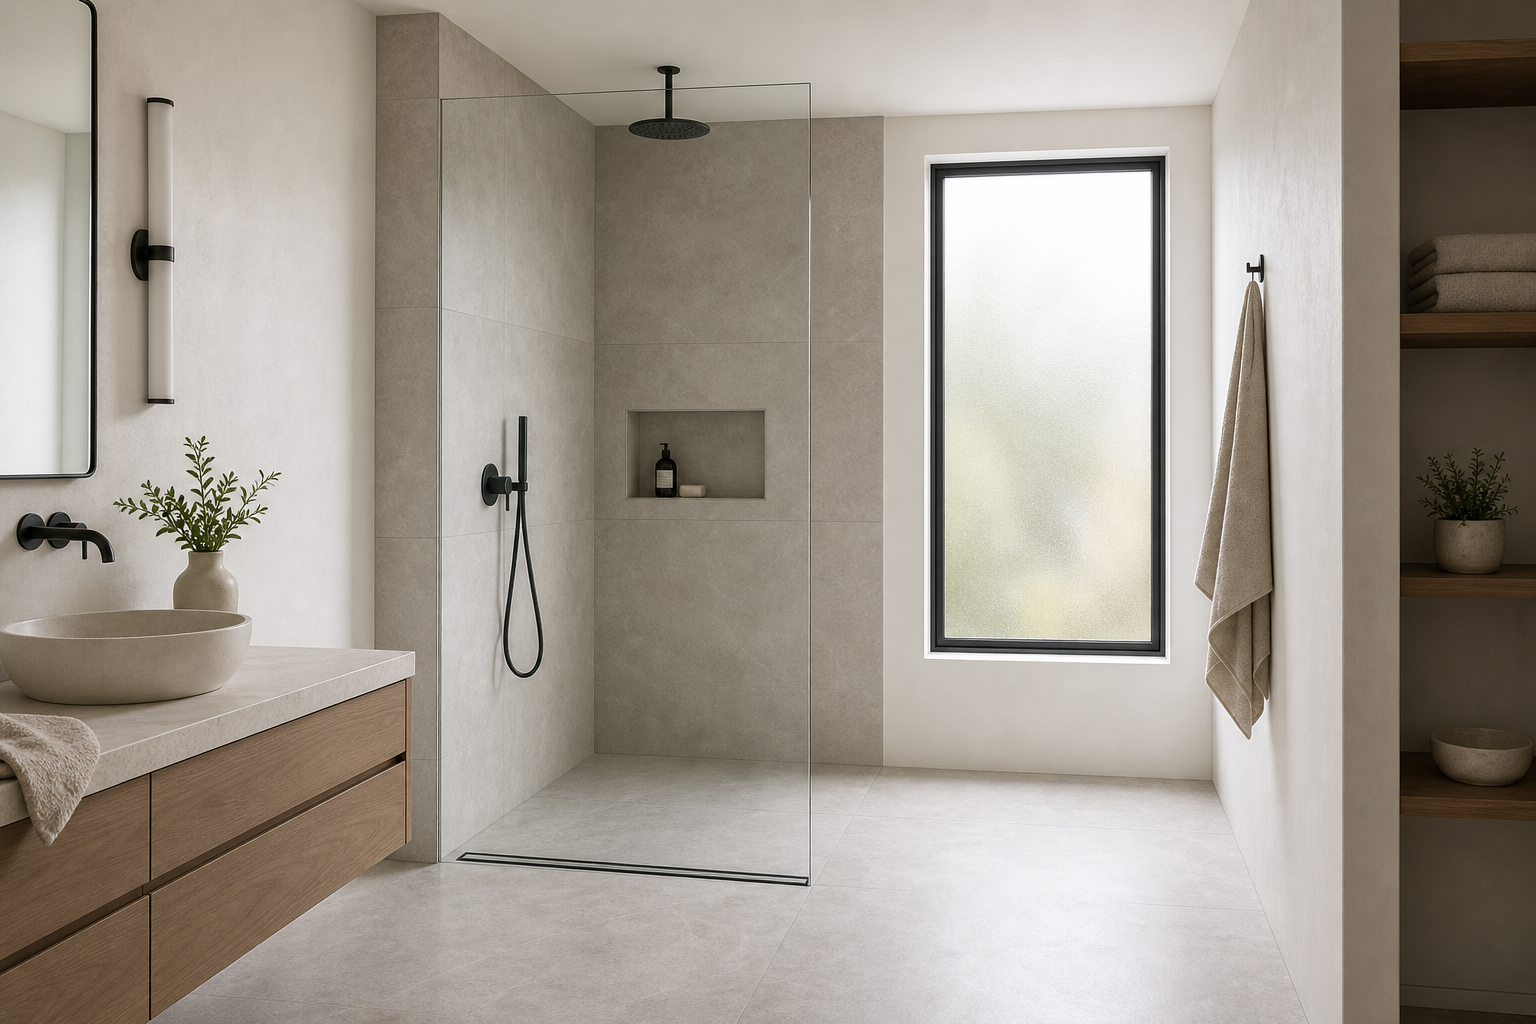
Large-format tile looks clean in inspiration photos because it has few grout lines and covers a lot of area with a single piece. It is also one of the most unforgiving materials to install correctly, because every imperfection in the substrate becomes magnified by the tile's dimension. A 12-by-12-inch tile can bridge a small low spot without visible consequence. A 24-by-48-inch tile spanning the same low spot will either crack, lippage, or hollow-sound depending on how the installer compensated.
The flatness requirement for large-format tile is not a preference. It is a material physics requirement defined in the ANSI A108.02 standard and the TCNA Handbook, and it is roughly twice as demanding as the flatness requirement for standard ceramic tile.
The Numbers
For standard ceramic tile (all sides shorter than 15 inches), ANSI A108.02 requires the substrate to be flat within 1/4 inch in 10 feet and no more than 1/16 inch variation in 1 foot.
For large-format tile (defined as any tile with at least one side 15 inches or longer), the requirement tightens: no more than 1/8 inch variation in 10 feet, and no more than 1/16 inch in 2 feet.
These are the maximum allowable deviations from a true plane. Not the ideal; the limit. A substrate at these tolerances is just barely within spec for large-format installation. Anything worse requires correction before tile can be set.
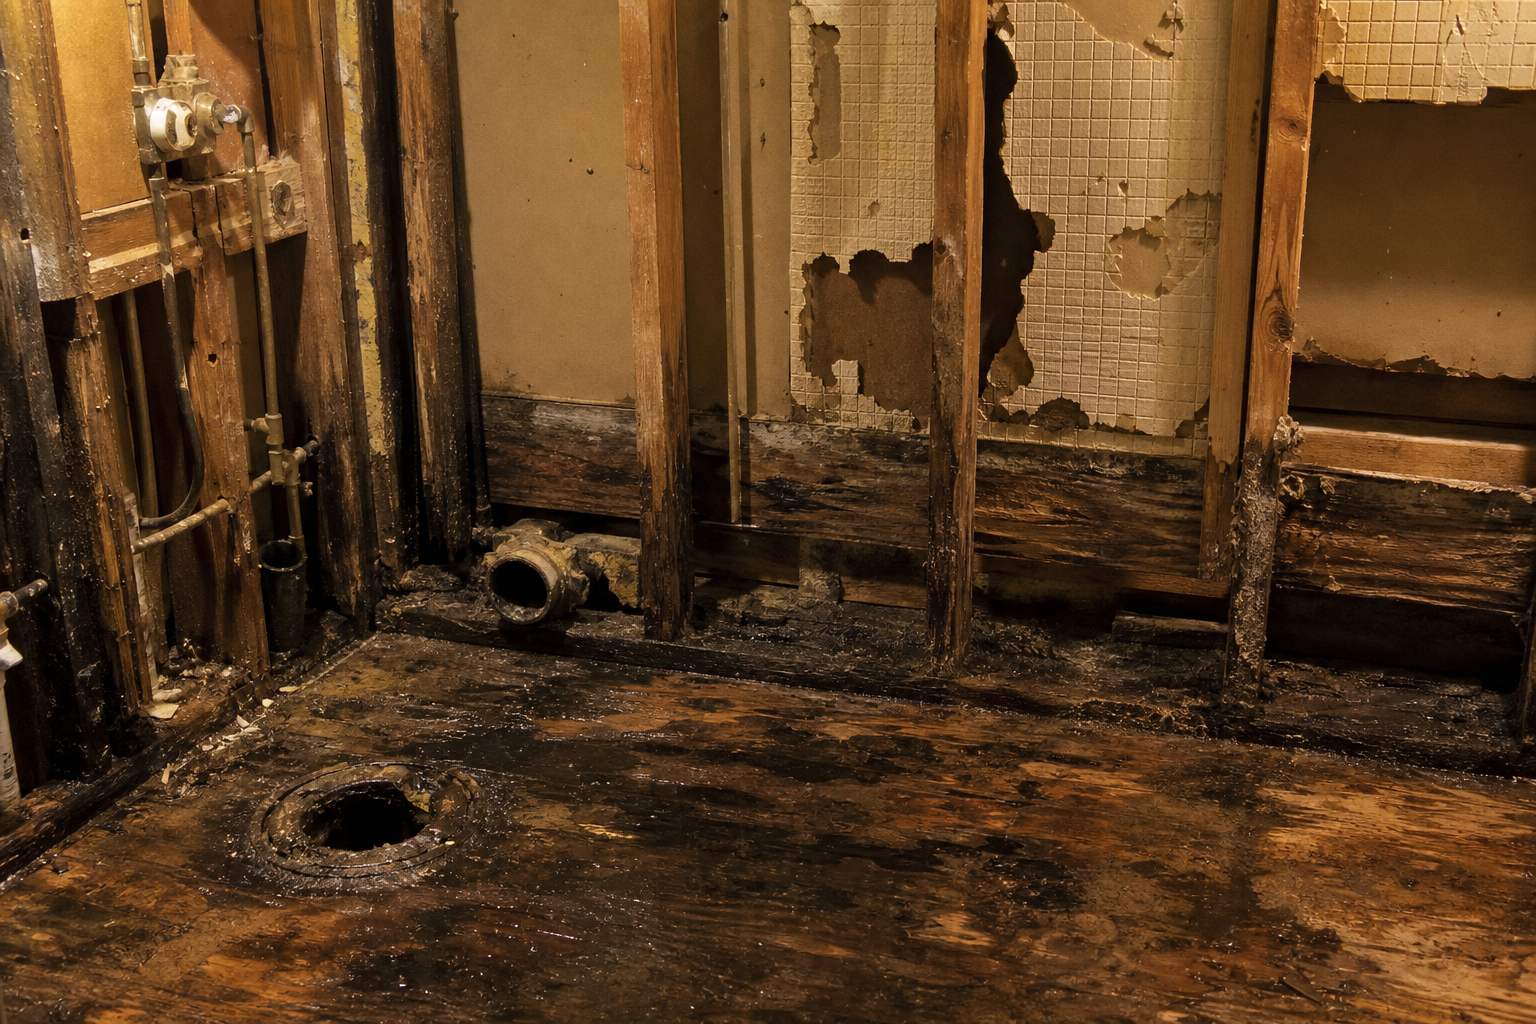
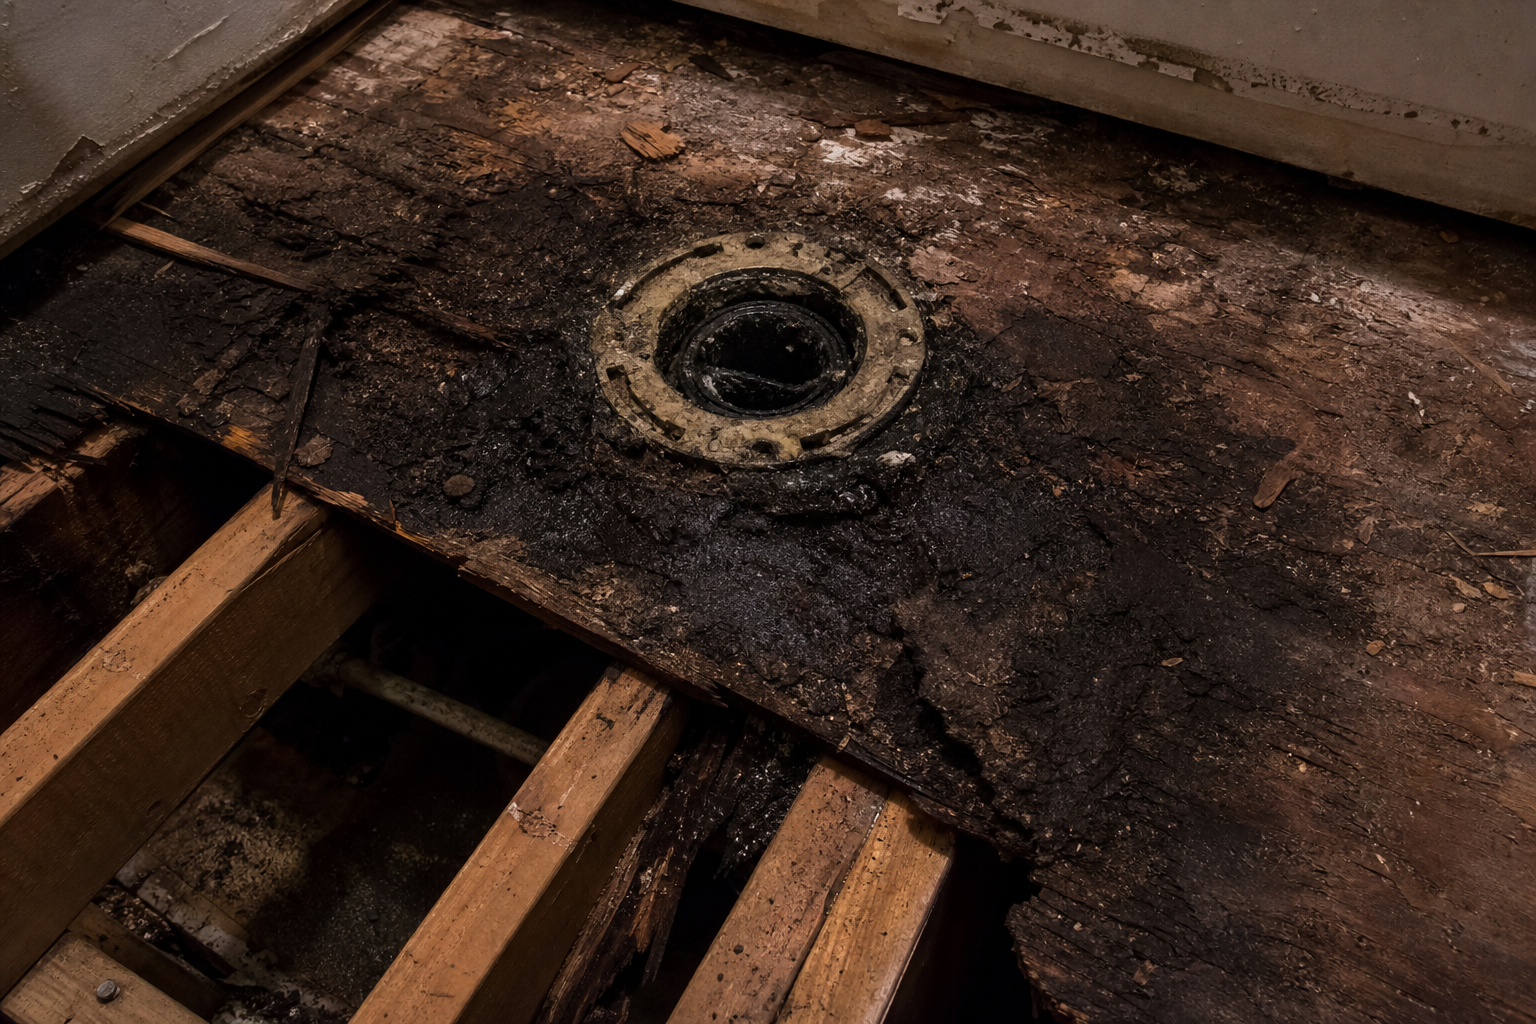
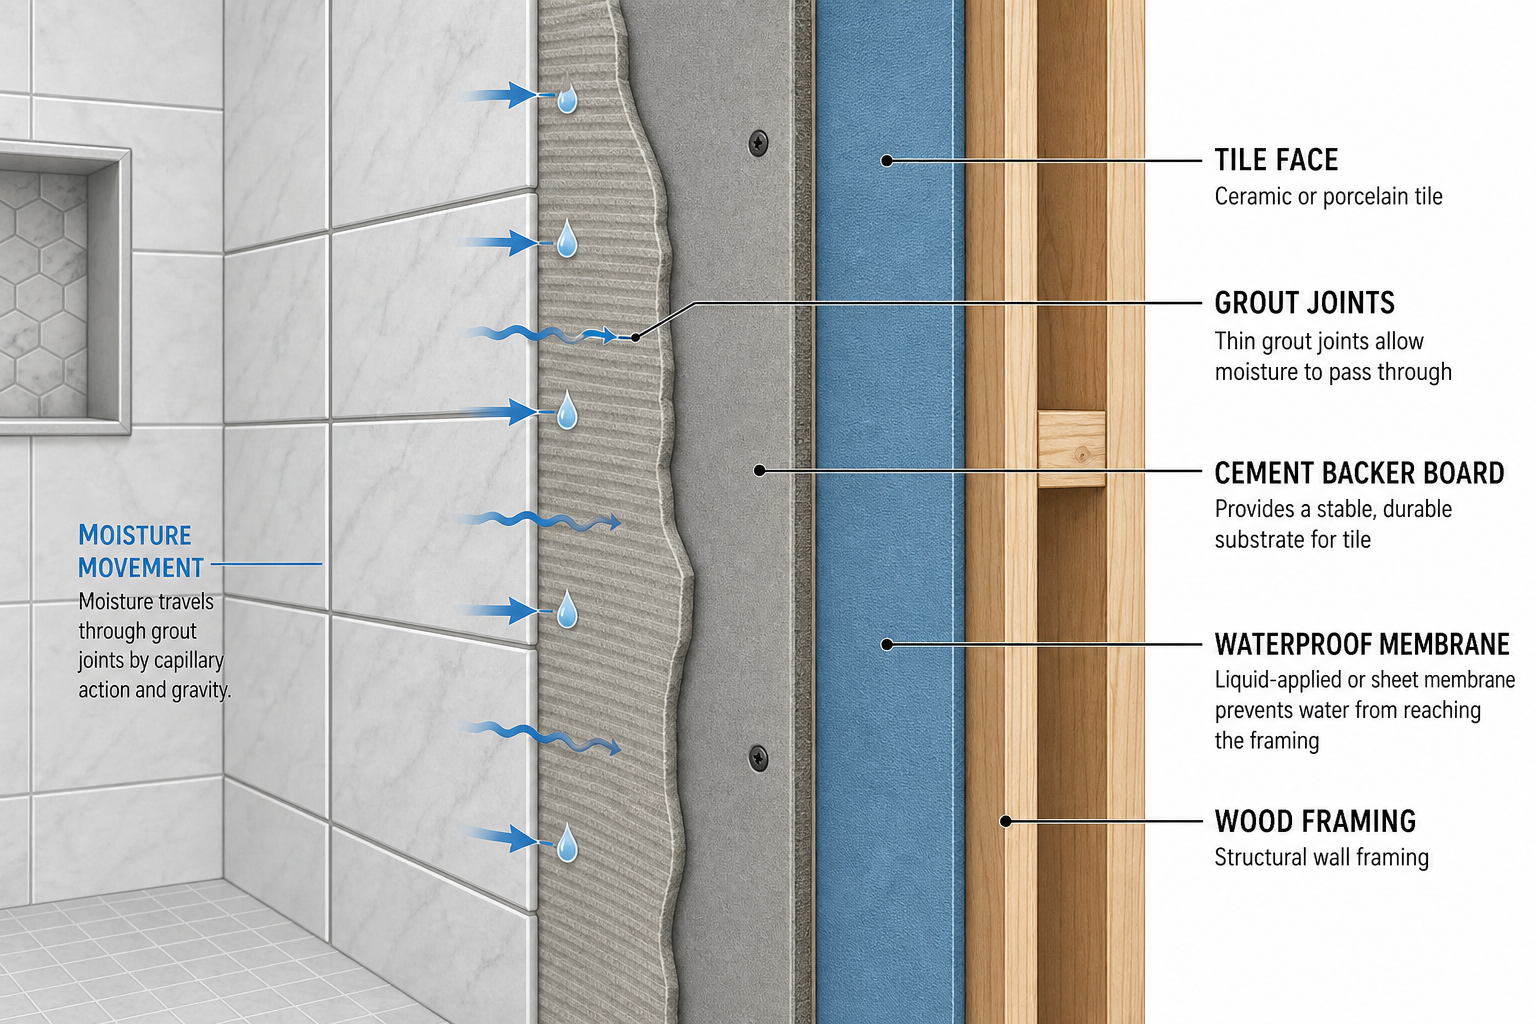
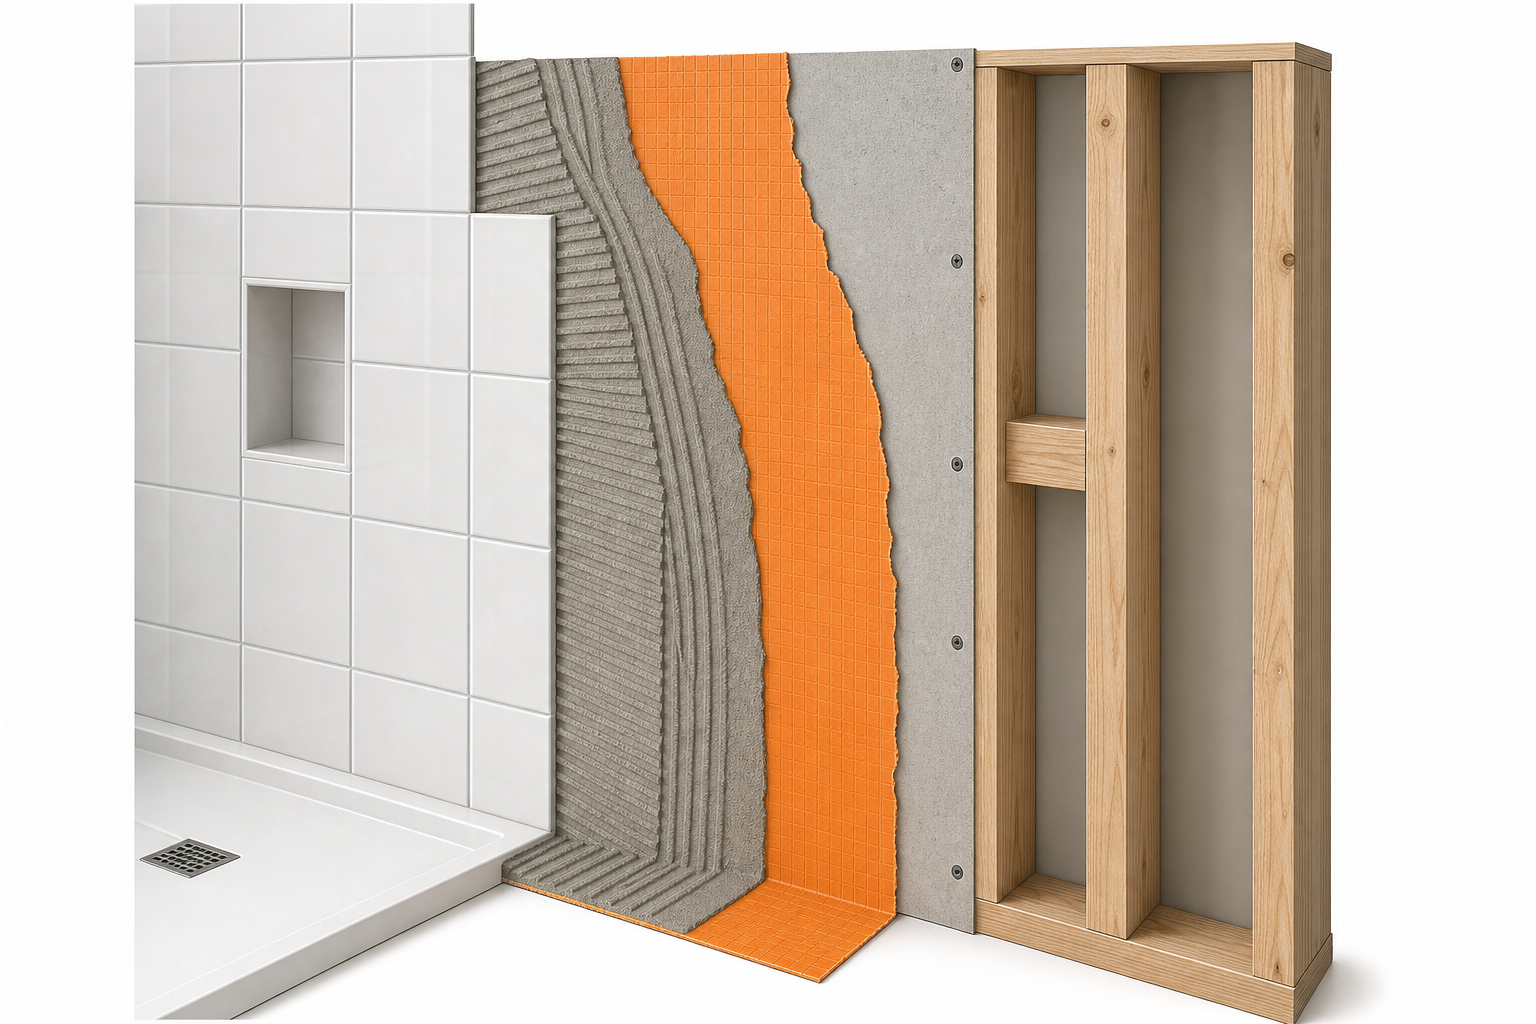
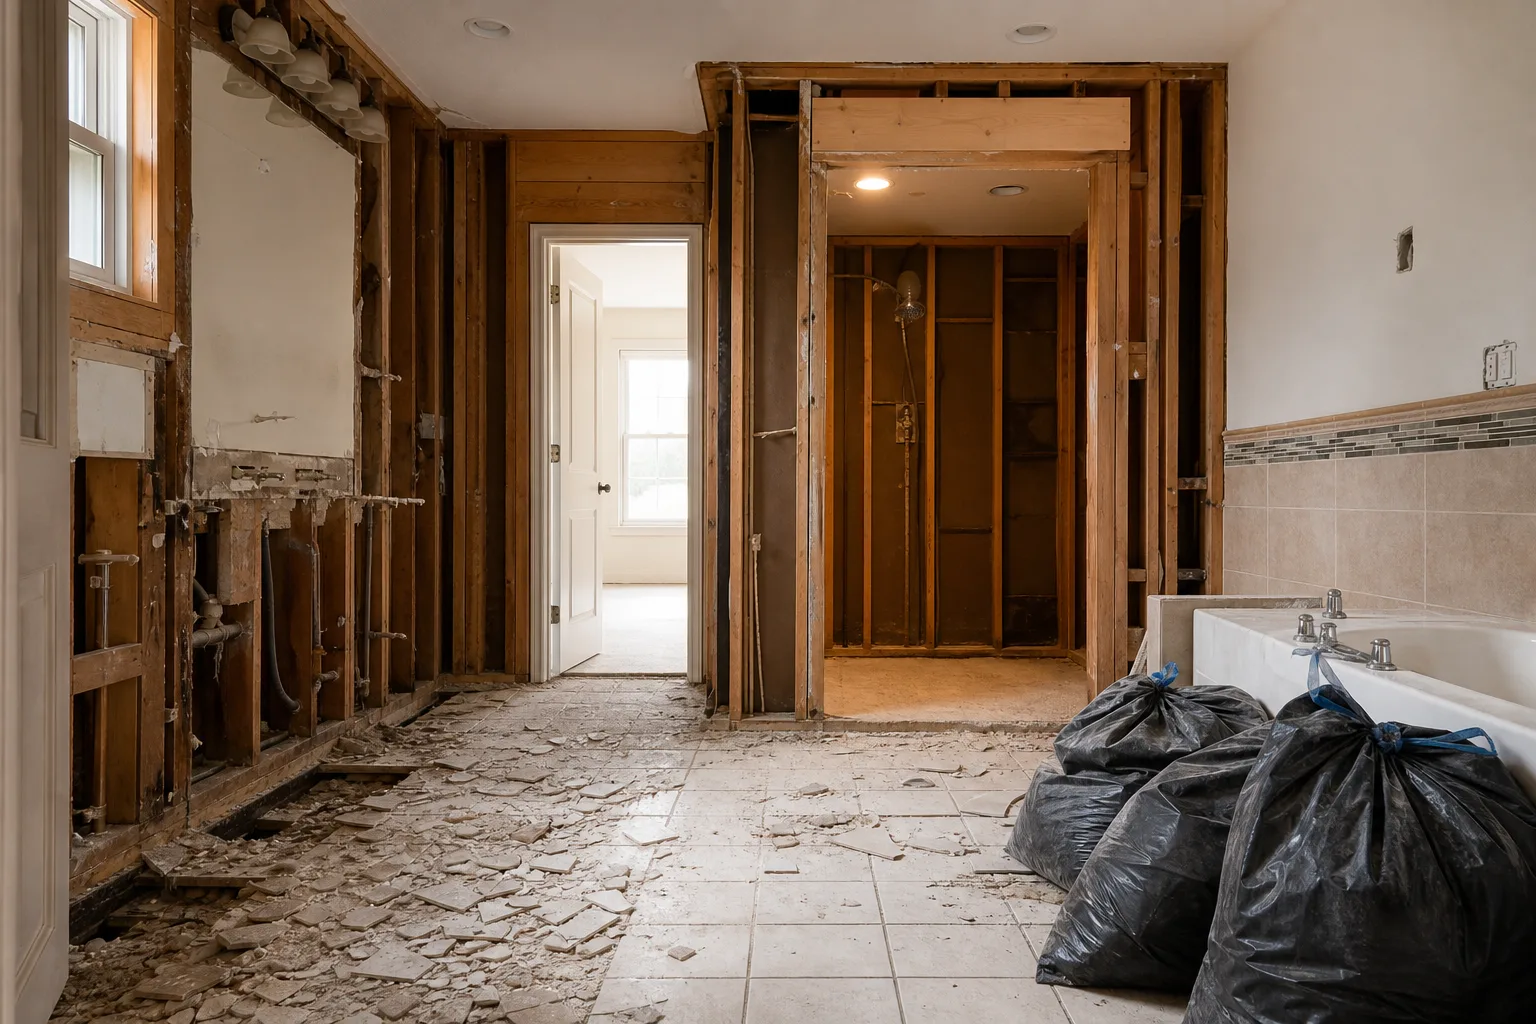
In residential construction, walls and floors are rarely this flat without deliberate preparation. Framing is not perfectly plumb and level; sheathing introduces its own variation; and in a renovation context, existing surfaces may have compound imperfections from decades of building movement, previous installation layers, and deferred maintenance. The concrete backer board or cement board that goes on the wall before tile adds another layer of potential variation if it is not properly attached and flattened.
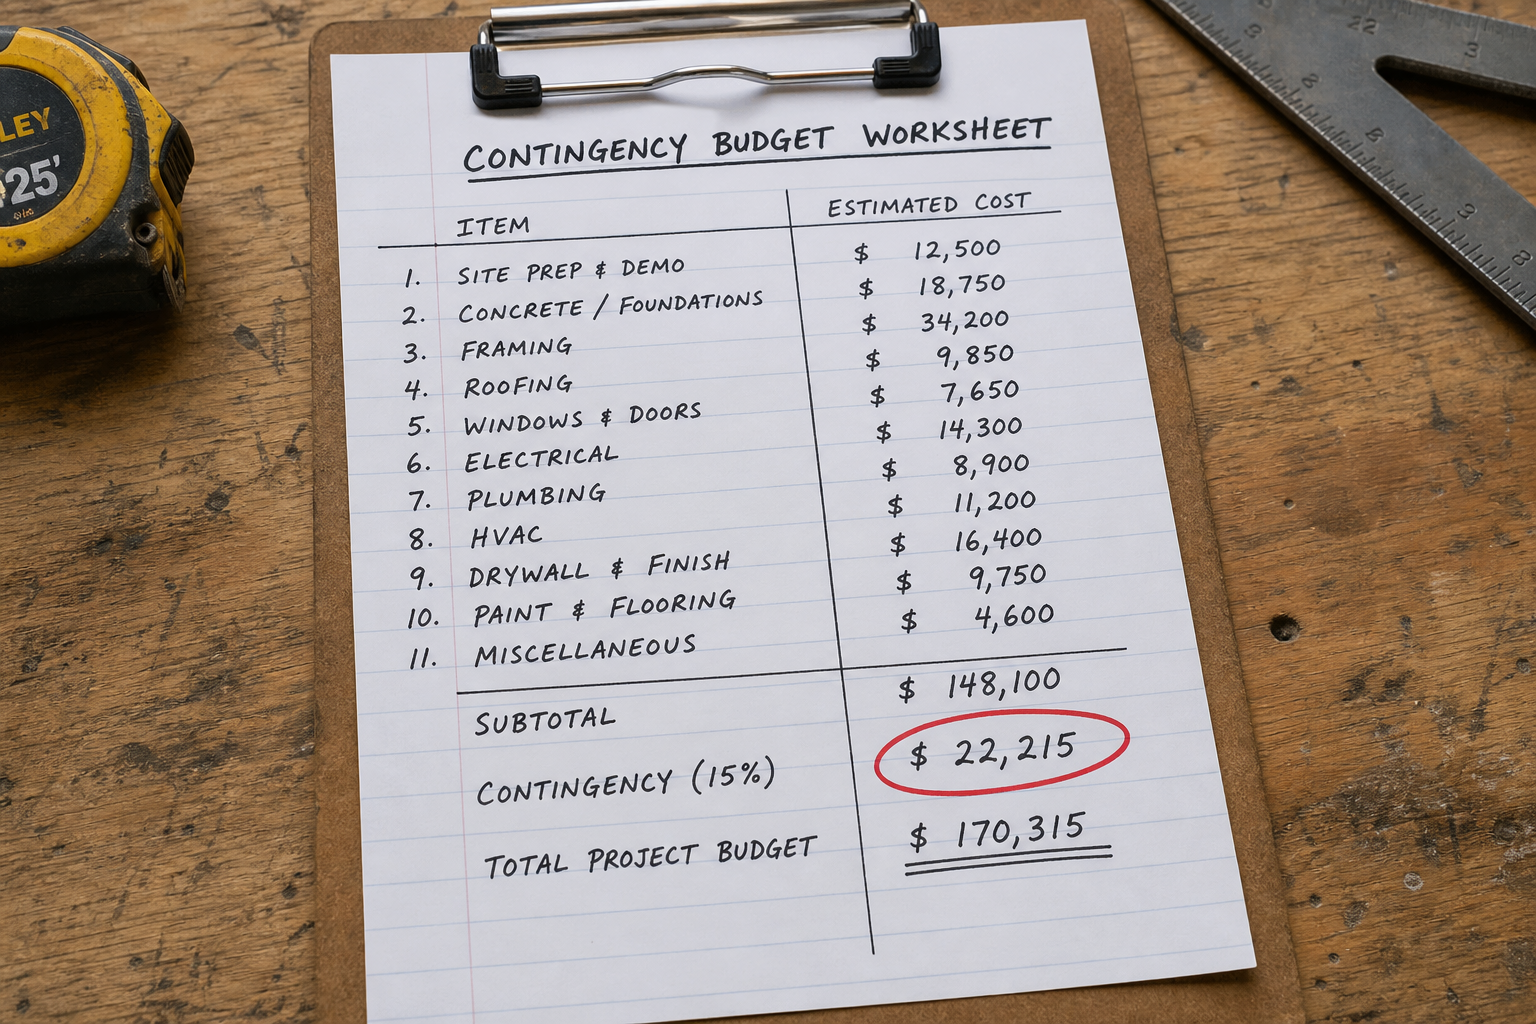
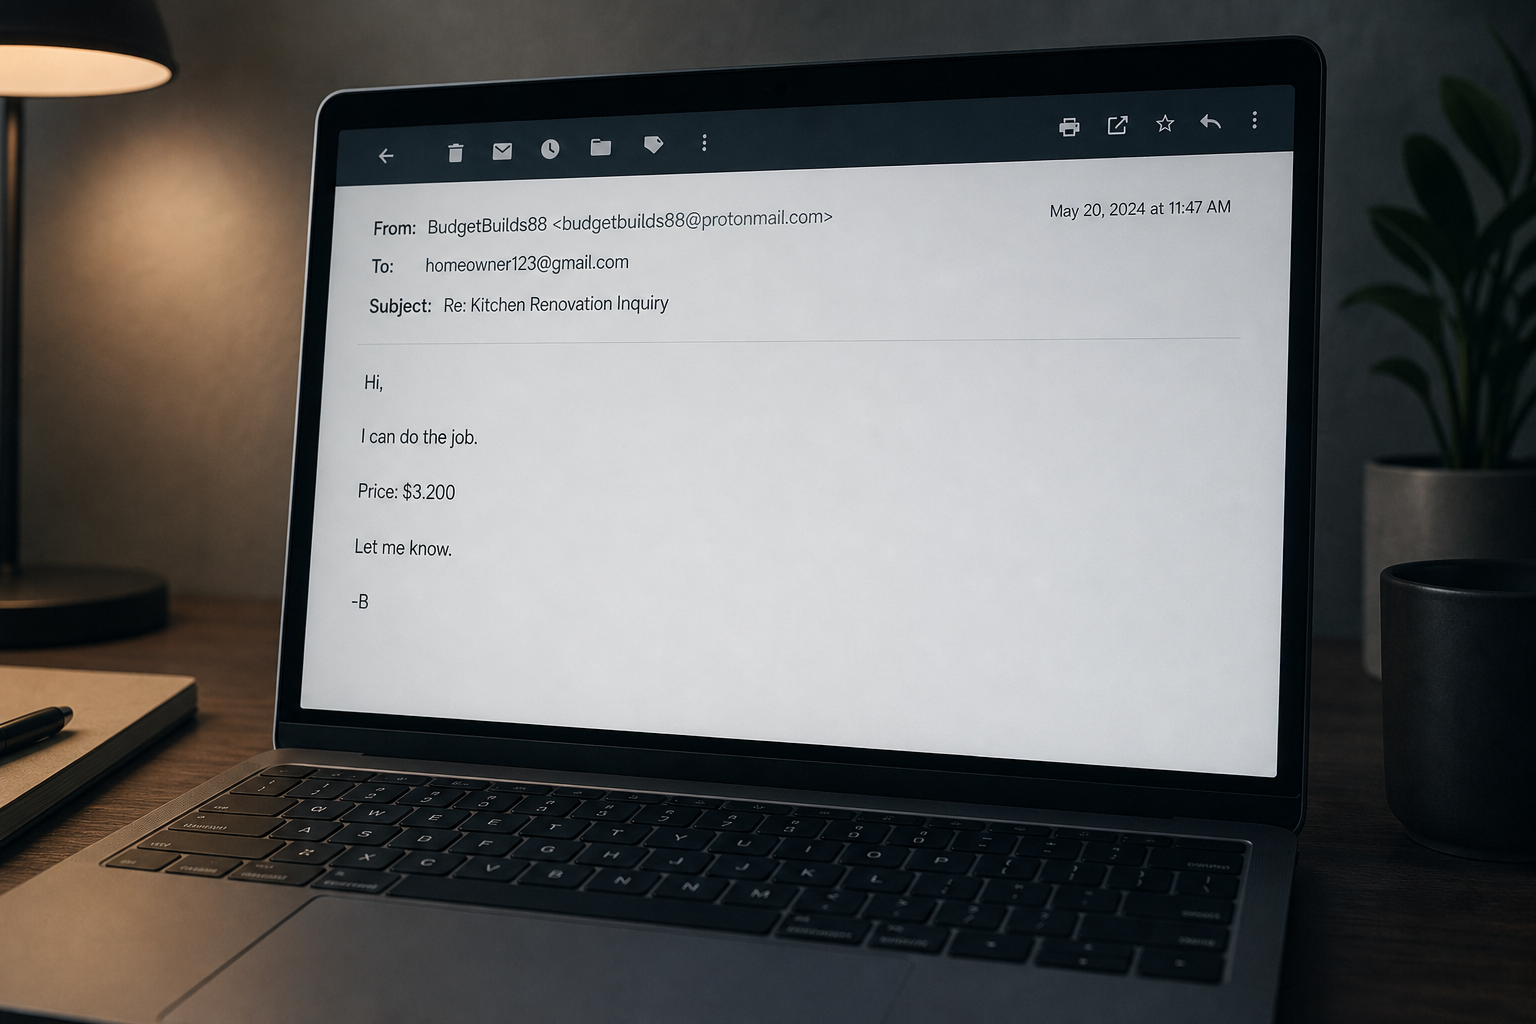
The practical consequence: in most renovation projects with large-format tile, the substrate preparation required to meet ANSI A108.02 is more extensive and more costly than standard tile installation. This is a real line item in a project budget. It is not always in the estimate when the tile has not been selected yet.
What Lippage Is and Why It Happens
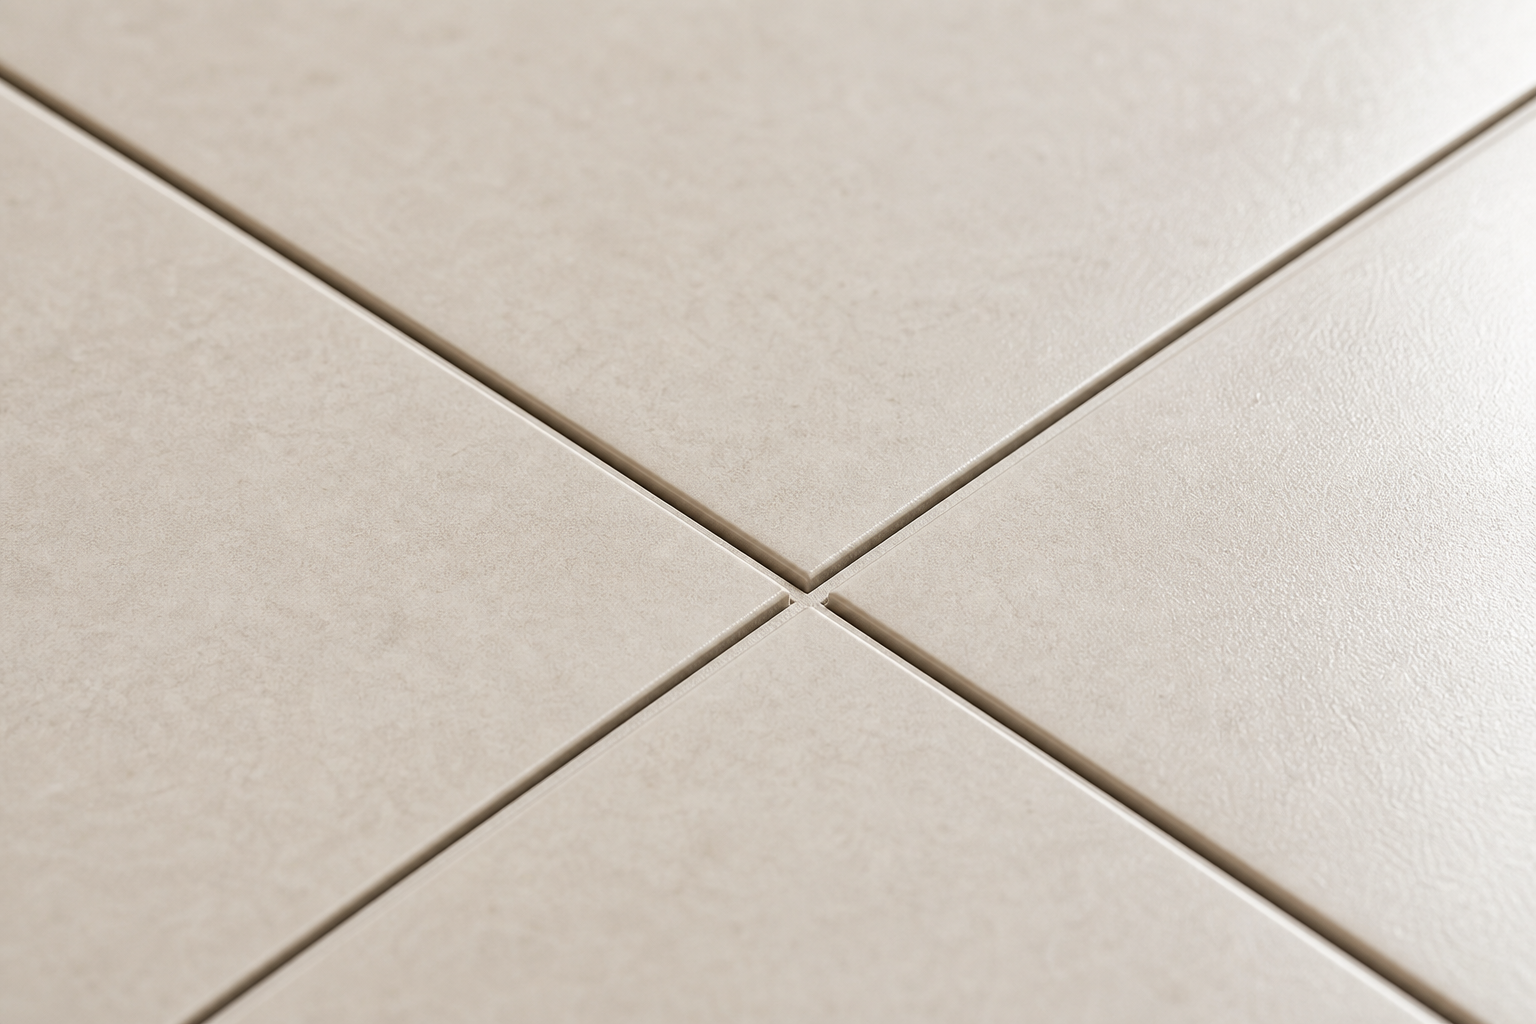
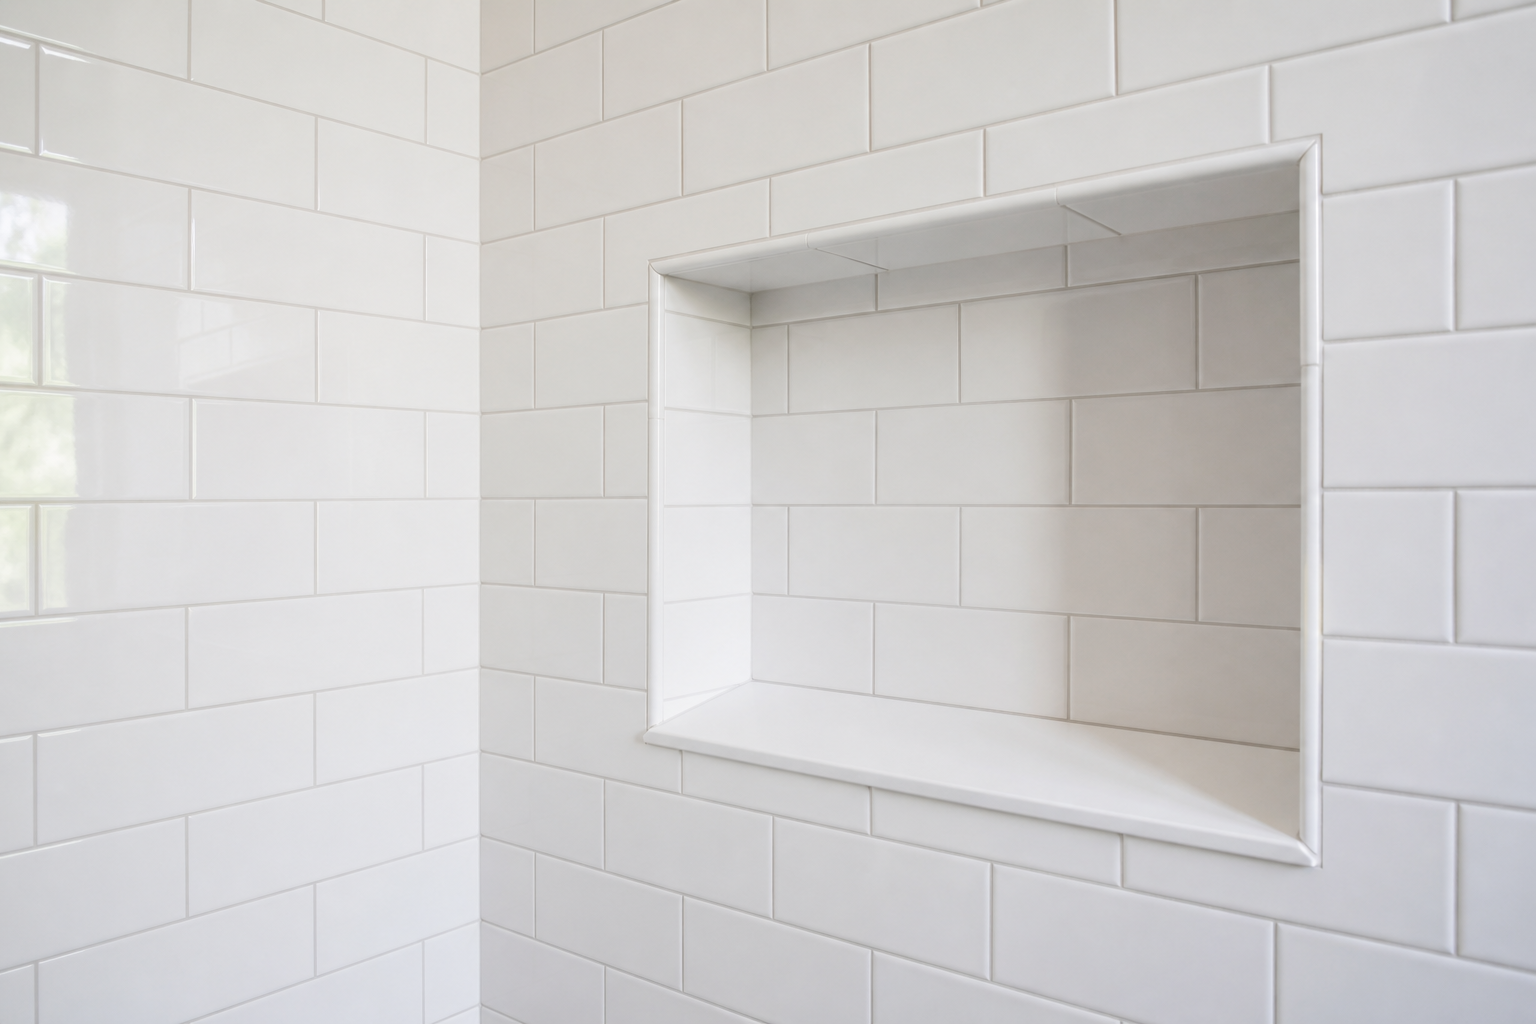
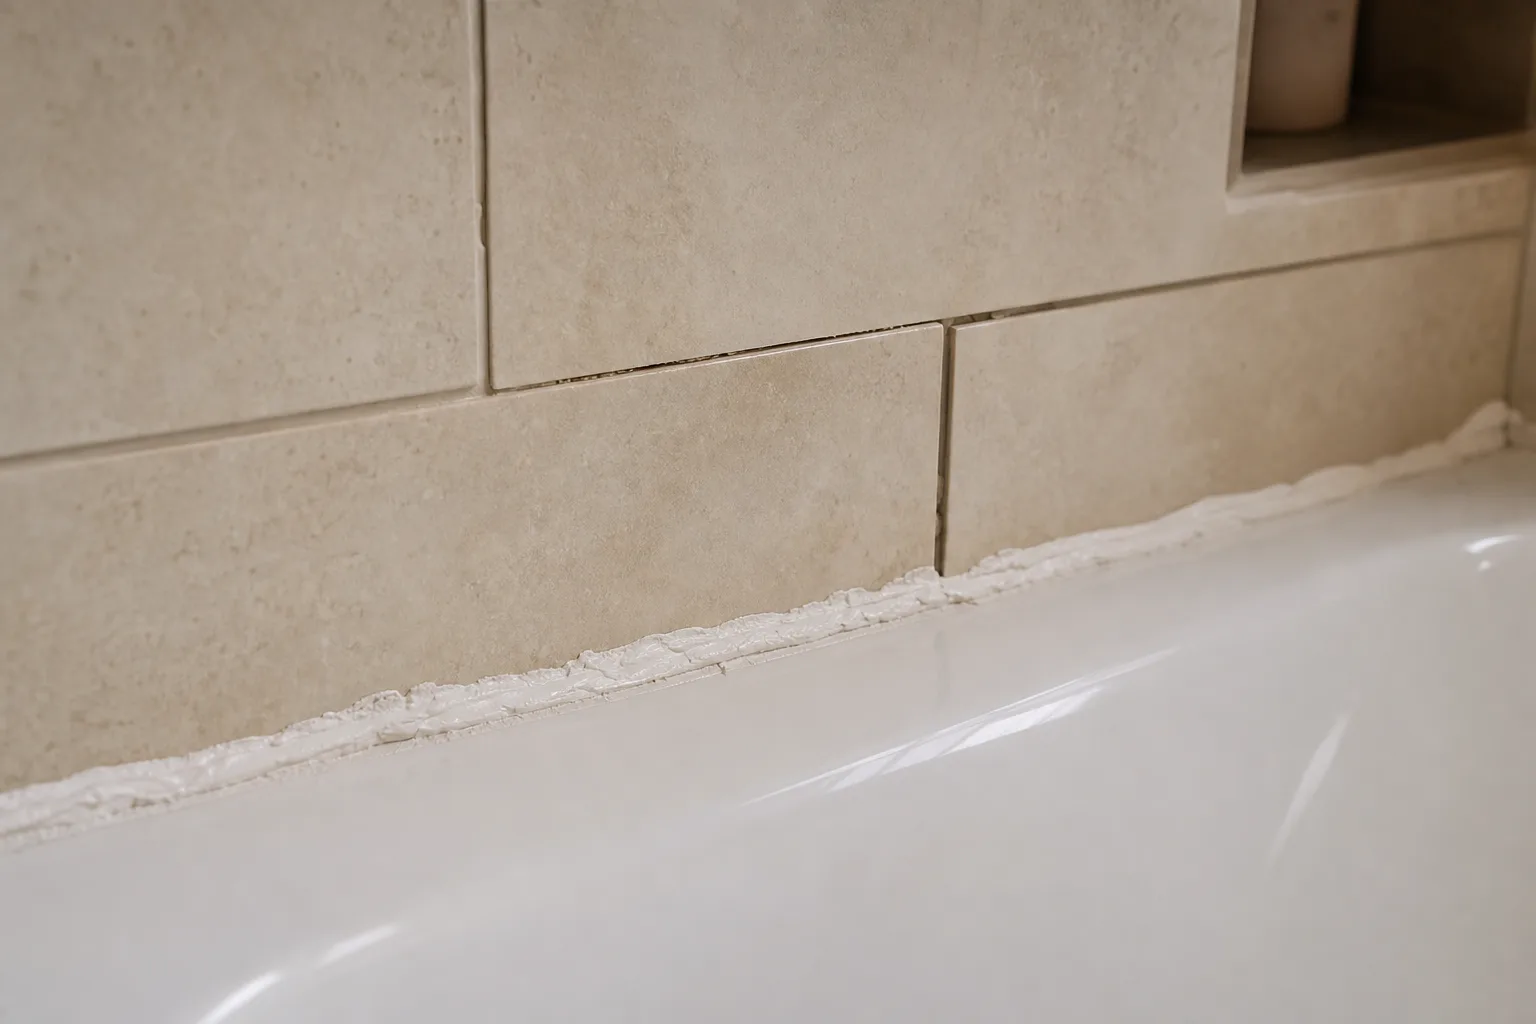
Lippage is the visible step between adjacent tiles where one edge is higher than the neighboring tile's edge. Small amounts of lippage are normal and acceptable even in correctly installed work; ANSI A108.02 specifies maximum allowable lippage that varies with grout joint width and tile type. But visible, obvious lippage, where the edge of one tile creates a ridge you can feel underfoot or that catches the light at an angle, is a defect.
With small-format tile, lippage is contained by the tile's dimension. The tile cannot span far enough to amplify a substrate deviation significantly. With large-format tile, the geometry changes. A tile spanning 48 inches has far more leverage to amplify a deviation in the plane beneath it. Even a small substrate irregularity produces a tile surface that is visibly out of plane.
The installer's adjustment mechanism is the mortar bed depth: adding more mortar under one side of a tile to compensate for a low spot in the substrate. But this method has limits. Setting mortar for direct-bond applications has a maximum functional thickness; applying more than the manufacturer specifies to compensate for substrate unevenness is not a waterproofing or structural strategy and produces inconsistent bond quality. The correct solution is a flat substrate before tile starts, not an attempt to compensate during setting.
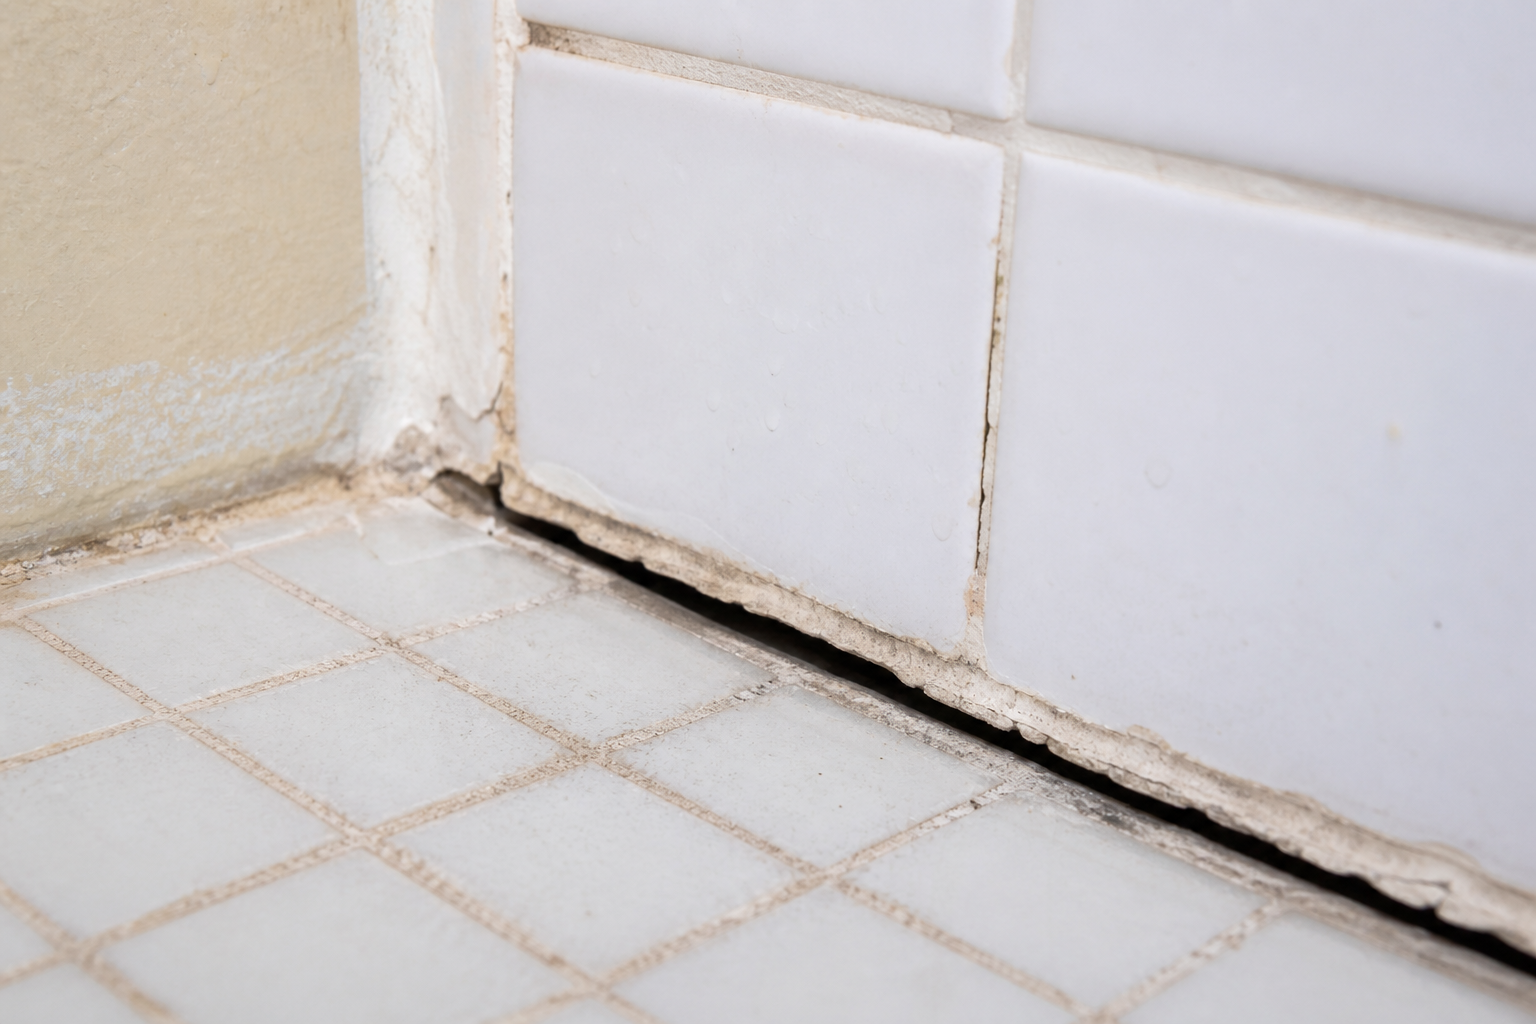
What Happens When the Substrate Is Not Corrected
The outcomes sort into three categories depending on how significant the deviation was and how the installer responded:
Hollow tile. If the substrate is low in the middle of a large tile's footprint, the mortar may not contact the back of the tile uniformly. ANSI requires minimum mortar coverage percentages on the tile back; insufficient coverage at a low spot produces a hollow. Hollow tile does not fail immediately but is mechanically weaker at that area and more likely to crack under point loads or thermal cycling.
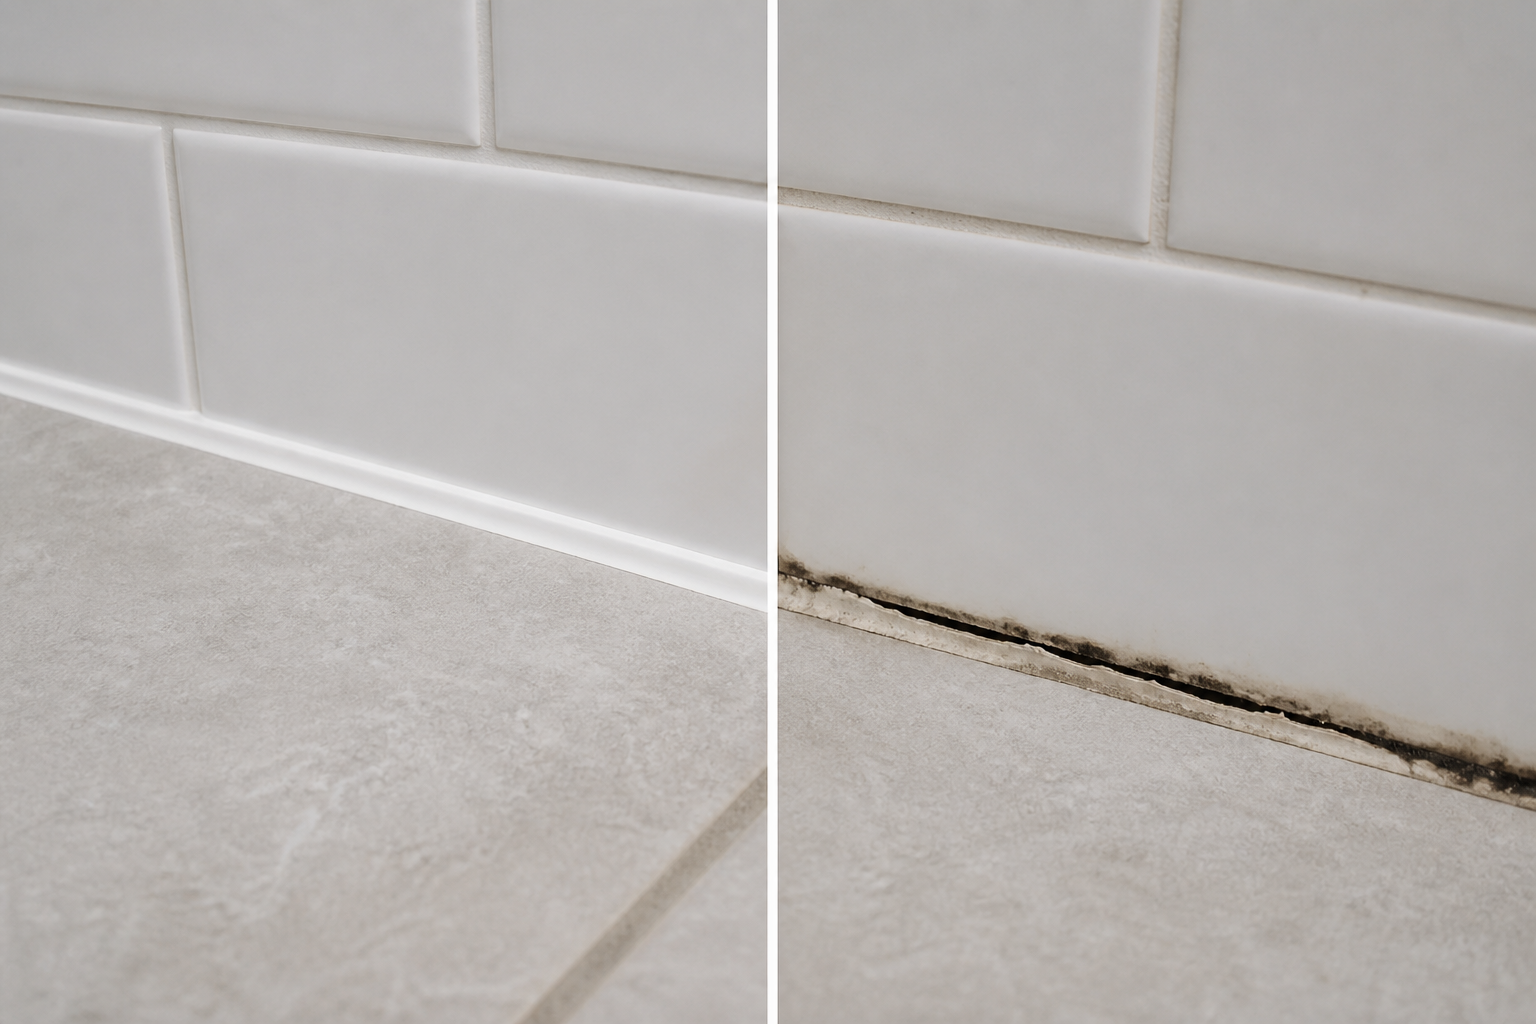
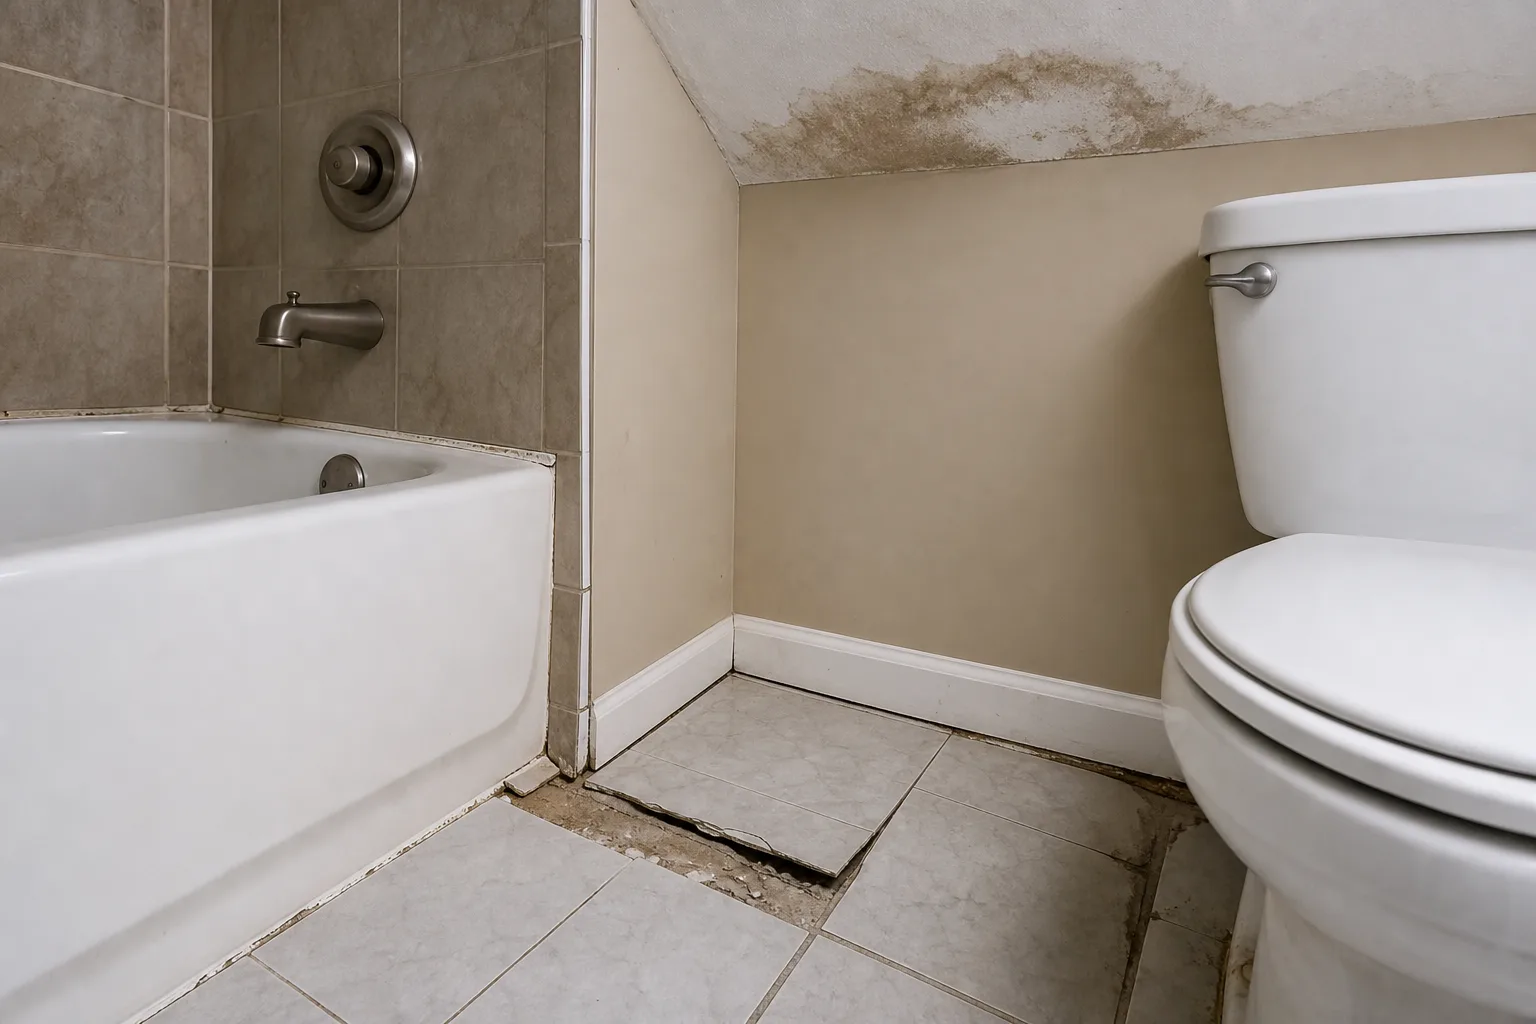
Cracking. A tile bridging a low spot has its support concentrated at the edges. Point loads (a dropped object, a sharp impact, sustained weight over the unsupported center) can fracture tile that would have been fine on a flat substrate. On a floor, this means eventual cracked tile and grout failure. On a wall, it is less immediate but still represents structural compromising of the finish layer.
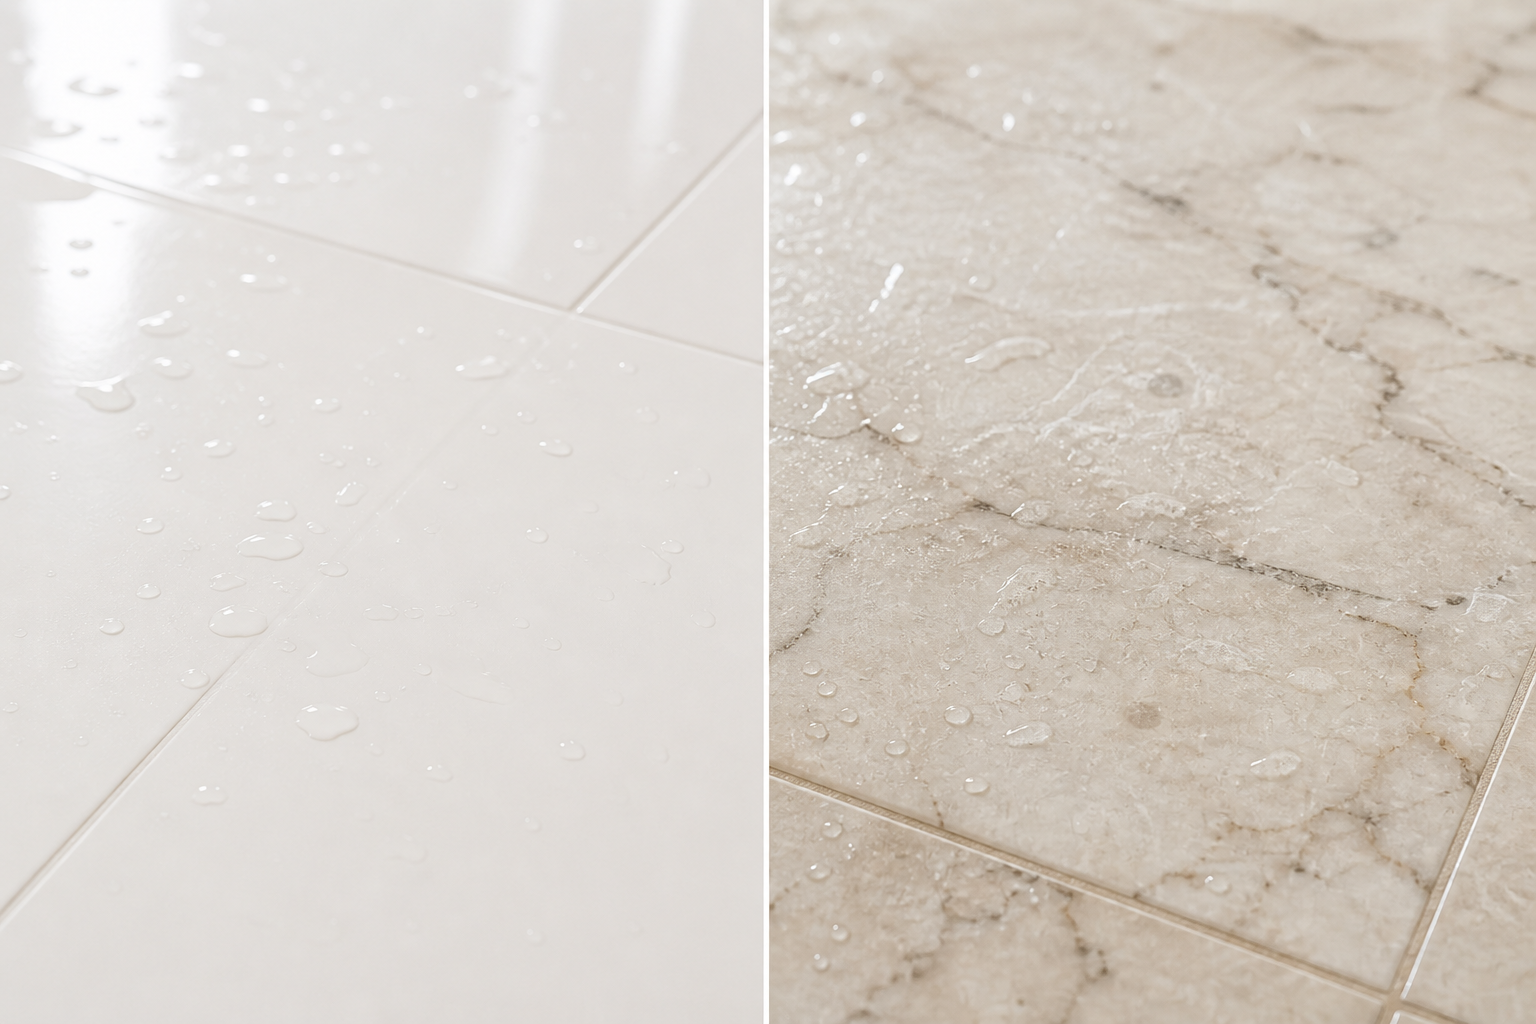
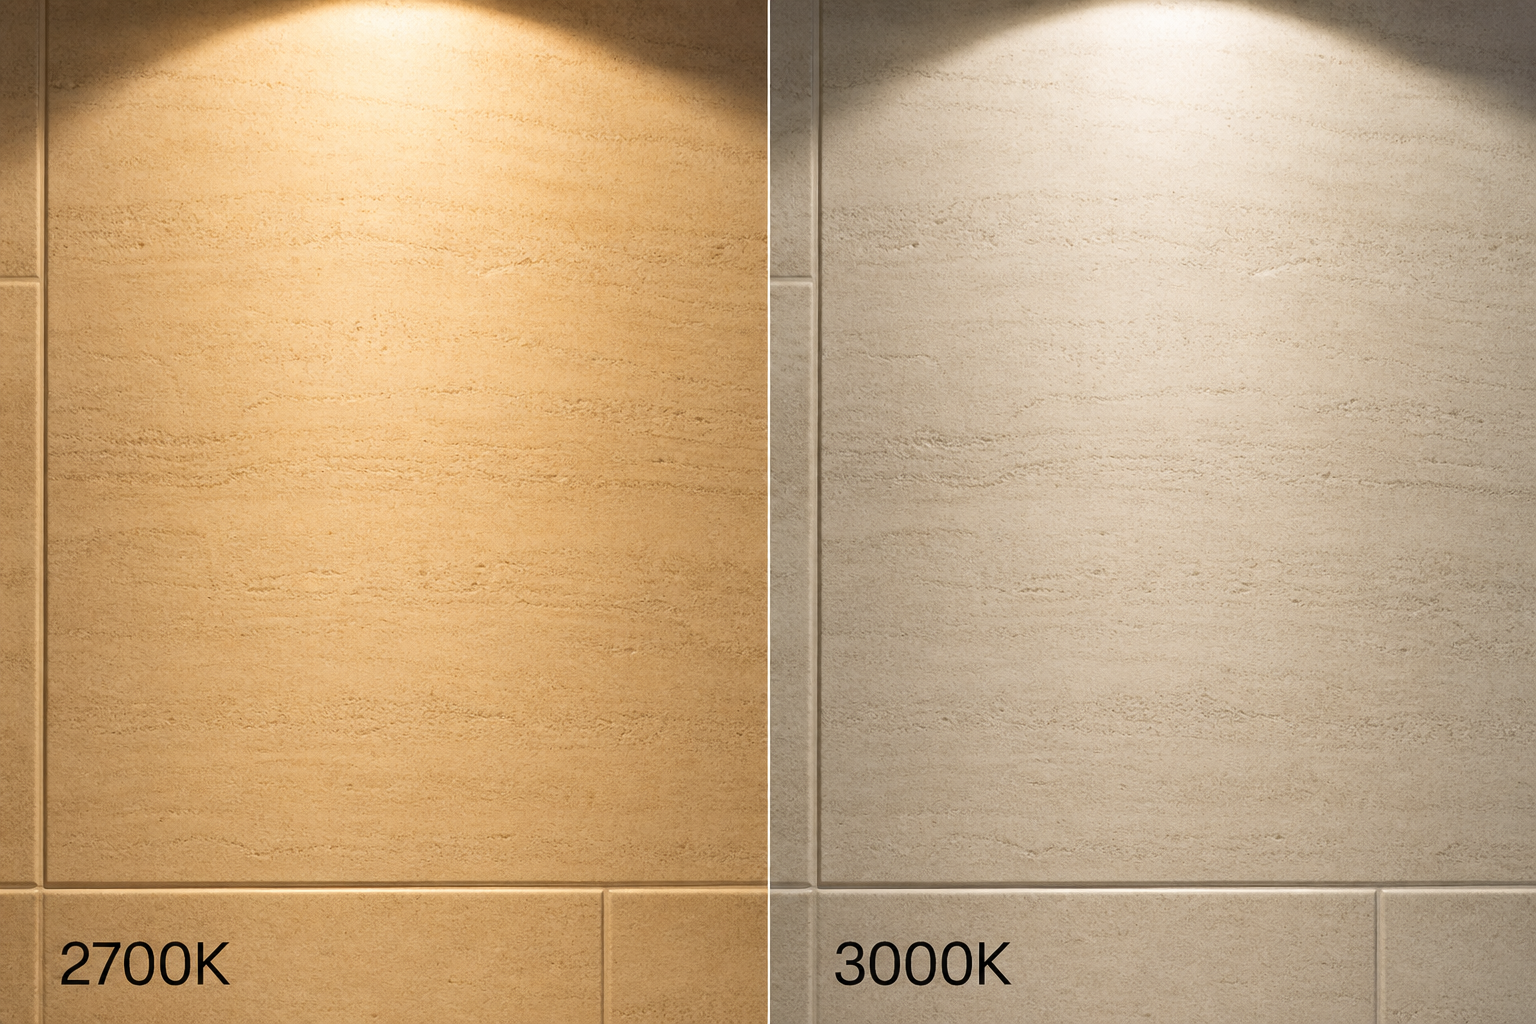
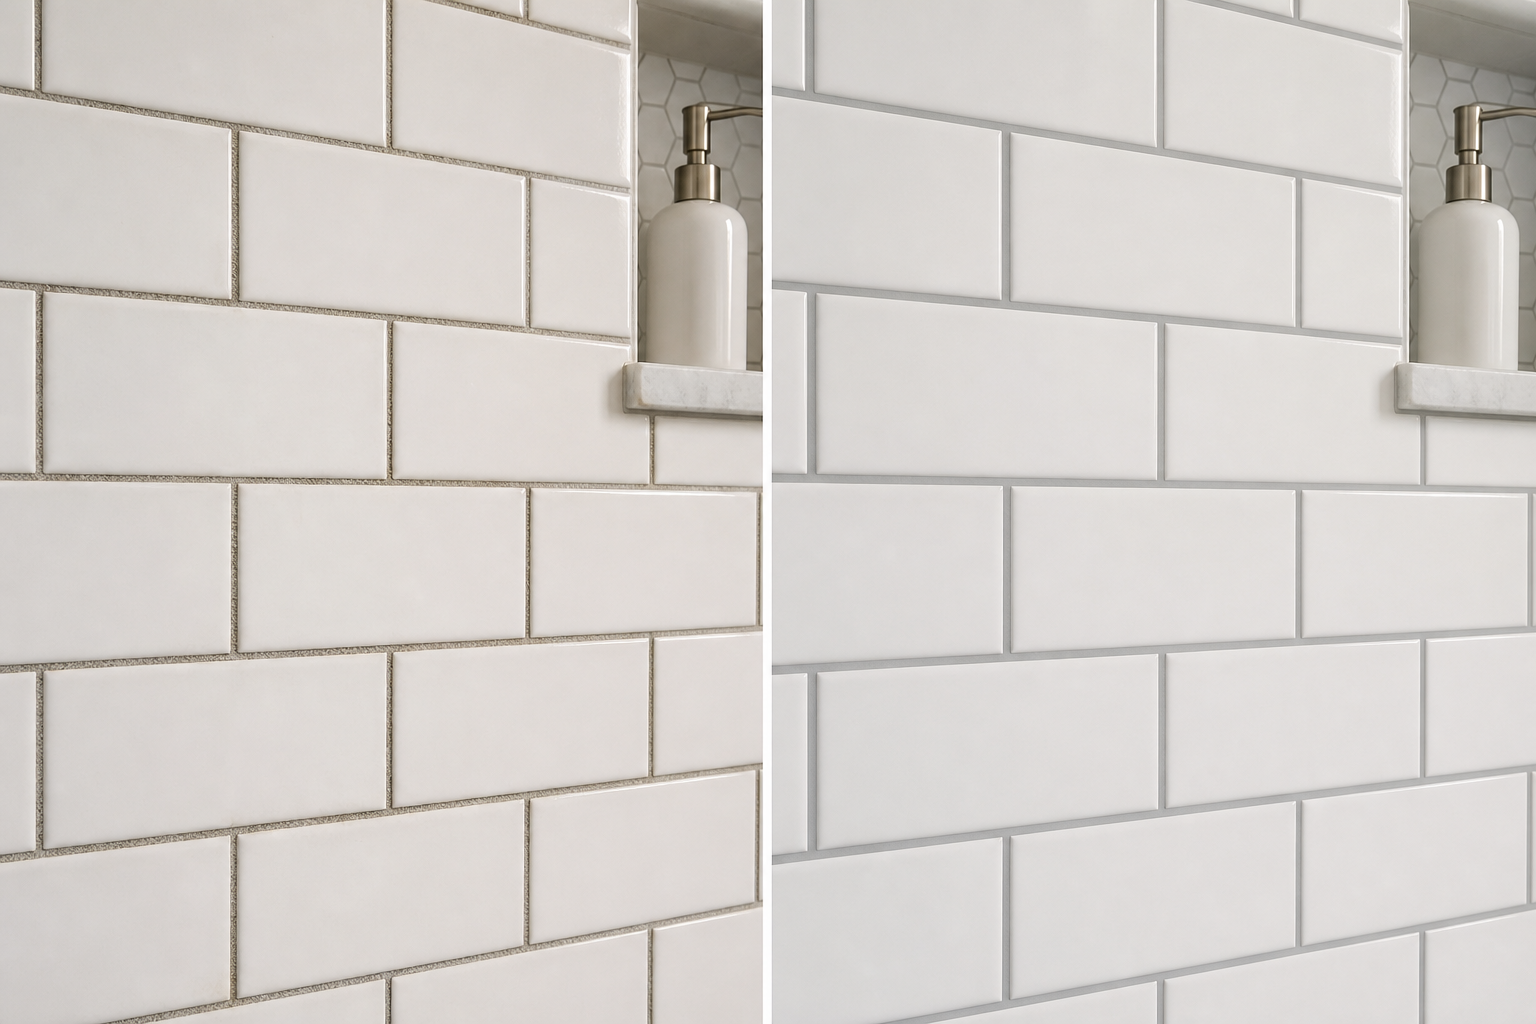
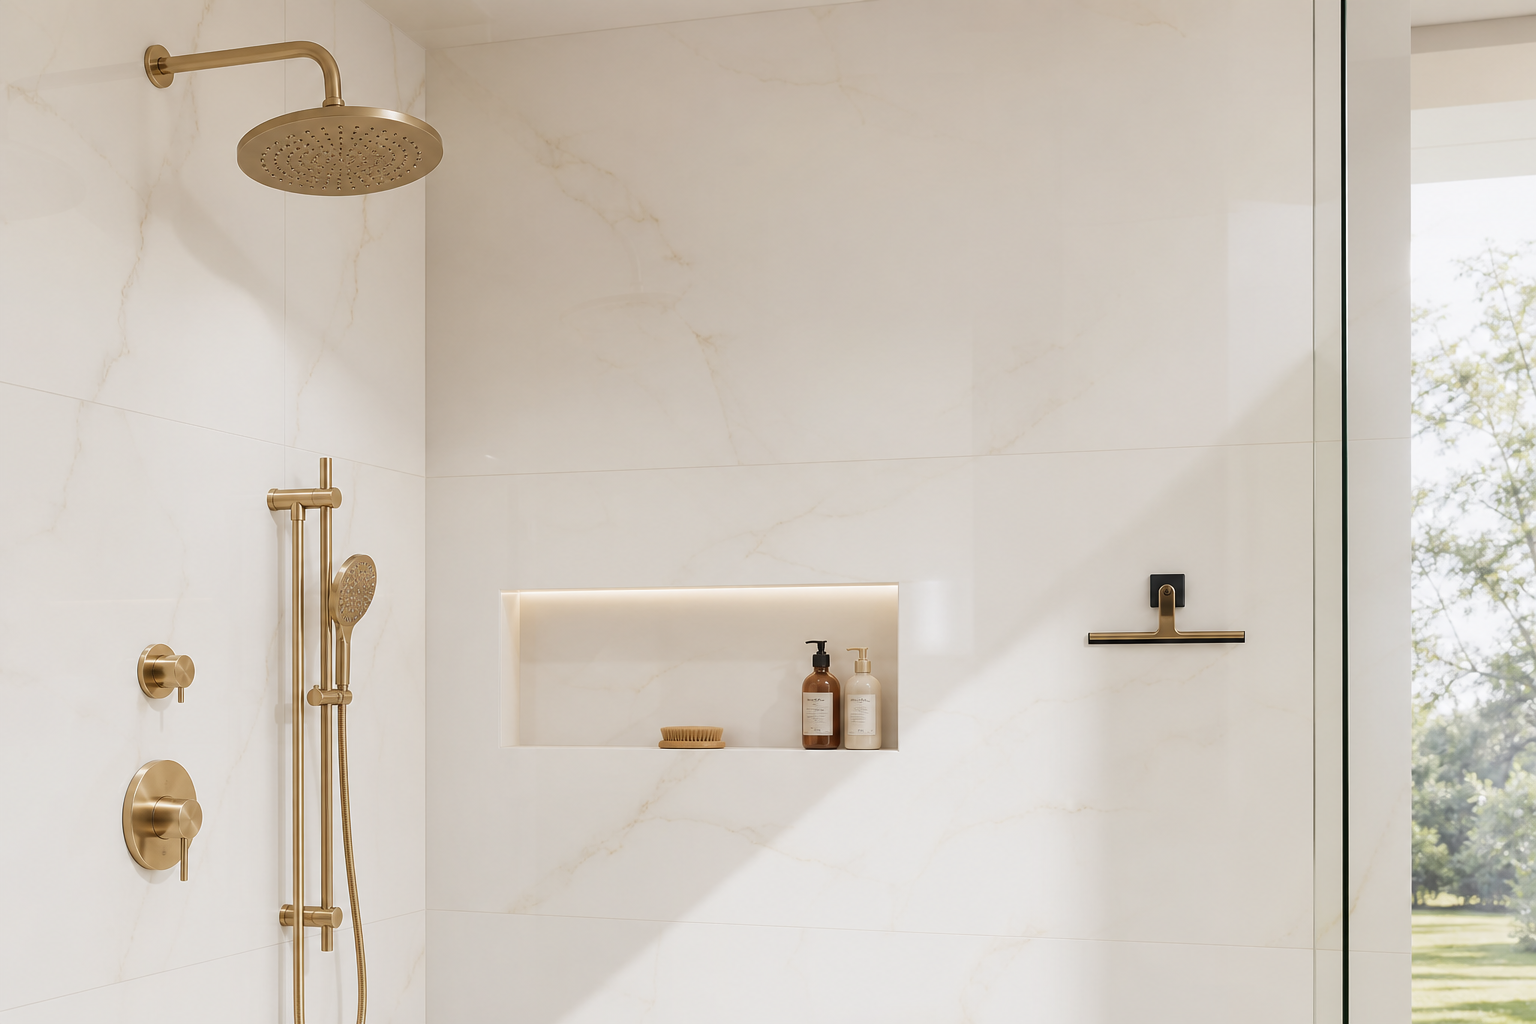
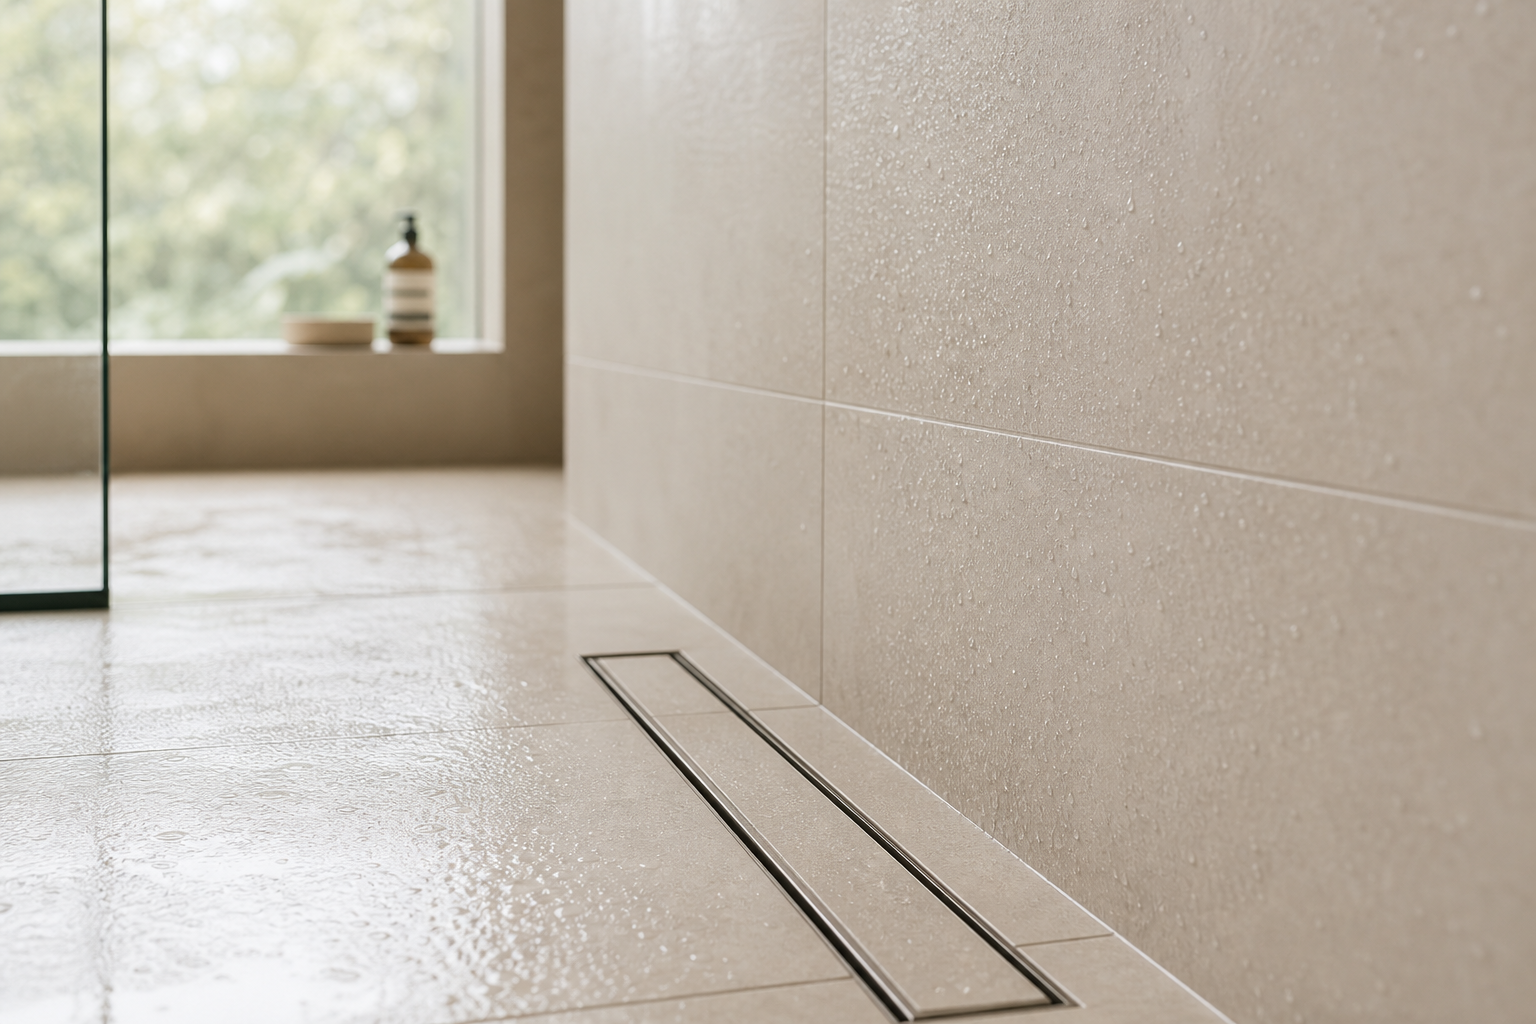
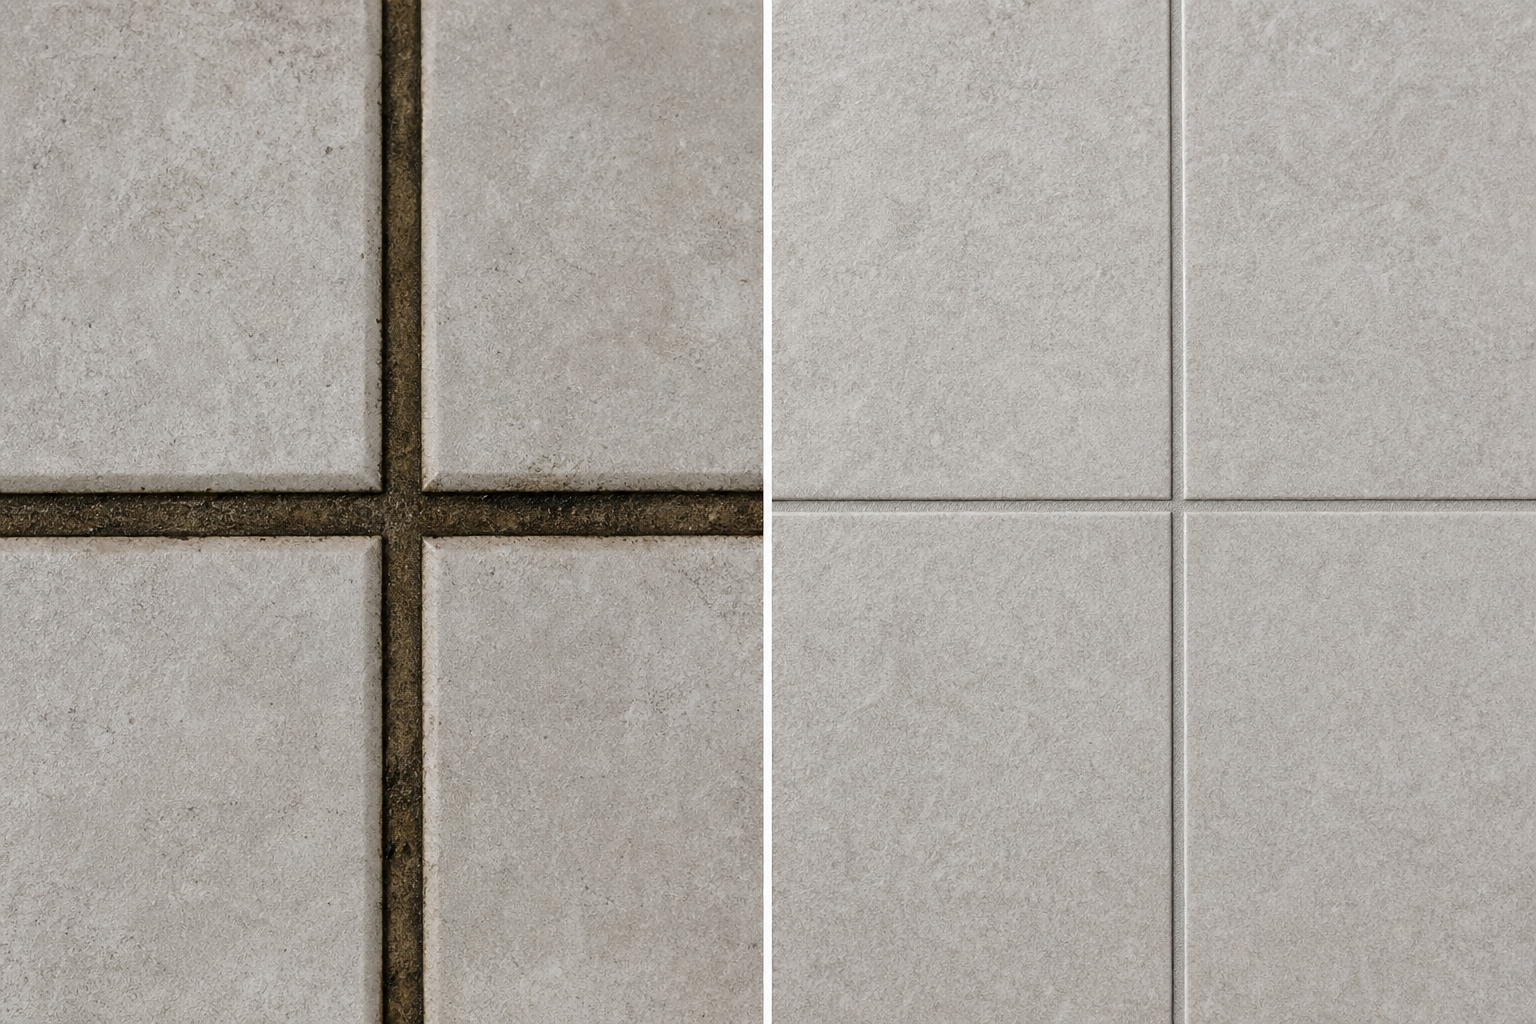
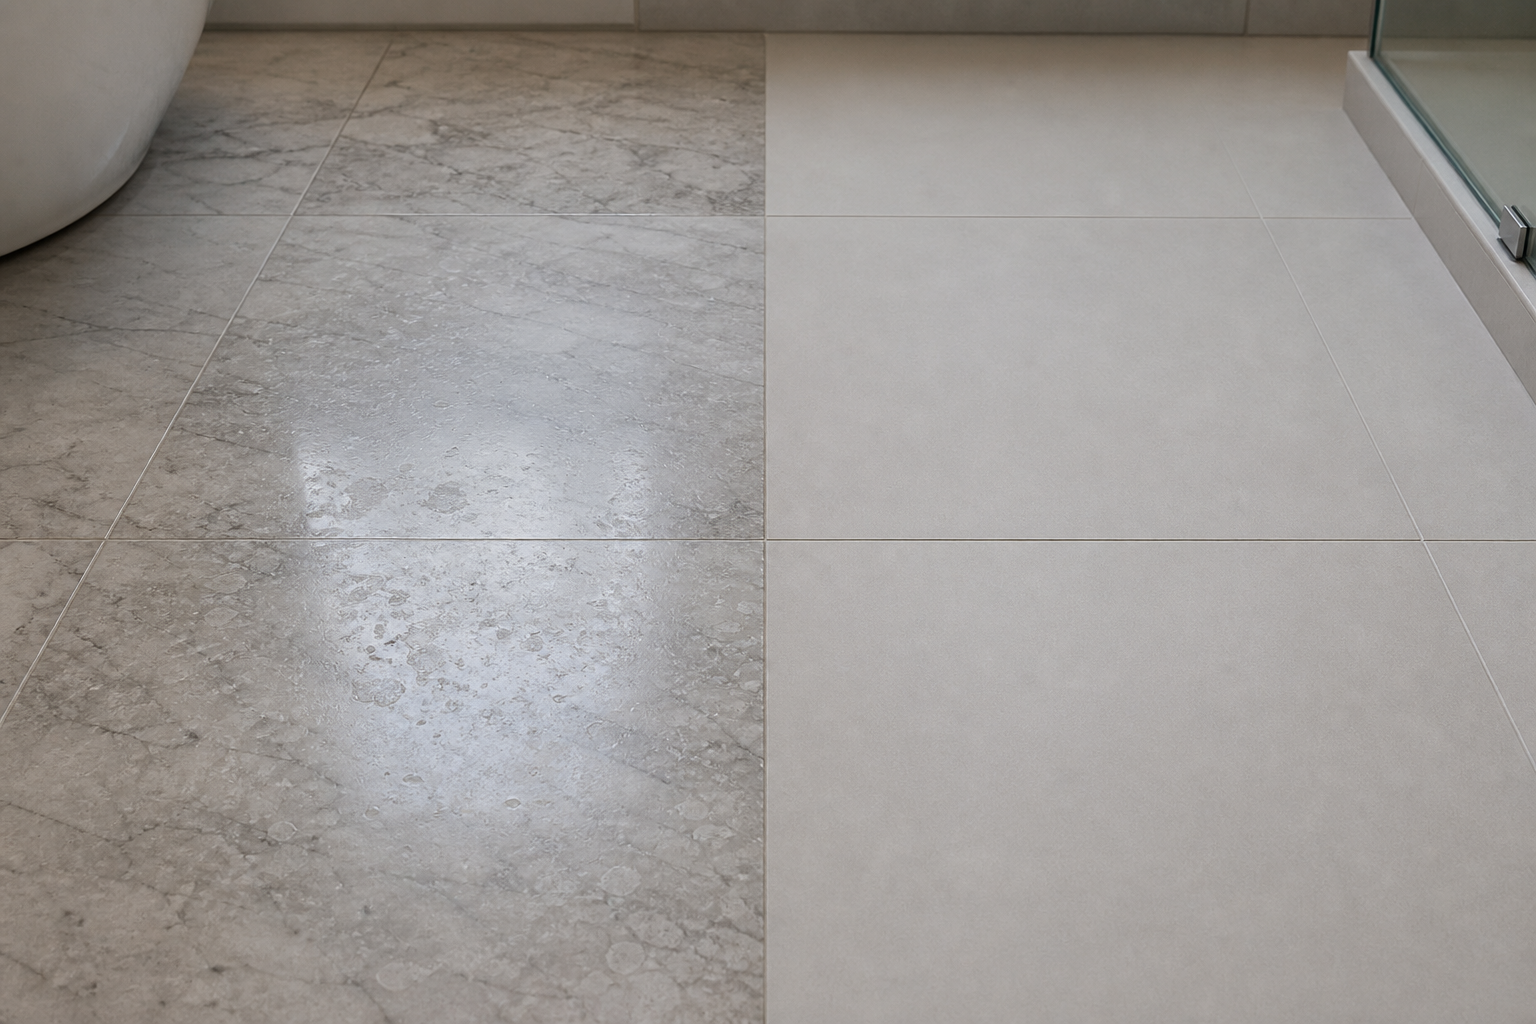
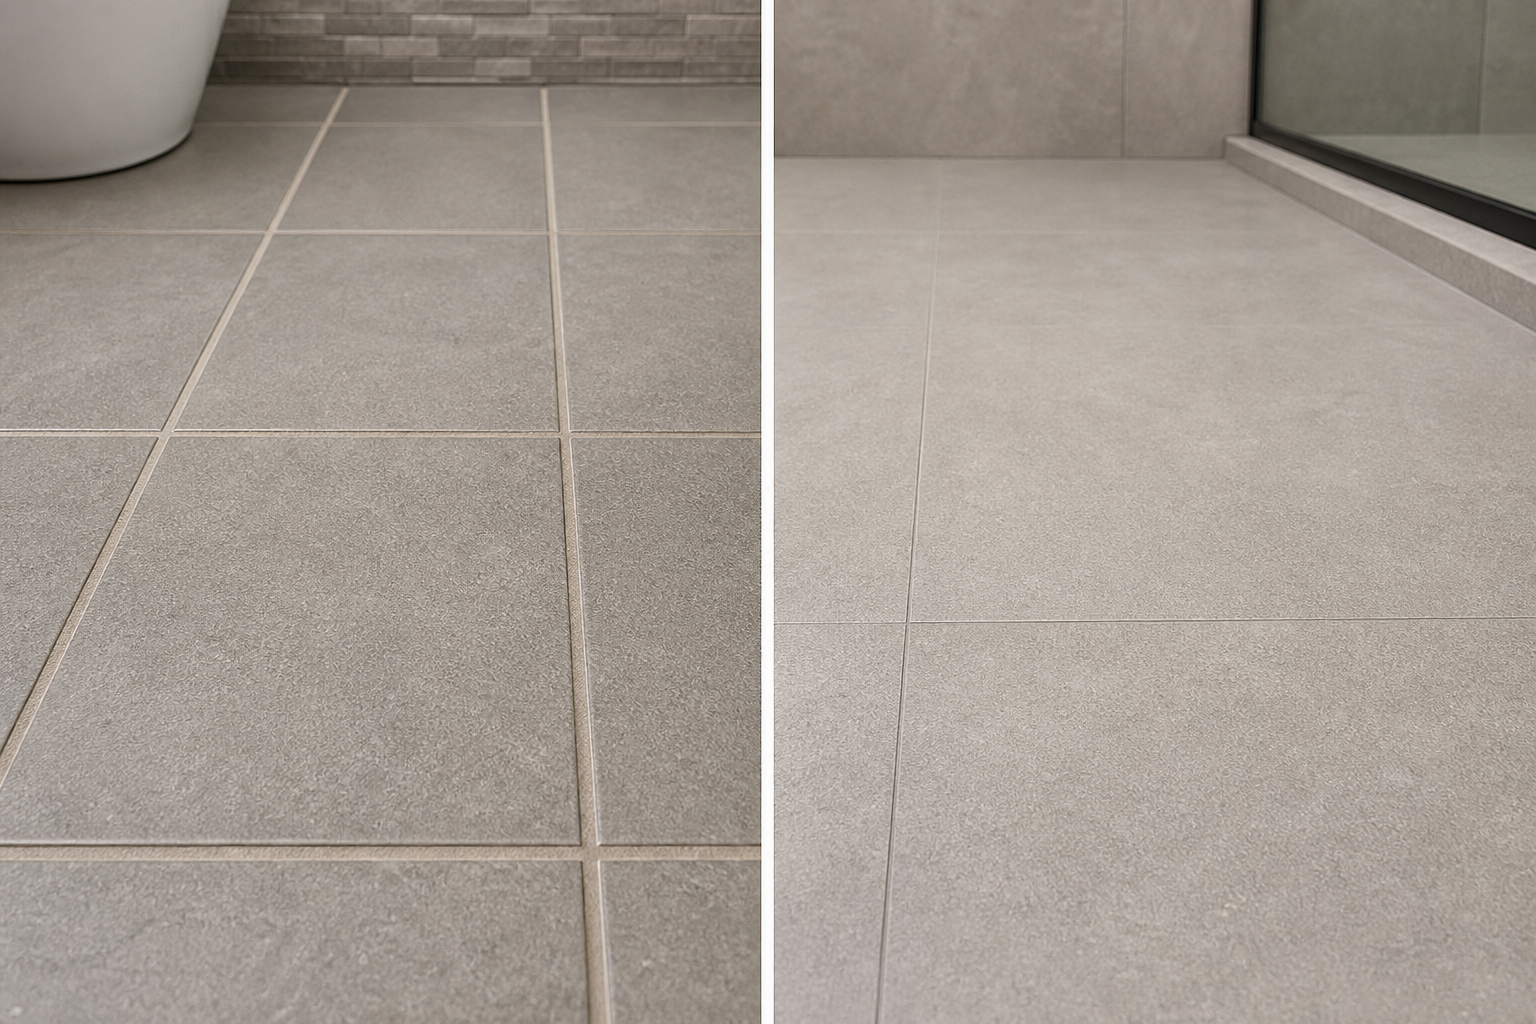
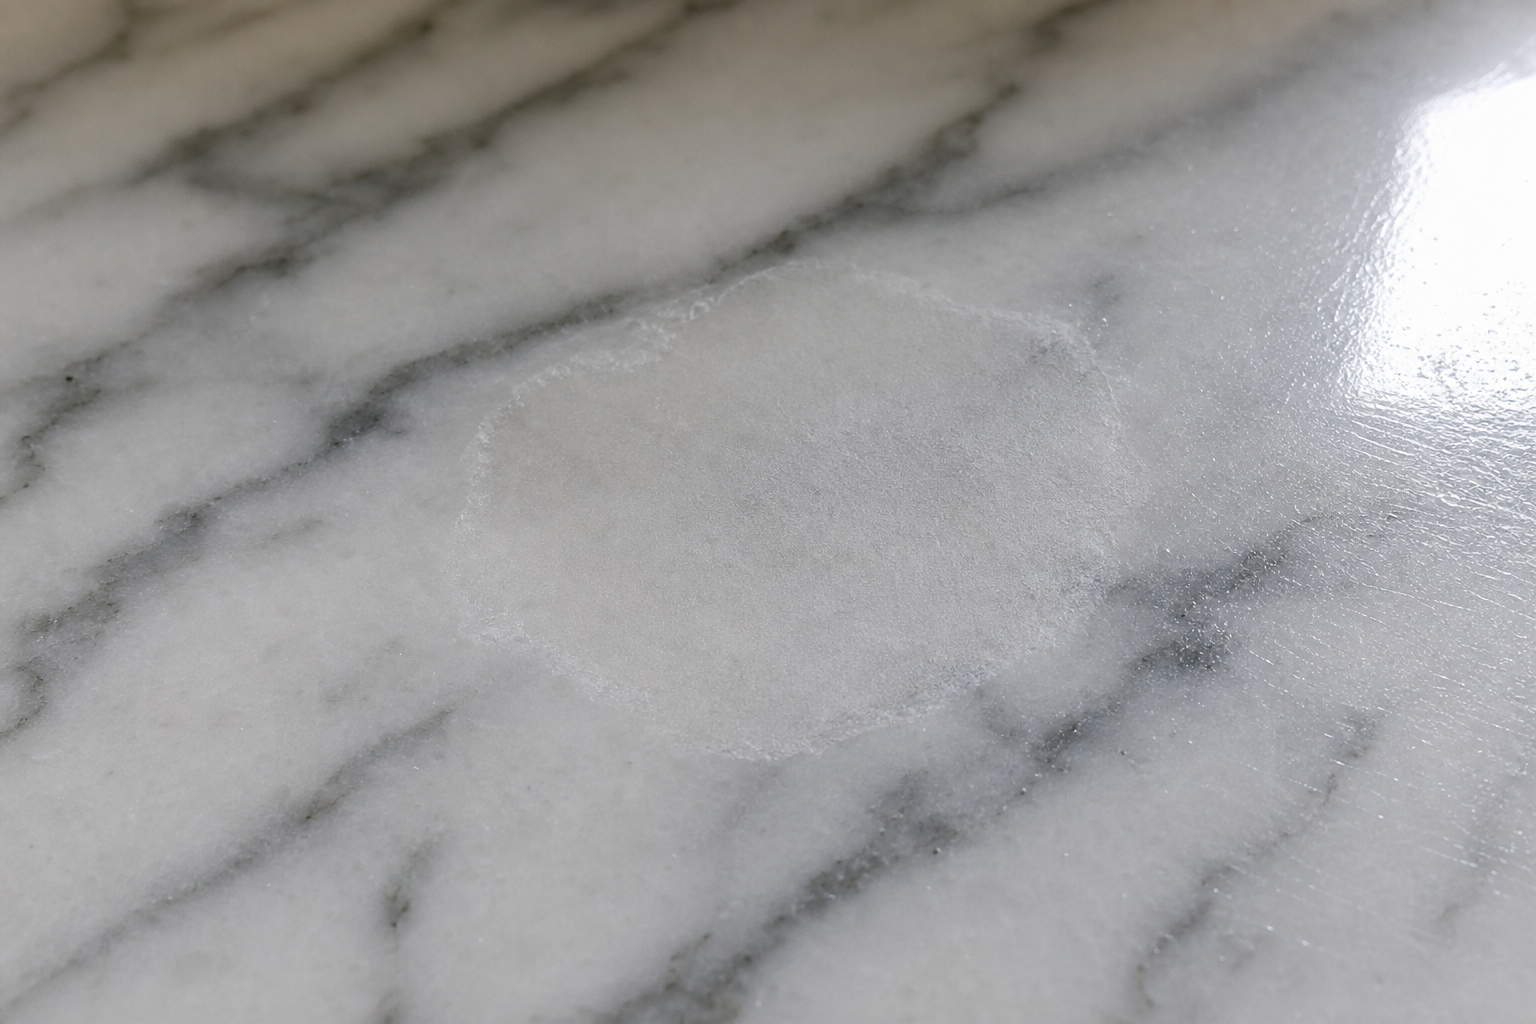
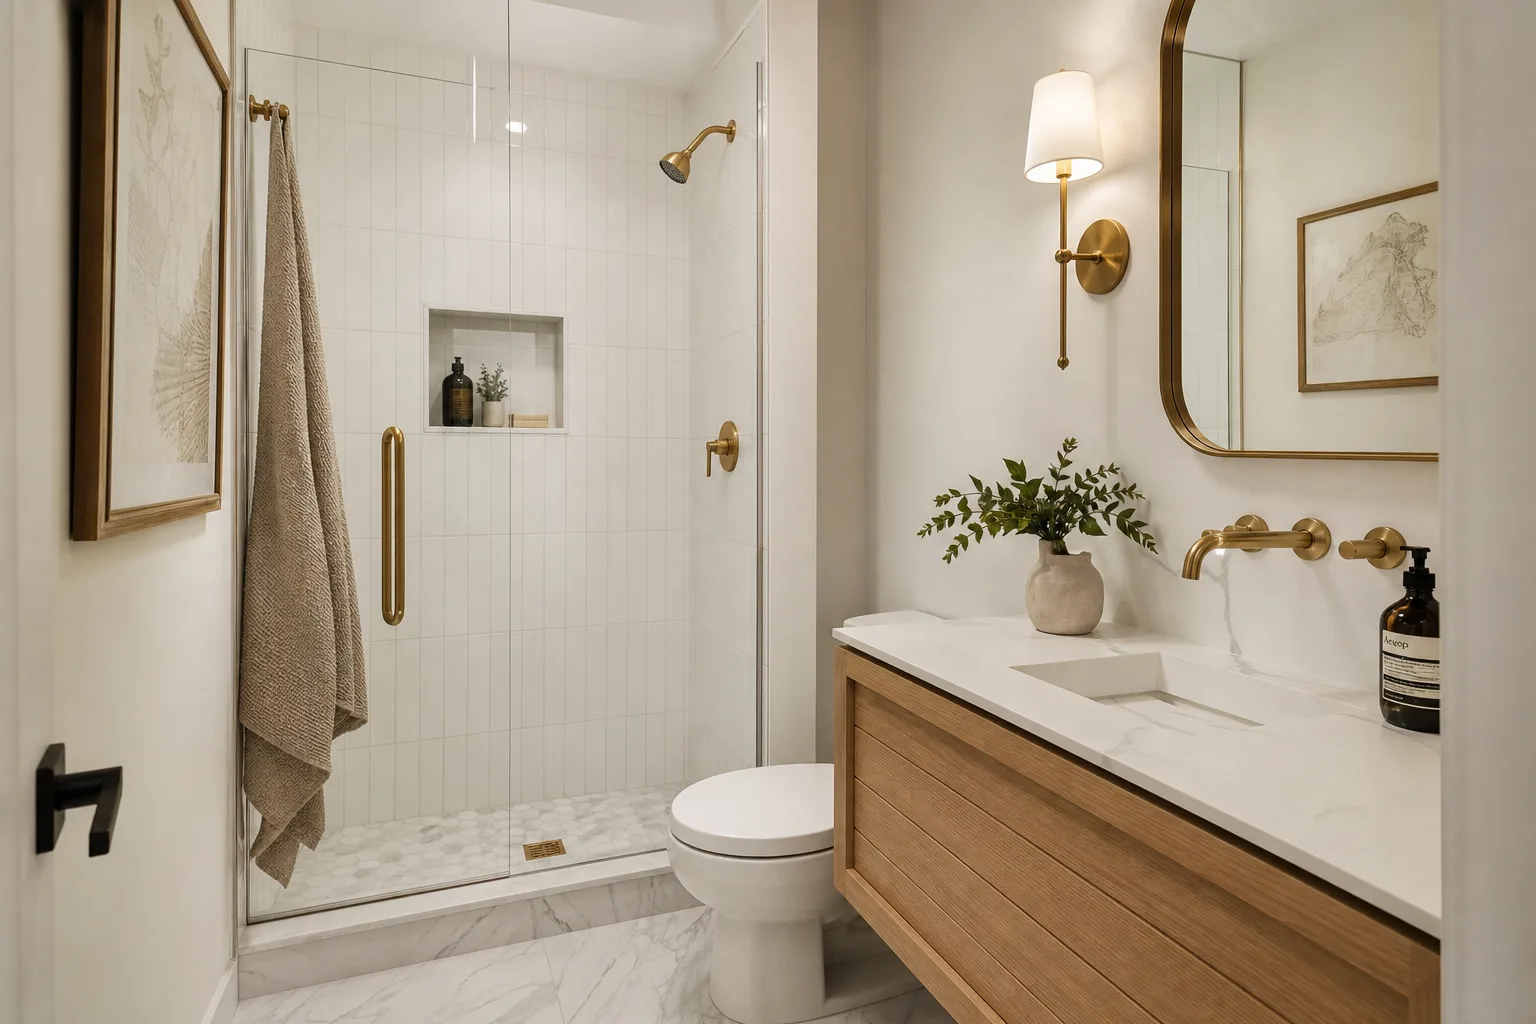
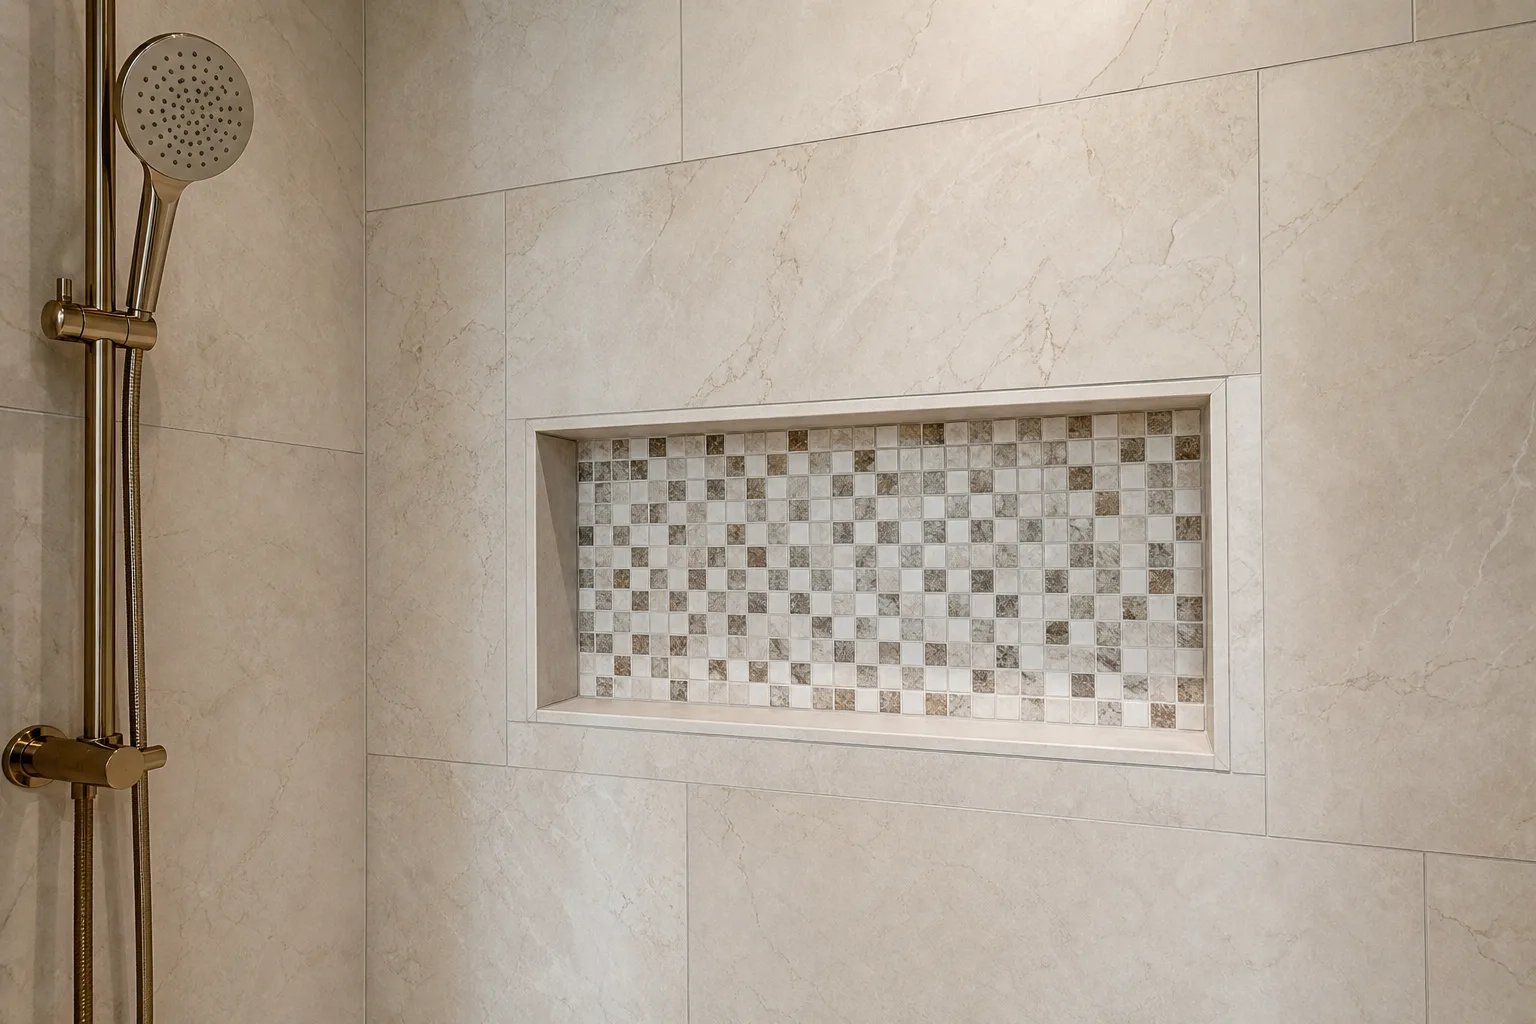
Lippage. The most visible outcome. Where adjacent tiles do not share the same plane because the substrate between them is uneven, the joint reads as a step. Fine-grained texture catches light at low angles and makes lippage more visible; highly polished tile makes it immediately obvious.
What Substrate Prep Actually Involves
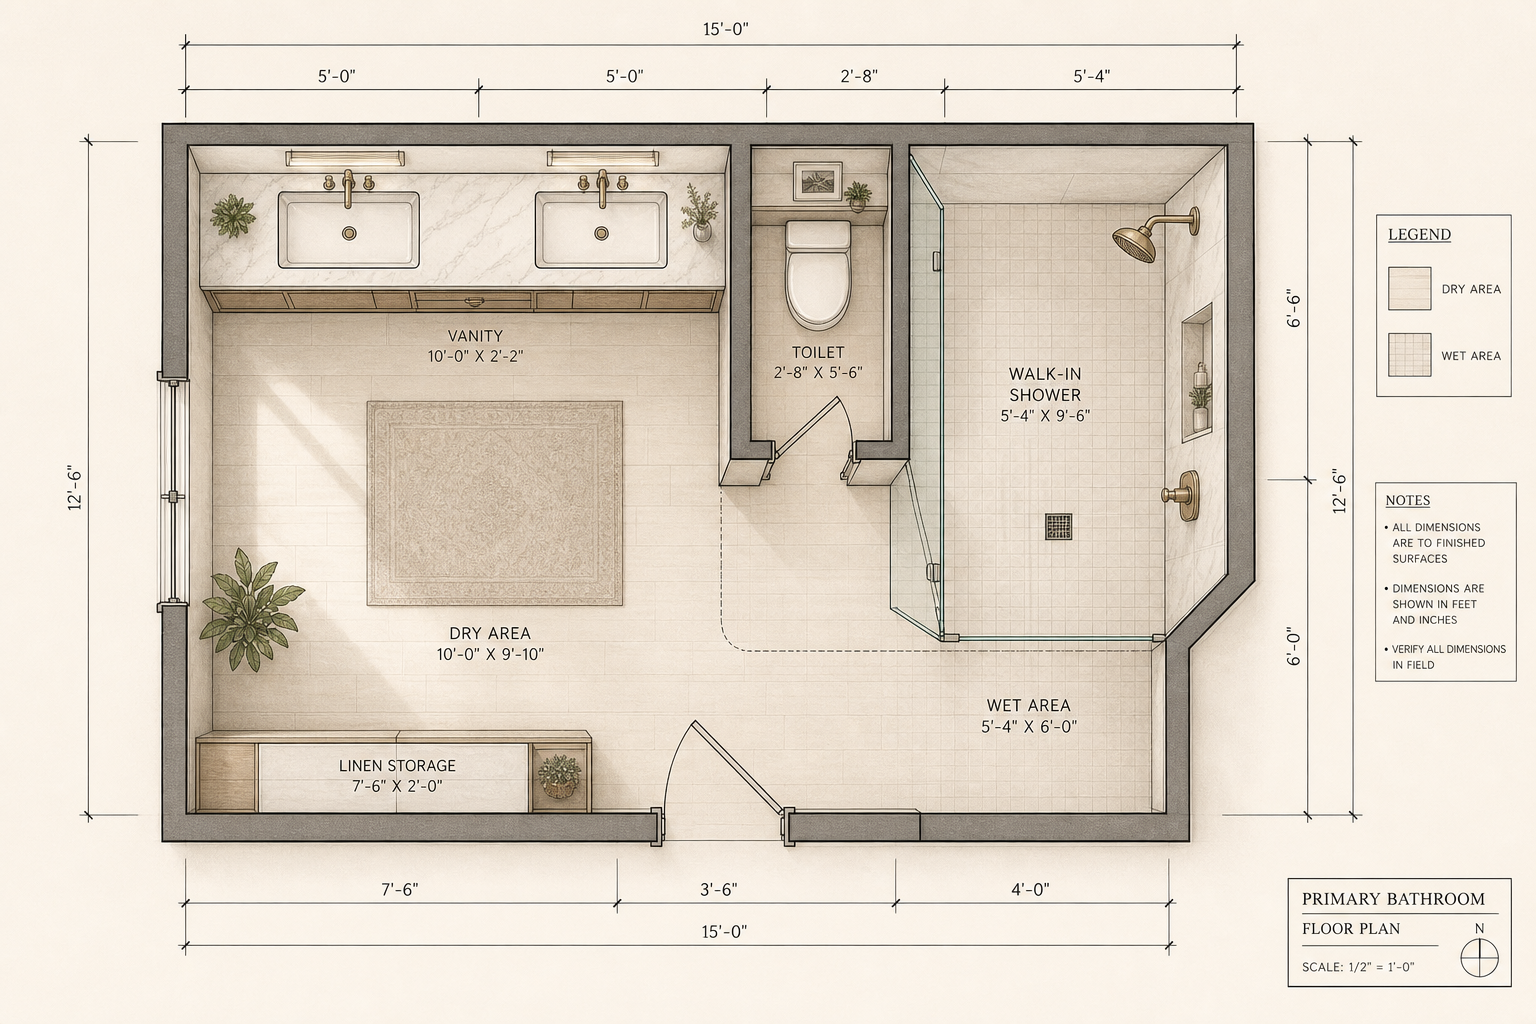
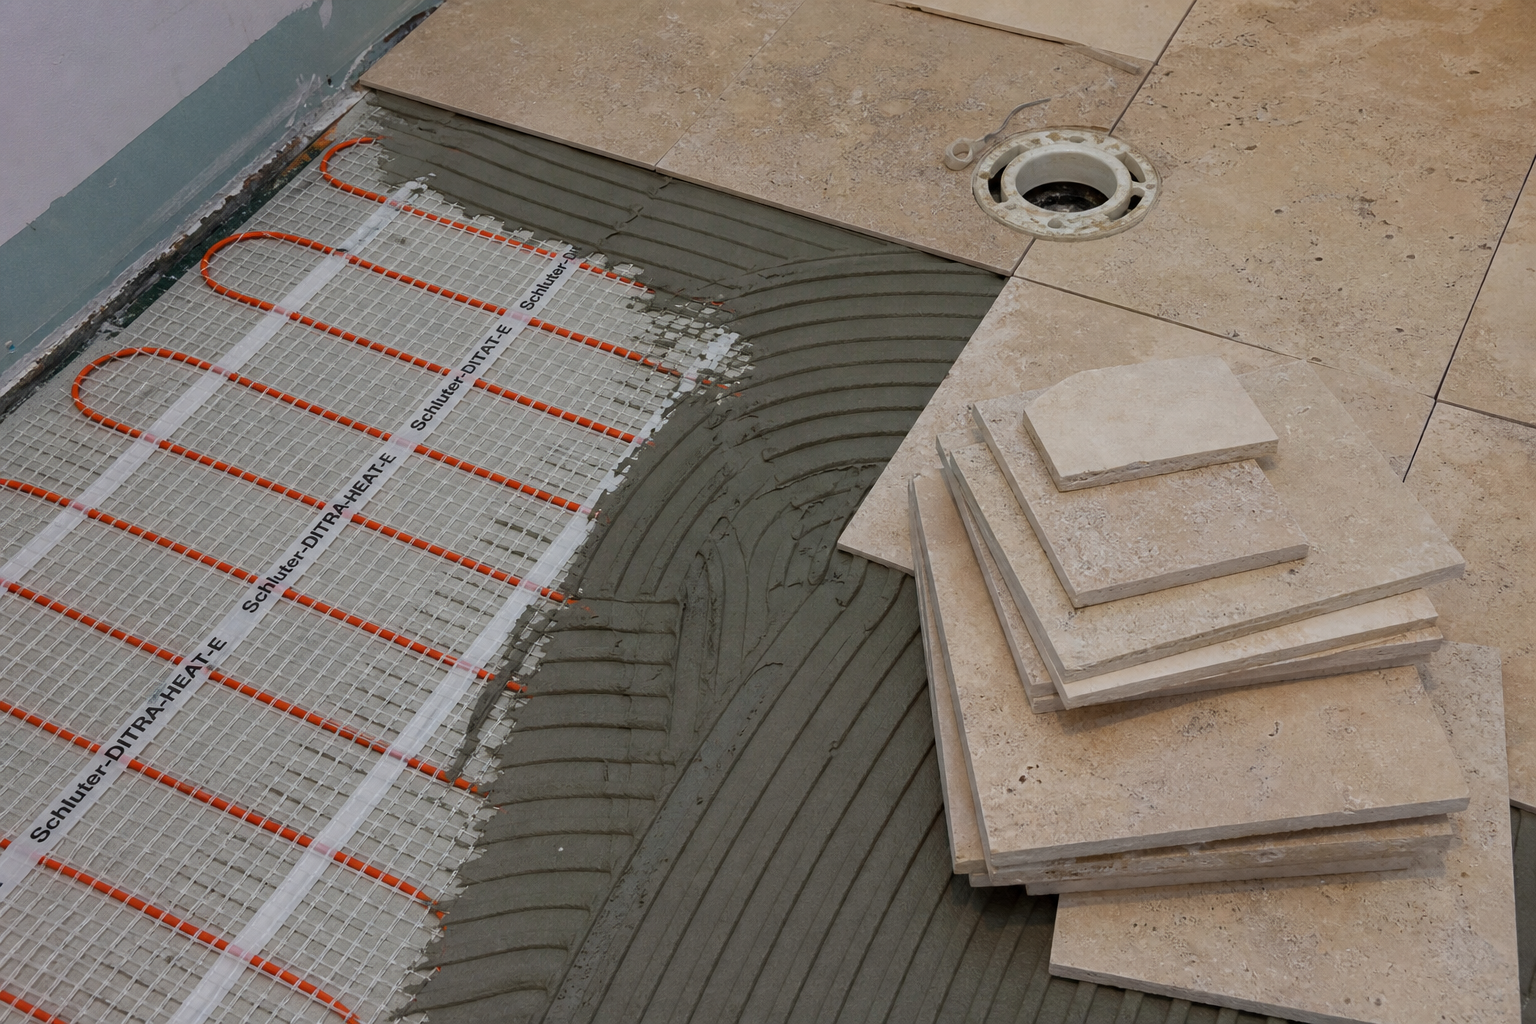
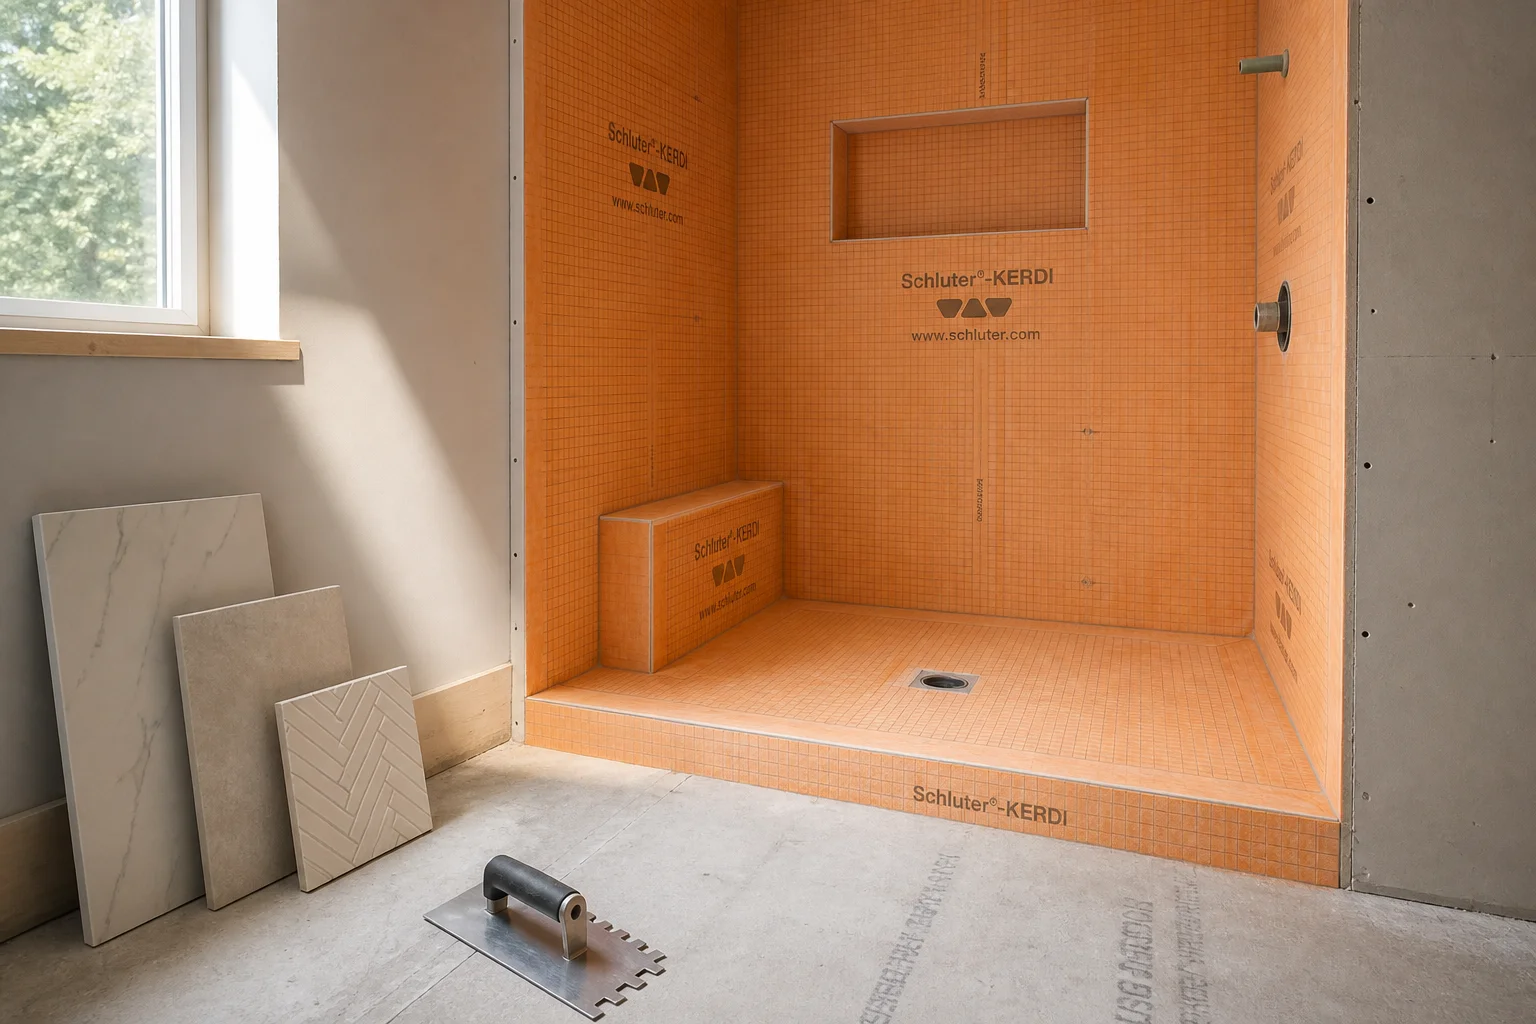
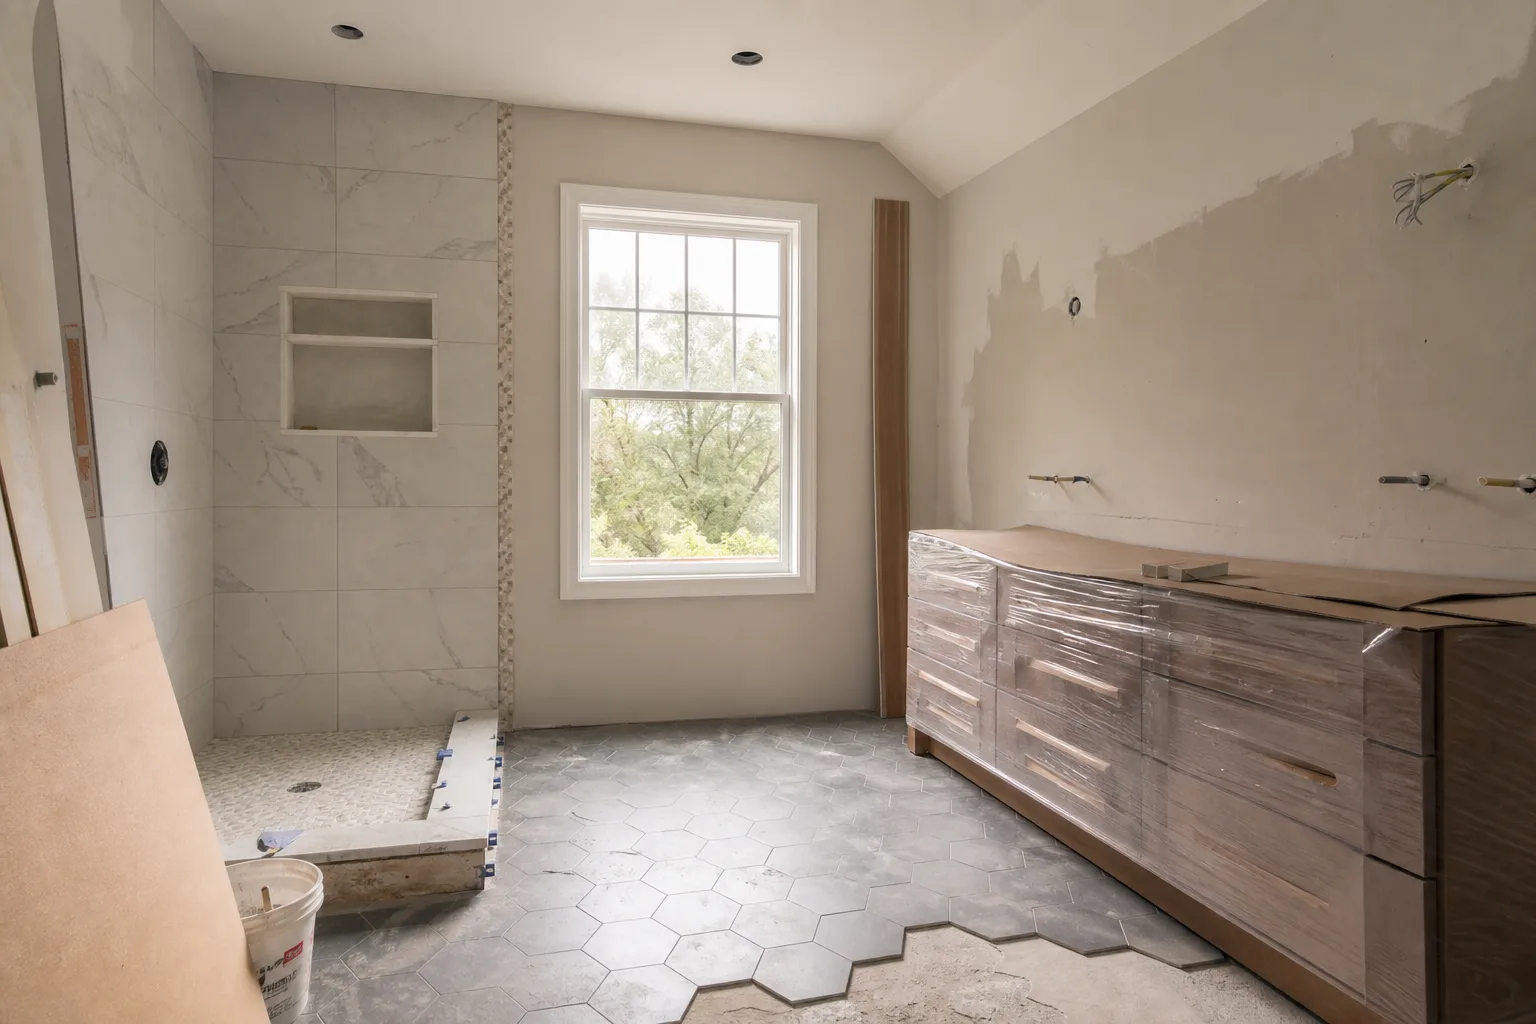
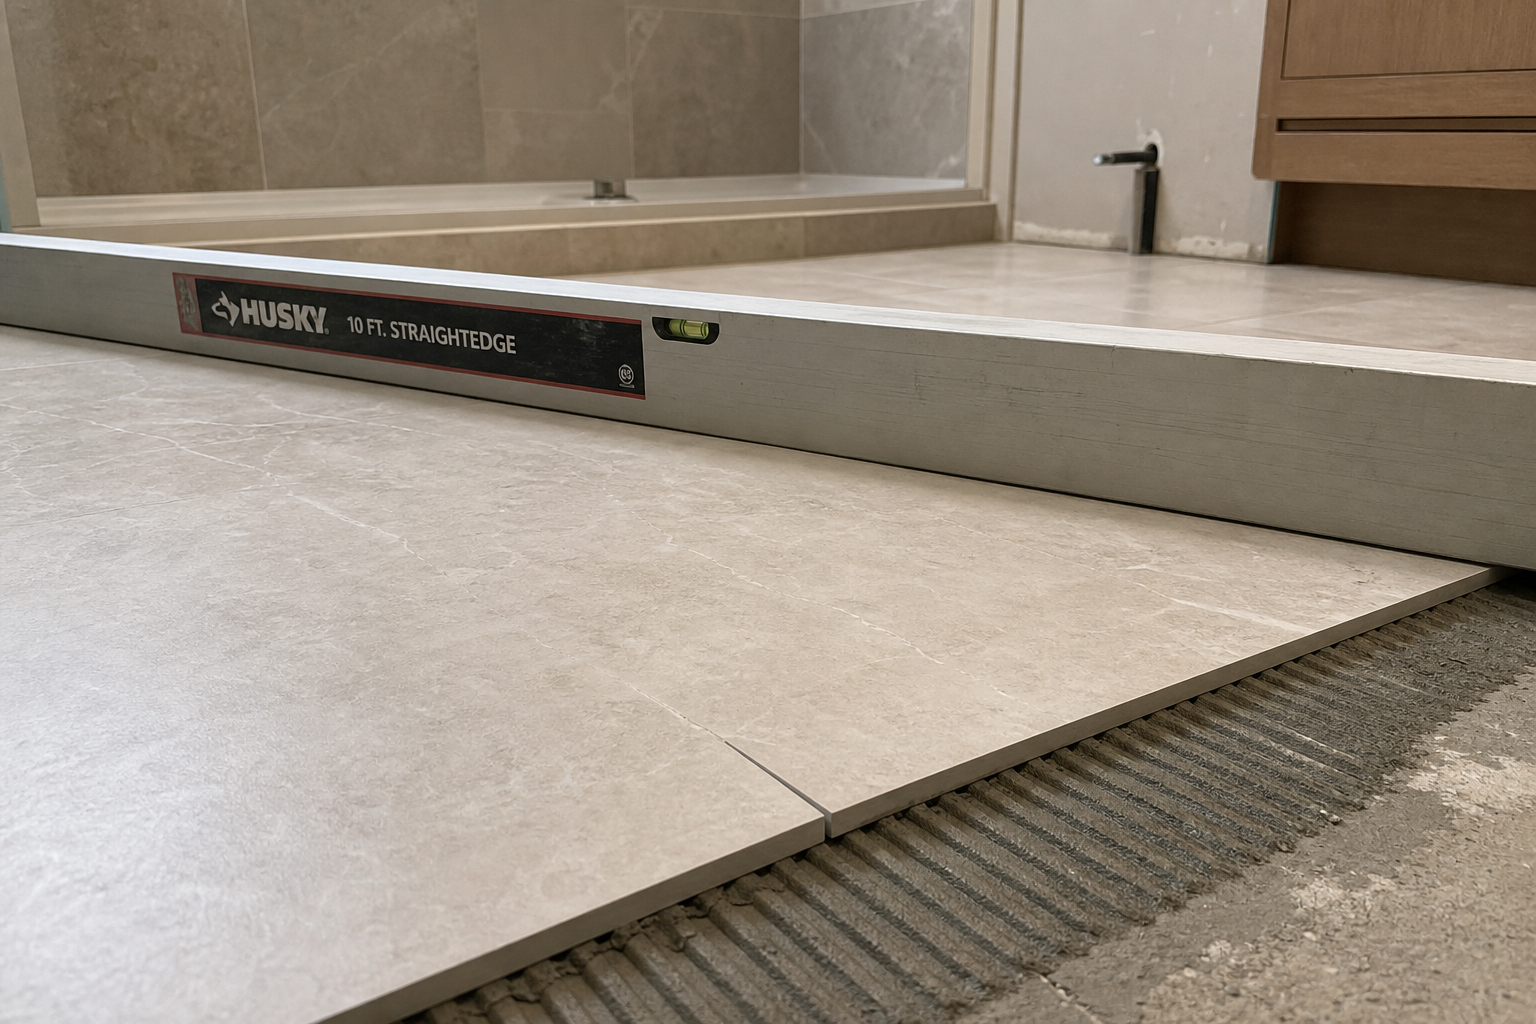
For an existing floor or wall receiving large-format tile, meeting the ANSI A108.02 flatness requirement typically involves: grinding high spots, applying self-leveling or patching mortar to low areas, and verifying flatness with a 10-foot straightedge before tile begins.
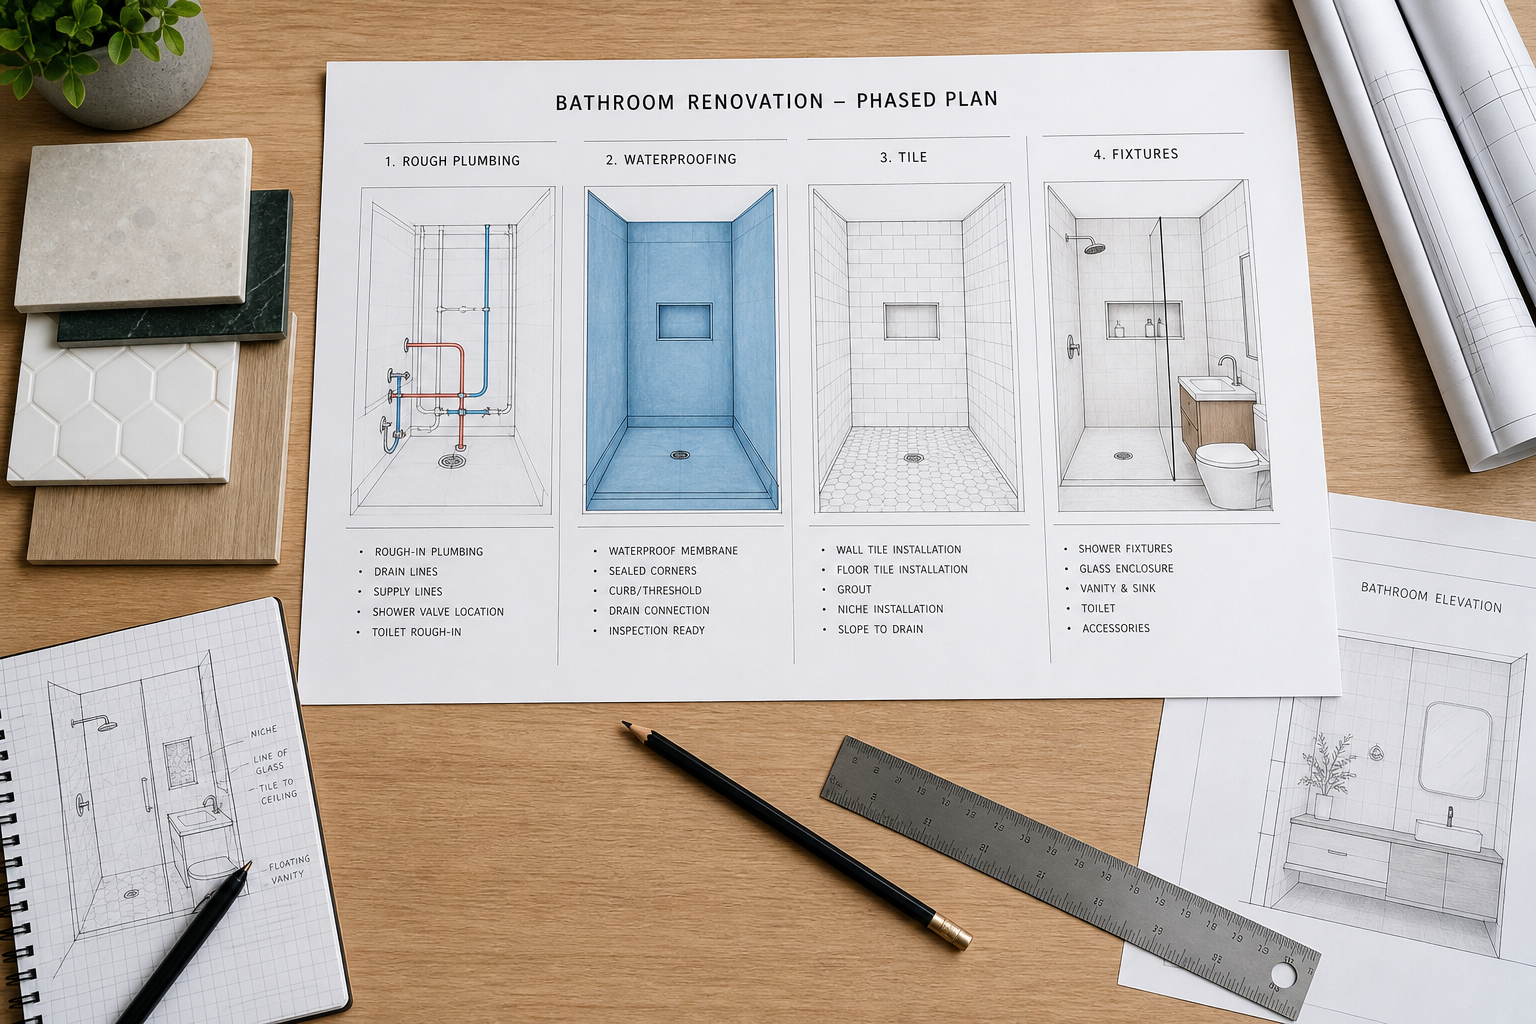
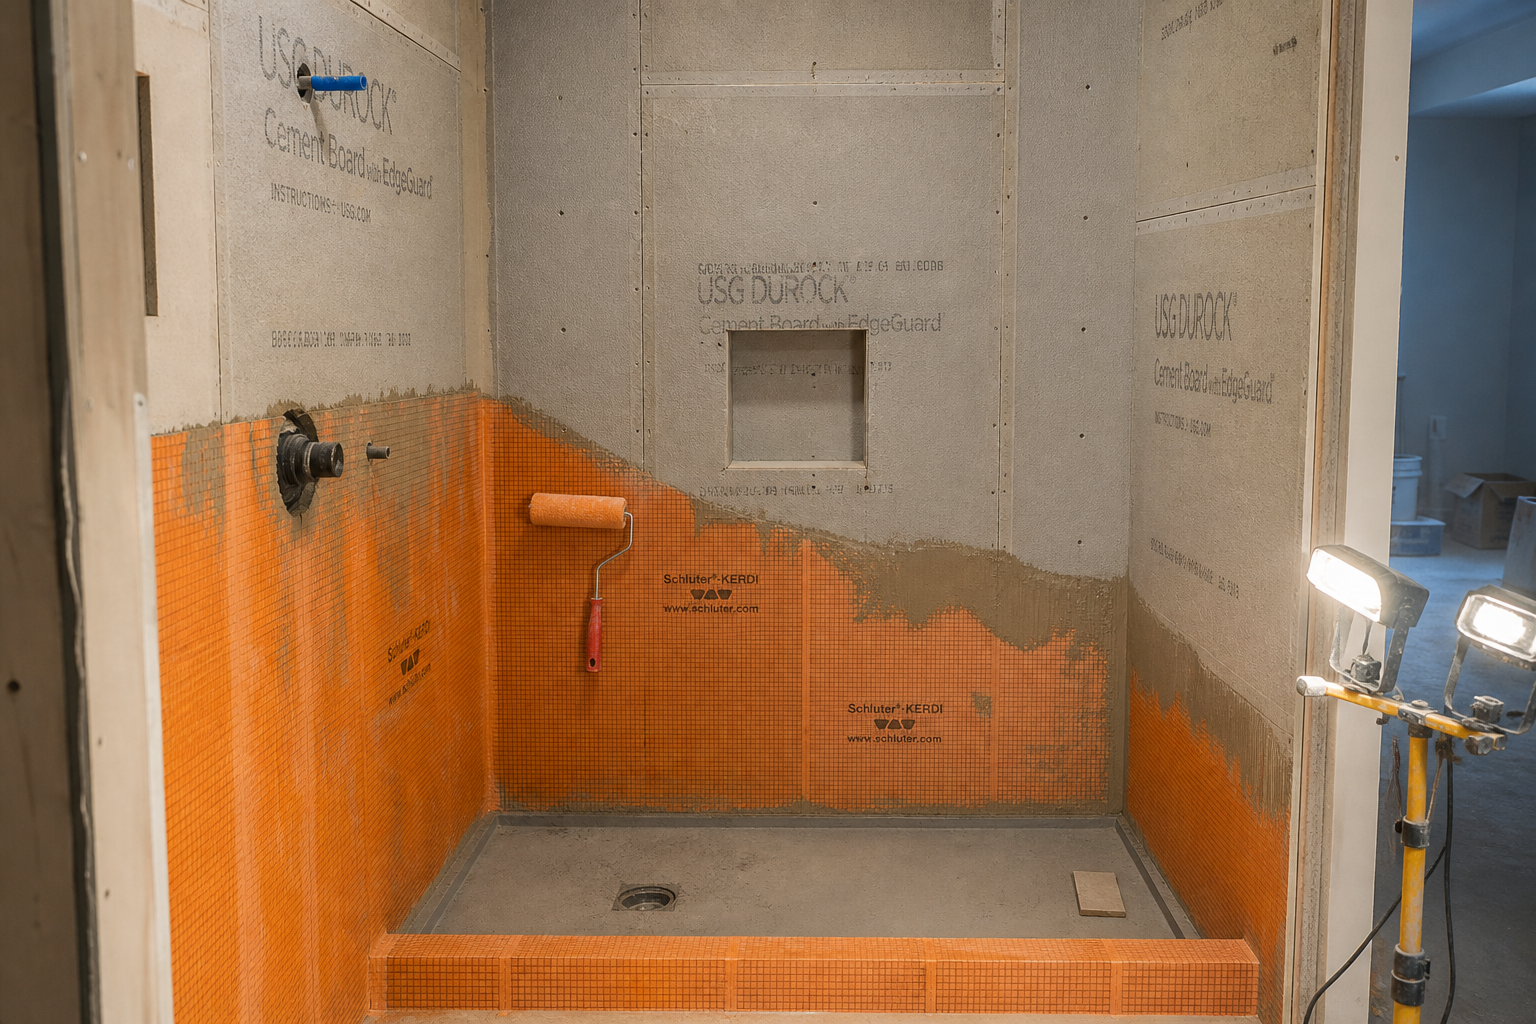
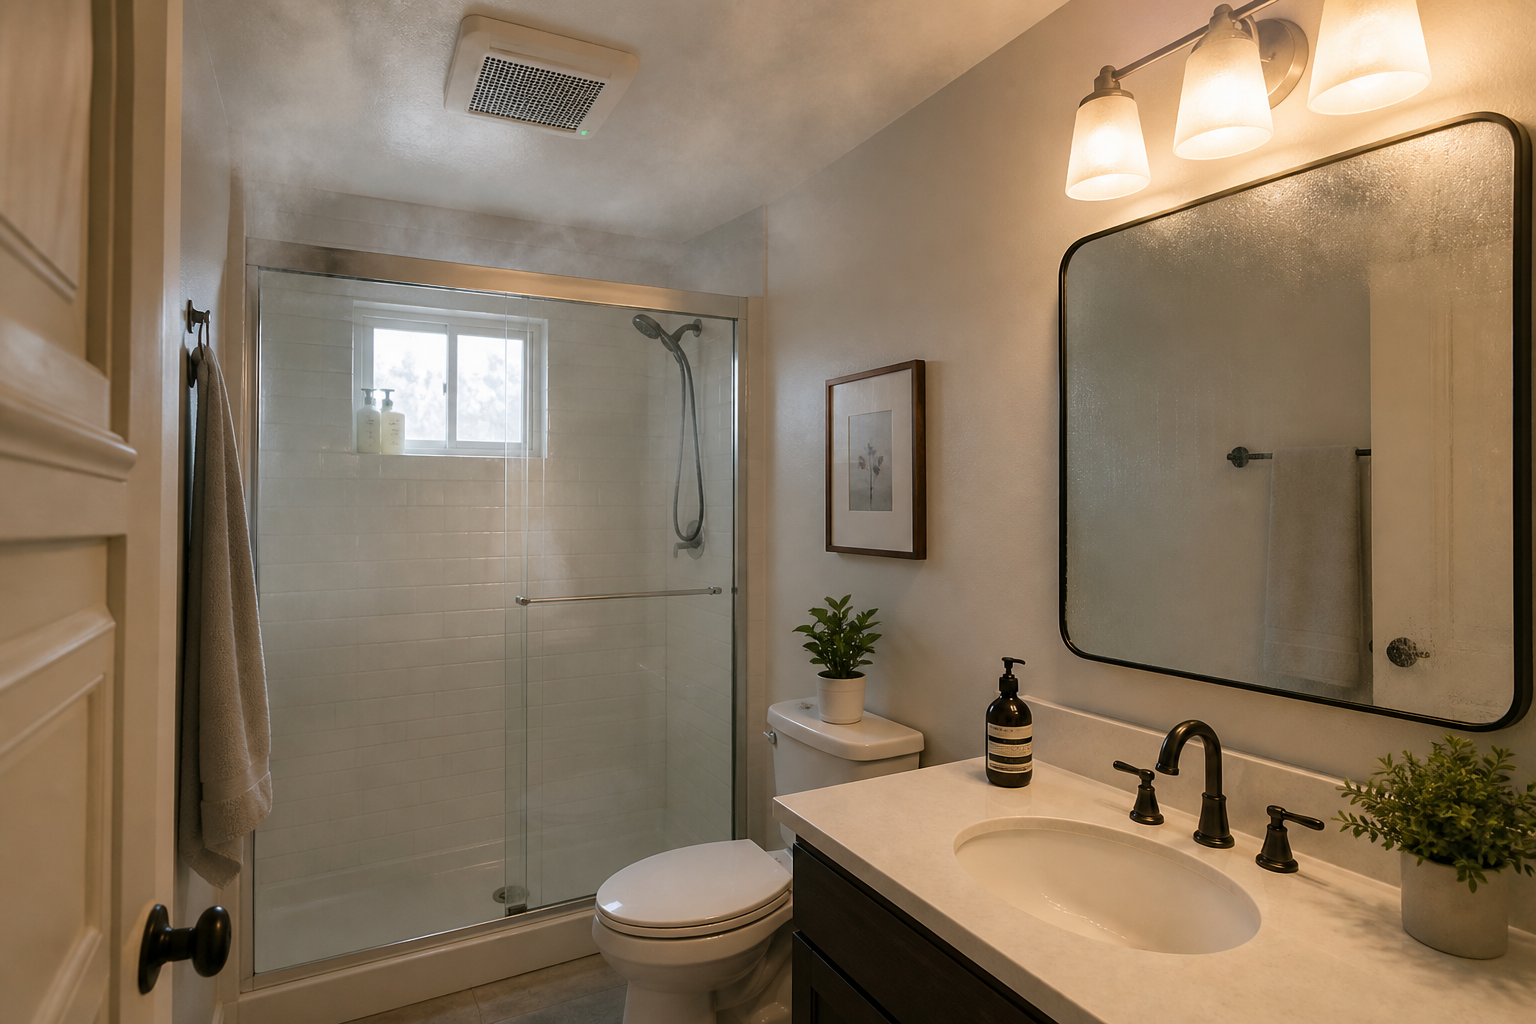
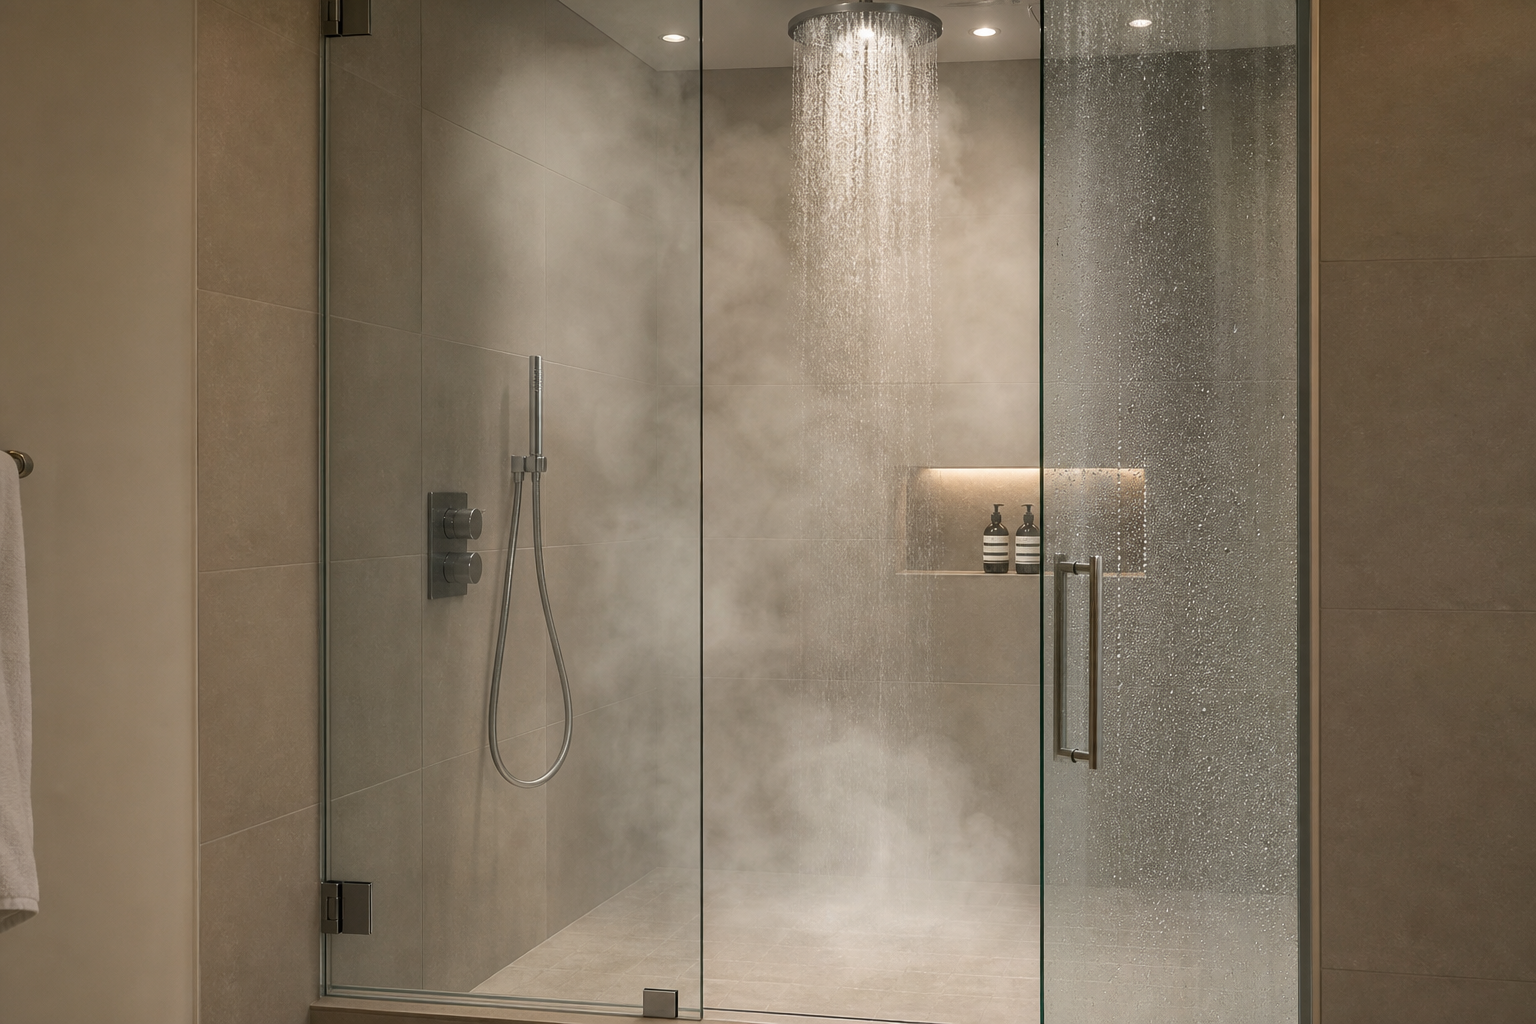
In a shower environment, this prep happens over the waterproofing assembly, which means the waterproofing must be complete and the mortar cured before flatness prep begins and before tile is set. Any deviation from this sequence either skips a step in the waterproofing system or requires redoing work.
For floors specifically, the deflection requirement for large-format tile is more stringent than standard ceramic: L/720 rather than L/360. This means the floor structure must flex no more than its span divided by 720 under live load, compared to the span divided by 360 for standard tile. A floor framing system that meets code for standard tile may not meet the standard for large-format natural stone without adding framing stiffness.
This is why the tile selection needs to be confirmed before substrate prep begins, and why changing from small-format to large-format tile mid-project is not a substitution that can happen without revising the work plan.
We confirm tile format before waterproofing is scheduled, and we verify substrate flatness explicitly before any tile is set. If a floor or wall is out of tolerance for the specified tile, we stop and correct it rather than setting tile over a substrate that will produce lippage. The alternative is a room that looks wrong in the light at certain angles and requires acknowledging the problem or living with it.